![]()
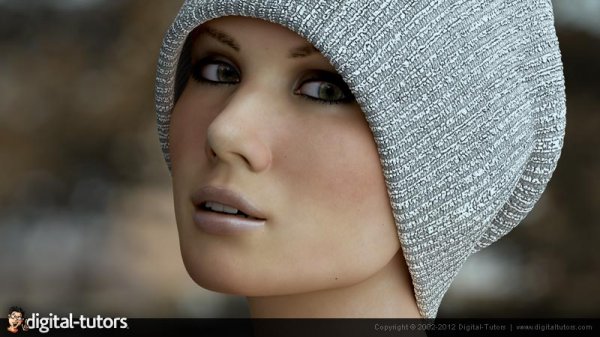
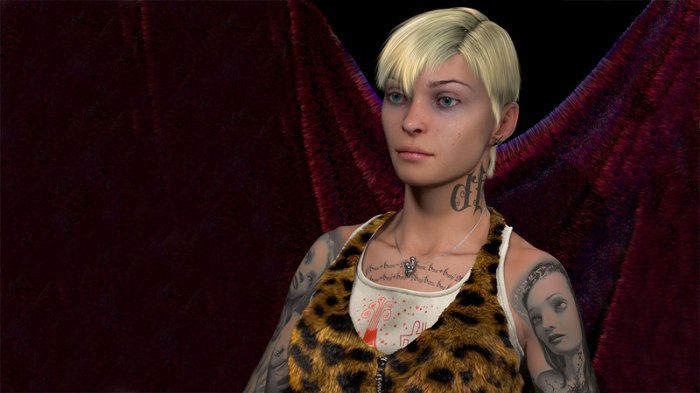
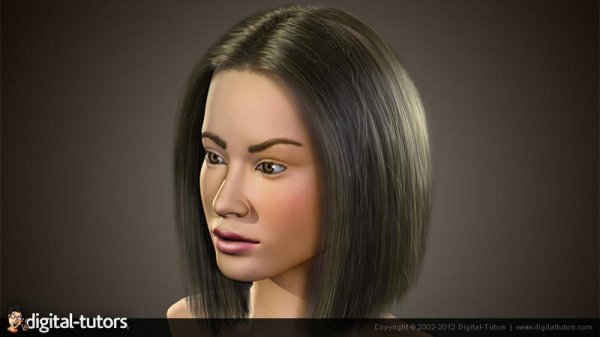
Digital-Tutors - Creating Production Quality Hair Using KRAKATOA in 3ds Max
3h 19m | Project Files: Included | Software used: 3DS Max 2014, KRAKATOA, Nuke 8
با سلام
در این آموزش خواهید آموخت که چگونه با استفاده از پلاگین KRAKATOA به ساخت مو با کیفیت بپردازید. در ابتدا نگاهی به اصول اولیه ساخت پوست و مو در 3Ds Max و همچنین Fur modifier خواهیم داشت، سپس وارد پلاگین KRAKATOA شده و کار را ادامه میدهیم.
مشاهده توضیحاتــ انگلیسی
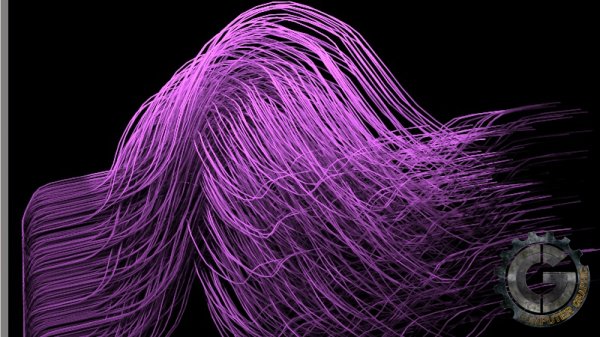
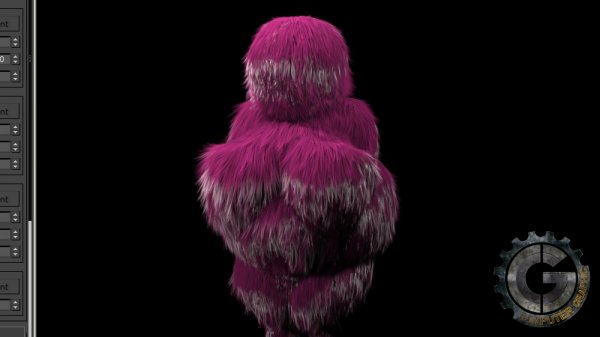
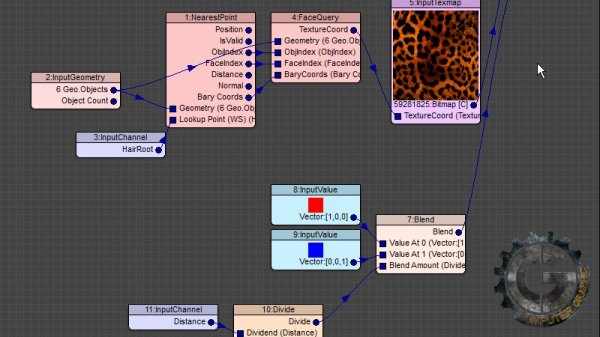
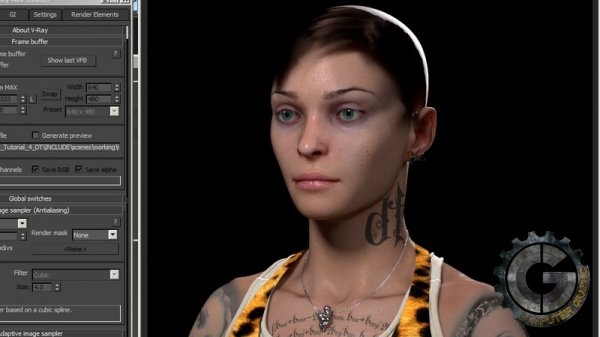
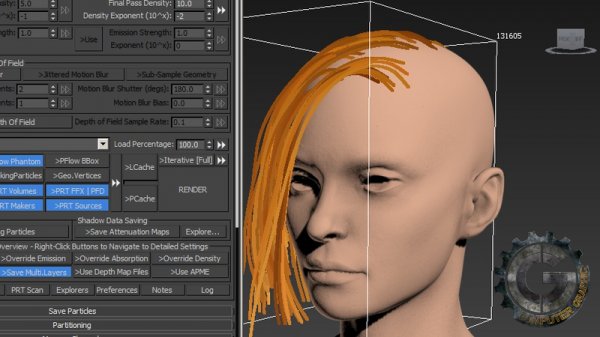
In this tutorial we'll learn how to use KRAKATOA to create production quality hair. We will begin by going over the basics of 3ds Max's Hair and Fur modifier, which will drive the particle hair created by KRAKATOA. We will then go over how to set up a PRT hair modifier to get the settings appropriate for natural looking fur. Then we'll explore in detail the Kajiya-Kay and Marschner Hair shaders that are available to us in KRAKATOA, as well as how to use the Per-Particle Channel function within the Marschner shader, and export Render Elements. Next we'll dive into the Magma Editor to create some useful hair-specific MagmaFlows, and follow this up by learning how to use Matte objects, set up State Sets in 3ds Max to organize our renders, and how to use the Shadow Generator. We will conclude by presenting a few ways to save on memory requirements and further optimize our scenes, and then export Render Elements and composite them in NUKE. By the end of the tutorial, you will have a thorough understanding of how to use the amazing quality and flexibility of KRAKATOA hair and be able to apply it to your own projects.


