![]()
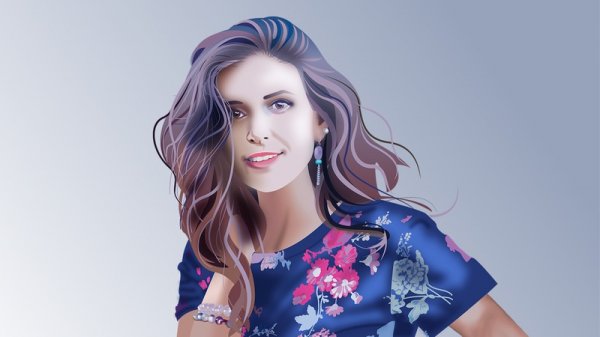
Digital Tutors - Methods for Creating a Low Poly Portrait in Illustrator
Time : 57m 17s | Size : 455 MB | Project Files: Included | Software used: Illustrator
با سلام
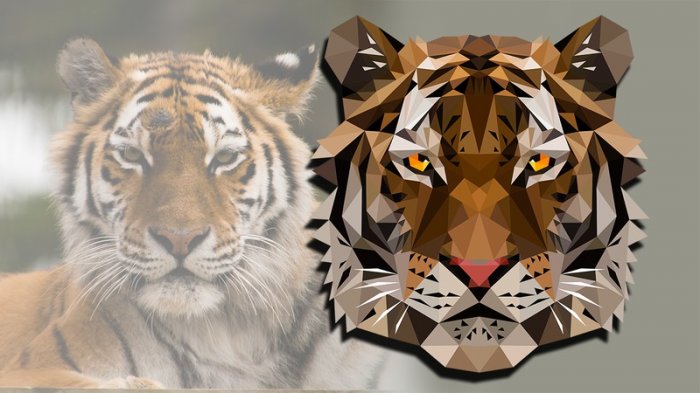
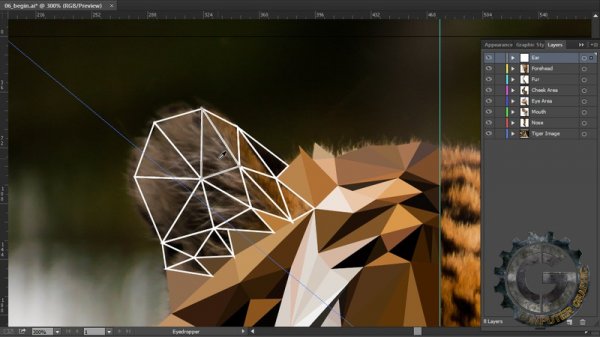
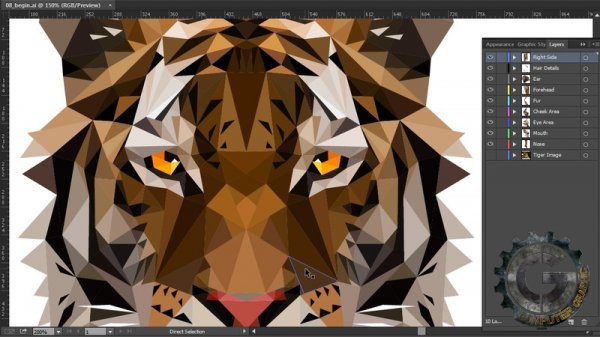
ایجاد پرتره به صورت Low Poly خود باعث بوجود آمودن طرح های هنری زیبا میشود. در این آموزش Kurt Jones به ایجاد یک پرتره Low Poly از پلنگ در نرم افزار Illustrator میپردازد.
مشاهده توضیحاتــ انگلیسی
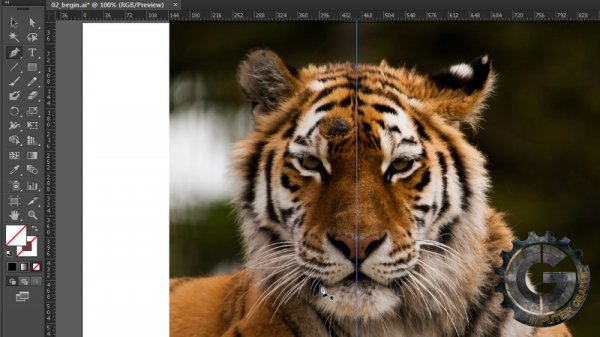
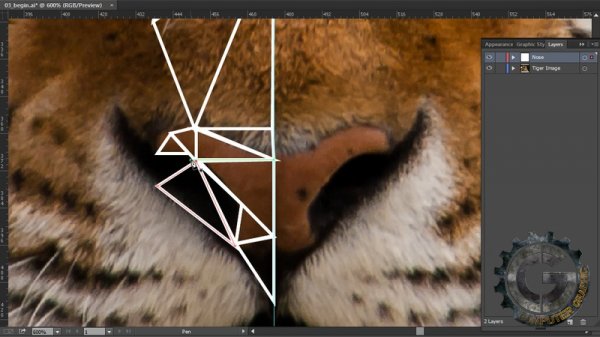
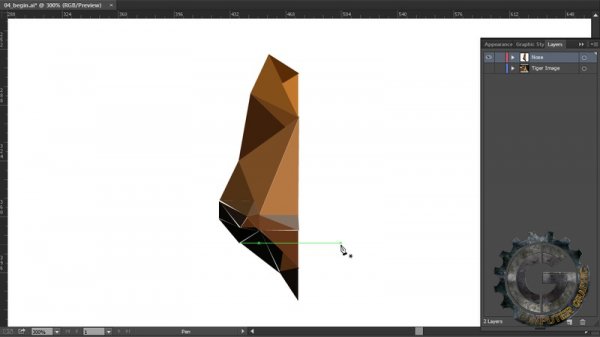
In these Illustrator tutorials we'll highlight some steps in a process that will teach you how to create a low poly portrait in Adobe Illustrator. Creating a low poly portrait in Illustrator provides you with a lot of freedom over how the vector artwork is created and edited. We'll begin by preparing for our project by bringing in a reference image, setting a guide, and mapping some keyboard shortcuts to some ExpressKeys on our tablet. From here we'll being to lay in a framework for the shapes that will comprise our low poly artwork. Following this we'll see how we can sample colors from the reference image to populate our shapes with. We'll also insure that there are no gaps in-between the shapes by learning how to average specific points. Along the way we'll talk about the size of our shapes, how we can decide where to place them and editing certain shape colors to make various sections pop. Finally we'll learn how to mirror the opposite side of our portrait and apply some final touches to clean it up. After watching this Illustrator training you'll have the knowledge you need to create your own low poly portrait in Illustrator.

