It's not always easy or convenient, but cmiVFX is dedicated to bringing you the very best in tutorial content quality, and this video is certainly worth its weight in gold. We've brought you one of our top-notch-expert Mentors, Mr. Chris Tedin, and he will be guiding you through the process using Arnold with Cinema 4D to achieve some excellent results in a variety of scenarios with this special video. We will start off by giving you a quick rundown of the basic integration of Arnold into Cinema 4D and then we'll cover a wide range of topics including standard materials, lights, the sky shader, HDRI lighting, subsurface scattering, volumetrics, the skin shader, displacement maps, and so much more. Use this video to enhance your knowledge and put yourself a step ahead of the competition.
Chapter Descriptions
Chapter 1 andacirc;andeuro;andldquo; Basic Integration of Arnold into Cinema 4D
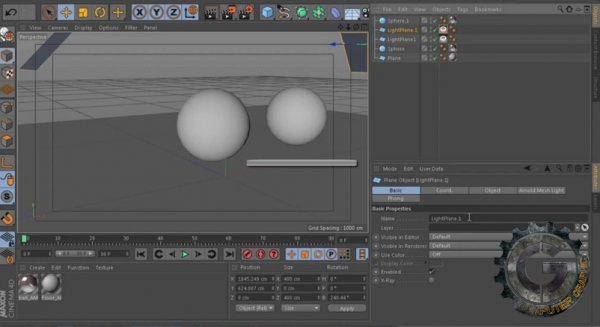
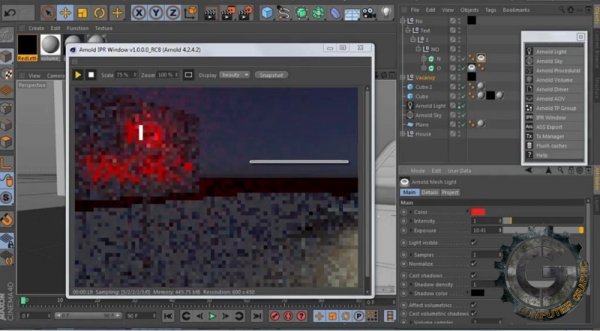
This chapter introduces Cinema 4D users to the basic functions of the Arnold render system, as well as the Arnold user to the specific integration of Arnold in Cinema 4D. The user will create basic objects, assign the Standard material to the objects, and create a mesh light using the mesh light tag.
Chapter 2 andacirc;andeuro;andldquo; Standard Materials and Lights
The user will learn the various settings of the Standard material, including the specular controls, which are tied to reflectivity. The highlights of the material can be adjusted using the glossy and anisotropic settings. A few of the Standard lights will be explored, including mesh area lights and photometric IES lights. The video will show how to find and load IES lights, and their effect on volumetrics will be demonstrated in later chapters. The concept of penumbra will be demonstrated, as well as techniques for controlling soft shadow quality and optimizing render time.
Chapter 3 andacirc;andeuro;andldquo; Physical Sky Shader
The latest technology in rendering realistic light transport through atmospheric effects is included in Arnold, and it is a very effective method for creating realistic or stylized environments. We will explore the settings, and show you how to achieve realistic and mood-filled scenes in a later chapter.
Chapter 4 andacirc;andeuro;andldquo; HDRI Lighting
If you want more specific, manually generated environments, this chapter will explore the highly optimized and mature HDRI lighting system available for professional integration of cg elements into filmed plates. Essential for VFX artists, this system allows you to use both latlong and mirror ball image sources with a high level of realism.
Chapter 5 andacirc;andeuro;andldquo; Subsurface Scatter and Volumetrics
In this section, we will cover the Subsurface Scatter Skin shader and we will go over shallow, mid, and deep light scattering. This powerful shader will help you create not only skin, but many translucent materials, including marble, milk, fruit and vegetables, as well as many other effects. Also, we will add atmospheric volume shaders to the scene, and help you with various mood enhancing effects.
Chapter 6 andacirc;andeuro;andldquo; Skin Shader and Displacement
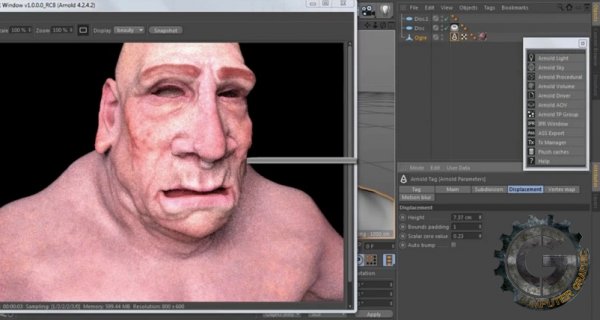
We will use the Subsurface Scatter material, along with displacement maps to add detail and life to a character in this chapter.
Chapter 7 - Lighting an Exterior Scene
Feeling tired? Pull over and learn how to add a spooky environment to this rest stop. Weandacirc;andeuro;andtrade;ll show you how to take a scene file thatandacirc;andeuro;andtrade;s provided for you in Cinema 4D, add volumetrics, a daylight system (to create a setting sun or moonlit scene), and some light-emitting geometry to create a neon effect.
Chapter 8 andacirc;andeuro;andldquo; Comparing Arnold to Cinema 4D
Here we will compare Cinema 4Dandacirc;andeuro;andtrade;s method of irradiance mapping to Arnoldandacirc;andeuro;andtrade;s approach.
Chapter 9 andacirc;andeuro;andldquo; Lighting an Interior
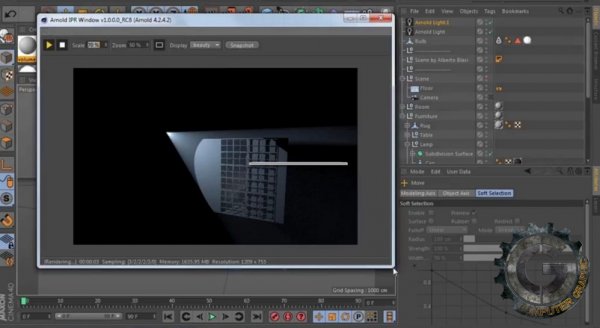
Trying to get that andacirc;andeuro;andoelig;Film Noirandacirc;andeuro; look? Well, thereandacirc;andeuro;andtrade;s nothing like Arnold to help you get the most drama out of your romantic/murder/thriller scene. Operate lights with gobos, and become a virtual director of photography. Now, just a little more fake bloodandacirc;andeuro;andbrvbar;
Chapter 10 andacirc;andeuro;andldquo; Rendering Glass
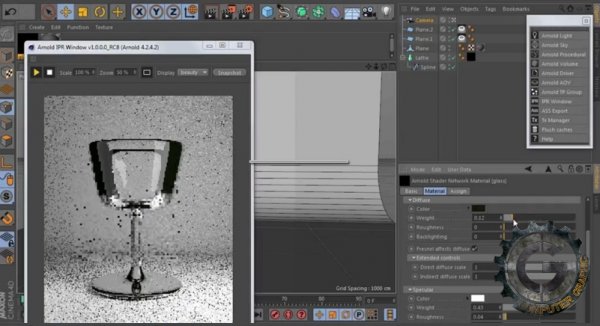
We will set up a nice studio scene and render a wine glass. Using the standard material, the Swiss Army Knife of materials, weandacirc;andeuro;andtrade;ll set the index of refraction, and several other tweaks to help make a nice realistic scene.
Chapter 11 andacirc;andeuro;andldquo; Arnold Procedural .ass Files
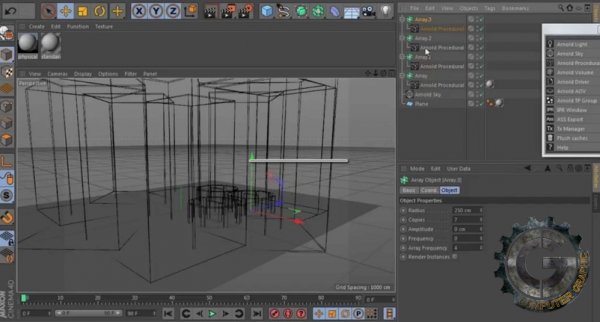
Using .ass procedural stand-in objects will change the way you work, guaranteed. If you want to render billions of polygons, without waiting for the geometry to load up, watching Arnold begin rendering instantly, you need this tool. Enough said. Watch it on action. Weandacirc;andeuro;andtrade;ve just scratched the surface.
Chapter 12 andacirc;andeuro;andldquo; Sampling and AOVs
Donandacirc;andeuro;andtrade;t know what an arbitrary output variable is? Well, let Arnold give you a master class in render passes with a few easy steps. Crank out .exr files or Photoshop layers for incredibly easy manipulation of stills in your favorite image manipulation program. Tired of the noise in your render? Weandacirc;andeuro;andtrade;ll show you the best techniques to reduce the sampling while managing the render times. All in all, Arnold makes a fantastic companion to the already terrific built-in irradiance and raytrace renderer thatandacirc;andeuro;andtrade;s built into Cinema 4D. We think that youandacirc;andeuro;andtrade;re going to find them a winning combination.

