این پست بنا به درخواست ثبت شده توسط 9300 در سایت قرار داده شده است.
![]()
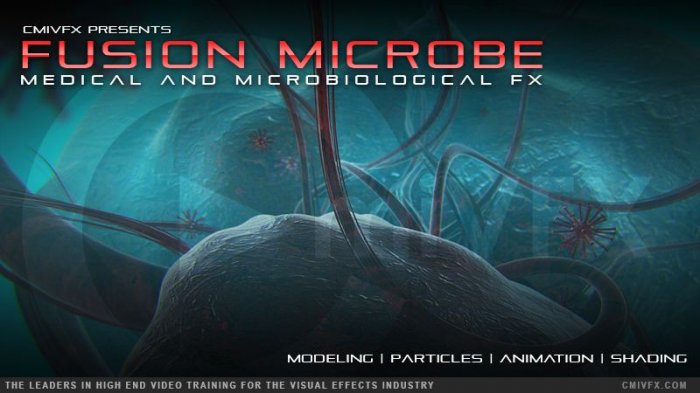
cmiVFX - Fusion Microbe
Time : 1h 55m | Size : 3.3 GB | Project Files : included | Software Used : Fusion
با سلام
در این آموزش Terry Riyasat نحوه ساخت یک شات میکروبی را در نرم افزار Fusion آموزش میدهد. او به شما می آموزد که چگونه از صفر تا صد وارد دنیای بیولوژی شوید و یک شات اینیمیشنی را خلق کنید.
مشاهده توضیحاتــ انگلیسی
cmiVFX proudly brings you a brand new video course that will take you on an exciting journey all the way through the process of creating a microbe-style shot in Fusionandrsquo;s 3D space. Together, we will explore Fusionandrsquo;s deformation tools, shaders, particle effects, and more. We will create custom sprites and learn how to use color grading in our shots to convey different looks and feelings through various styles and techniques.
Chapter Descriptions
Chapter 01: Creating Assets for Shot 1
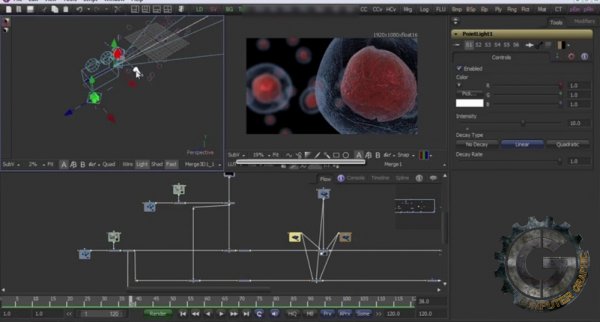
We will begin by creating assets for our first shot. We will use the 3D space to create our shot, and we are going to work on shading, texturing, and lighting until we find a composition for our asset that is pleasing to the eye.
Chapter 02: Creating Particles for shot 1
Next we will set up a few particle chains and we will look at creating custom sprites for our particles. We will be using different attributes and various particle nodes to help us achieve our desired end result.
Chapter 03: Finishing and Grading for Shot 1
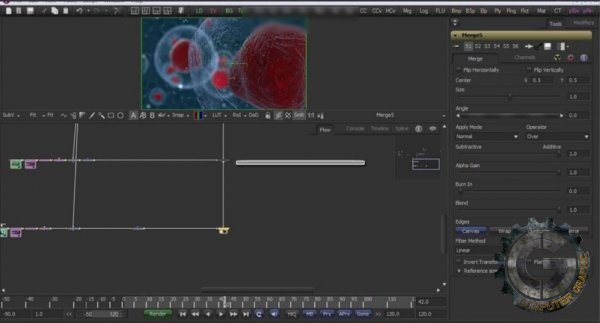
In this chapter we get to have a look at creating the background and many additional elements that will help us complete our shot. We will also grade our image and decide on a look that can be passed through to the other shots.
Chapter 04: Creating Assets for Shot 2
As we move on, we will bring in another hero element and apply shading and texturing to the object. We will discuss animation and begin to add lens effects to the shot.
Chapter 05: Finishing Shot 2
Here we will explore the complete comp and discuss key points that are relevant. We will have an extensive look at the depth of field and we will trouble shoot issues that arise when using Zdepth versus in-camera depth of field. We will also talk about all the additional elements needed to create the shot as well as color grading.
Chapter 06: Creating the Assets for Shot 3
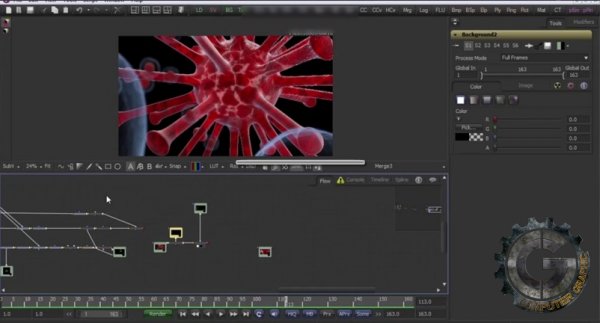
In this chapter we are going to create the hero assets needed for shot 3. We will be using the geometry in Fusion to create our hero asset and we will dig deep into the 3D space which will give us an excellent result, and it can all be achieved within Fusion. We will be using deformation nodes to create amazing results and maximize the 3D space by using various 3D tool nodes.
Chapter 07: Finishing Shot 3
To conclude this video, we will finish off shot 3. We will explore the built-up composite and see how we can enhance our textures. We will explore a completed scene and add atmospheric effects. We will also work on the color grading and come up with a different look and feel to this shot that will help us achieve a nice and murky feeling.

