![]()
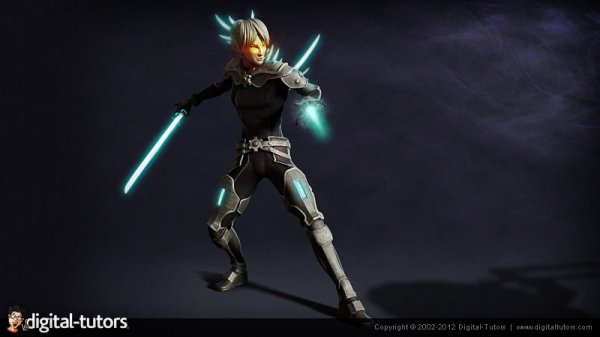
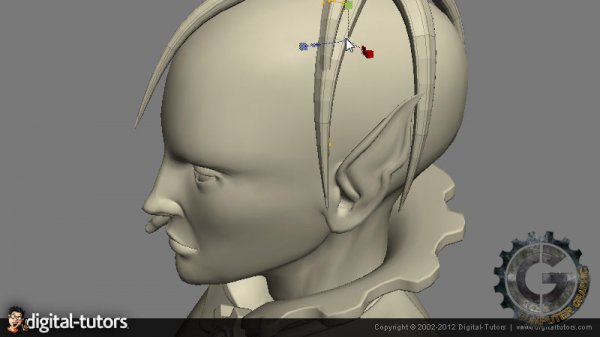
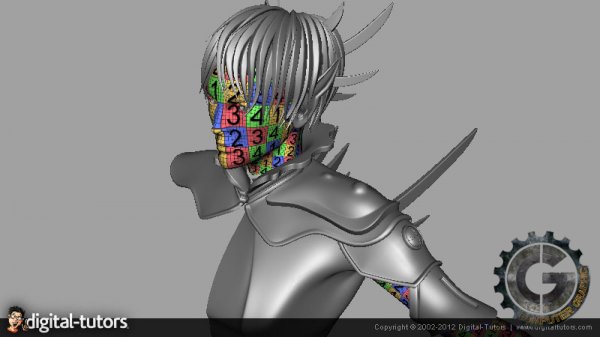
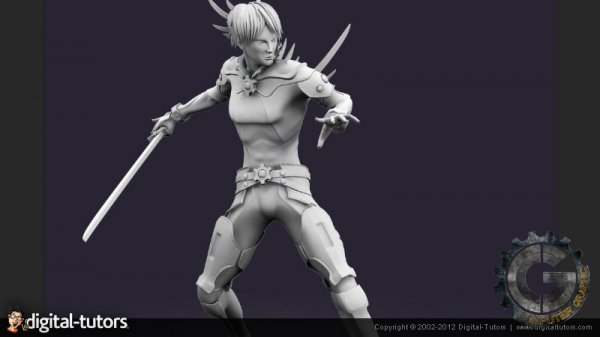
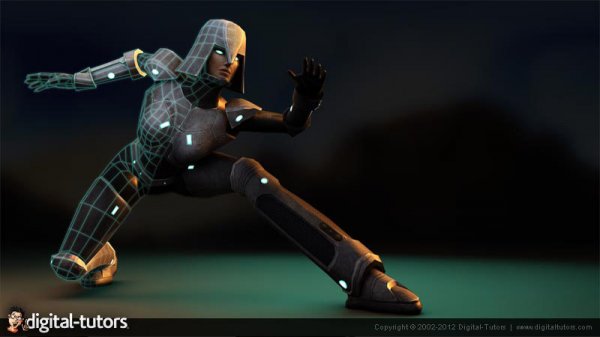
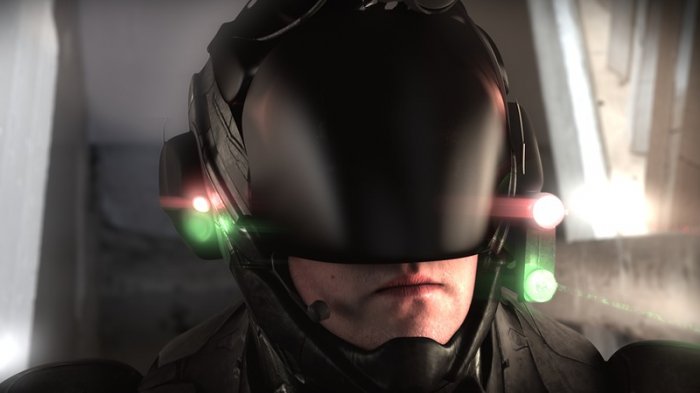
در این آموزش یاد خواهید گرفت تا چگونه یک قهرمان را ابتدا بسازید سپس UV نمایید، Texture دهید، Pose کنید، نور دهید و در اخر آن را رندر نمایید. به جای تمرکز بروی چند کلید ساده، ما دنبال میکنیم جزئیات کار را از جنبه های مختلف و کار را از اولین polygon تا پیکسل نهایی دنبال خواهیم نمود. ابتدا با استفاده از شکلهای هندسی اولیه پایه های اصلی یک کاراکتر را میسازیم و سپس کار را با ساخت دیگر بخش ها مانند زره و دیگر وسایل دنبال خواهیم نمود.
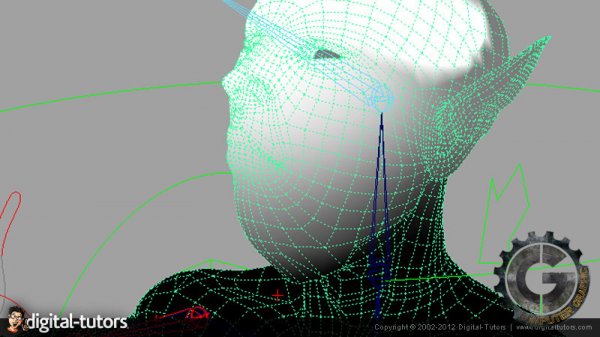
از مدل های آماده UV شده استفاده خواهیم نمود و سپس به اضافه کردن بافت میپردازیم. در ادامه ریگ را به کاراکتر اضافه خواهیم نمود و شکل کلی و شخصیت آن را آماده خواهیم نمود و بعد از آن نور و سایه را به کار خود اضافه میکنیم و با ایجاد تنظیمات نهایی کاراکتر را به مرحله رندر میبریم.
در نهایت کار را در فوتوشاپ ادامه میدهیم و همه چیز را با هم ترکیب میکنیم و با استفاده از افکت های جادویی کار را به سمت رندر نهایی میبریم.
مشاهده توضیحاتــ انگلیسی
Throughout this tutorial we will see how to build, UV, texture, pose, light, and render the Sci-Fi Hero. We are going to cover all bases as we create this Sci-Fi Hero character. Rather than focusing on a few key areas we will be looking in detail at each aspect of his construction, going right from the first polygon to the final pixel. We will begin with primitives which will form the foundations of the character before we use subdivision surfaces to flesh out the rest of his body and armor. With the model ready we will then apply a full set of UVs as well as look into adding detailed textures. On top of this we will also briefly explore adding a rig to the character so we can pose him before we then light the scene, setup our shaders, make our final adjustments and output our render passes. Finally we will mix everything together in Photoshop and add a bit of magic to give us our final render.

