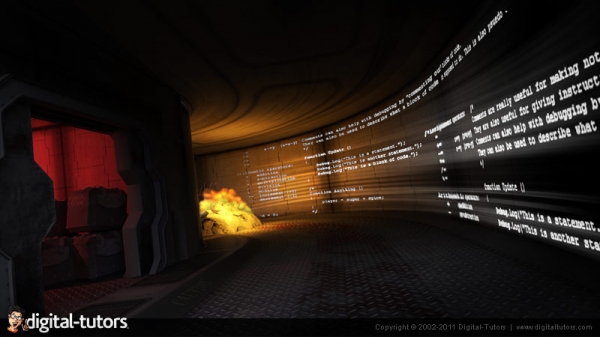
Solid Angleandrsquo;s Arnold is one of the visual effects industryandrsquo;s top render engines. Since itandrsquo;s initial release in 1999 Arnold has been used on countless commercials, feature animations and movies, including being used on 7 of the 10 films including being used on 7 of the 10 films currently on the short list for the Visual Effects Oscar andldquo;bake offandrdquo;. It was the sole renderer used on Gravity, and primary renderer on Pacific Rim, Star Trek into Darkness and The Lone Ranger, as well as being used for large sections of Elysium, Iron Man 3, and Thor: The Dark World.Arnold is a full Ray Traced / Global Illumination solution, Physically-Based and utilizes Monte Carlo Path Tracing technique. This brute force approach enables Arnold to handle very large geometry sets quickly and efficiently, unlike other renderers which need to cache out Photon Maps or Point Clouds before the render can even begin. For example Arnold rendered upwards of 1 million lights (for the TV show 'Skins', VFX by The Mill) and a staggering 5 trillion polygons for the space station in Elysium (VFX by Whiskey Tree). For any Lighter, Look Dev Artist, CG Supervisor or Generalist, Arnold is now an important tool to learn and master. During this course we will be covering all the main areas of the software including Lighting, Shaders, Cameras, Particles and Volumetrics, Hair and Fur, and of course render settings, AOVandrsquo;s and a number of technical areas such as the use of .log, .ass and .tx files. By the end of the course youandrsquo;ll have a firm understanding of Arnold and how to produce beautiful renders quickly and efficiently.The course is taught by Matt Leonard who has been in the 3D and visual effects industry for over 20 years. He has spoken on behalf of Solid Angle both in the UK and abroad, and has now been using Arnold for over 3 years. He is a member of the Visual Effects Society and has worked as a beta tester for Maya, Katana, RenderMan, Mari, Nuke, and of course Arnold. He currently runs his own on-site training company in the UK and is also the primary lecturer on the VFX Masters degree course for the University of South Wales.
course syllabus
Class 1: The World of Arnold. In our first class we briefly cover the history of Arnold, its implementation of Physically Plausible Rendering and how it handles a Linear Colour Workflow. From there we move into lighting, shading and rendering a basic scene enabling everyone to gain a basic understanding of the Arnold workflow and setup.
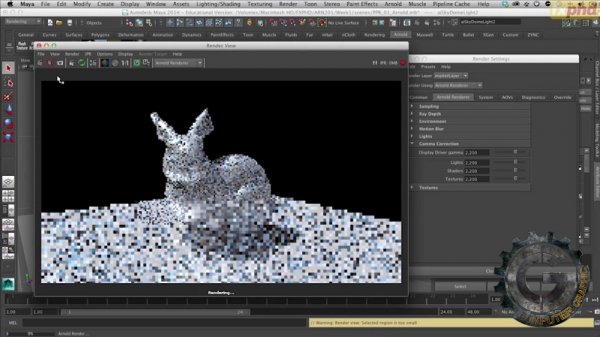
Class 2: Render Settings. From here we use some predesigned scenes to learn about Arnoldandrsquo;s render settings and how they can be optimized to produce the most realistic results fast and efficiently. We look at Samples, Ray Depth, Motion Blur, System Settings, and Overrides. This will form the basis for all our future classes and lay the groundwork for producing realistic renders in Arnold.
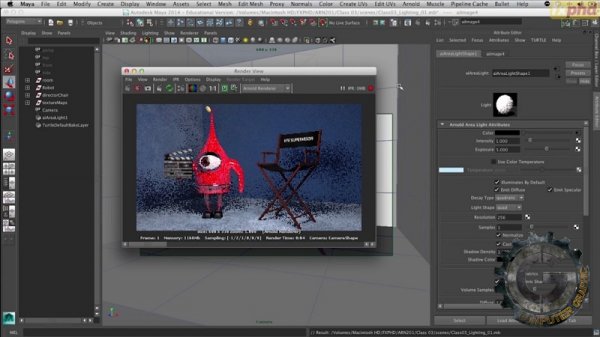
Class 3: Lighting. In our third class we move our attention to lighting. We look first at the extra photographic attributes Arnold brings to pre-existing Maya lights including Degrees Kelvin and Exposure. From there we turn our attention to the extra lights which ship with Arnold, these include Area, Mesh, and IBL (Image Based Lighting). Finally we look at various filters such as Blockers, Gobos and Barndoors.
Class 4: Camera and Per-Object Settings. In our fourth class we start by looking at cameras and the Arnold settings associated with them such as Type, Exposure, Rolling Shutter and Depth of Field. We then transition to looking at Per-Object Settings which enable us to do things such as adjust Shadows, Visibility and Subdivision Settings, and render Curves.
Class 5: Shaders (Part 1). In our fifth class we start a two class study of Arnold shaders. We start with the most common shader, the Standard Shader. From there we look at the Sub-Surface Scatter and Shadow Catcher shaders.
Class 6: Shaders (Part 2) and Textures. In class six, our second lesson on shaders, we examine some of the more utilitarian options including Matte, Motion Vector, Ray Switch, Wireframe, and Utility. From there we look at the various Arnold Textures, Bump and Displacement settings, UserData attributes and the use of MipMaps.
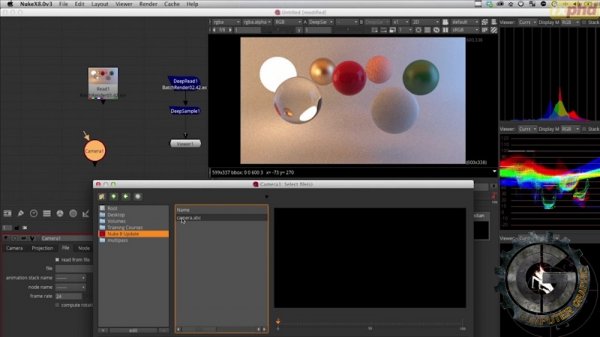
Class 7: AOVs (Arbitrary Output Variables). In our seventh class we take our existing projects and render them out using Arnold's AOVs. These include various Shader passes: Diffuse (direct/indirect), Specular (direct/indirect), Reflection, Refraction, Emission and various Subsurface Scatter passes. We also look at some of the utility passes including: Normal, Point, Z Depth, Motion Vector, Deep and ID. From there we look at how to create custom passes before moving into Nuke 8 to accurately recombine our renders back into the original Beauty. Finally we use a number of the utility passes to add realism to our composite.
Class 8: Particles and Volumetric Fluids. In our eighth class we look at how Arnold works with Particles and Volumetric Fluids. We start by examining the limitations of rendering Particles in Arnold, then move on to looking at Particle Sub-Surface Scattering, Sampler Info, Caching, Motion Blur and finally Instancing. In the second half of the class we turn our attention to Fluids and look at various Sampling techniques, Step Size, and Filter Types.
Class 9: Hair and Fur. In our ninth class we move into looking at Hair and Fur, and more importantly how Arnold Renders them. We cover a host of areas including Modes, MPW (Min Pixel Width), Transparency Depth, and general Optimization and Caching techniques.
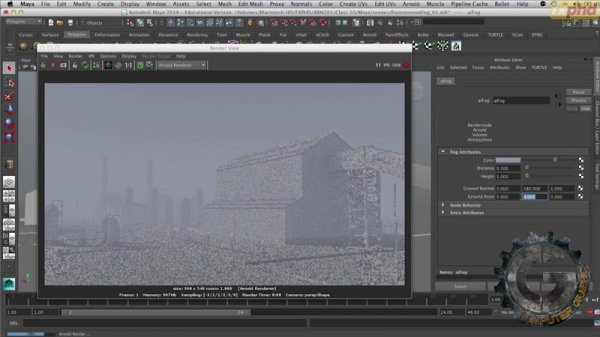
Class 10: Miscellaneous Topics. In our final class we look at a mishmash of topics which are important but did not fit in earlier. We look at Stand-ins, Environmental Fog, Atmospheric Volume Scattering, Make .tx, Batch Rendering, .ass files, kick, and the importance of .log files.

