![]()
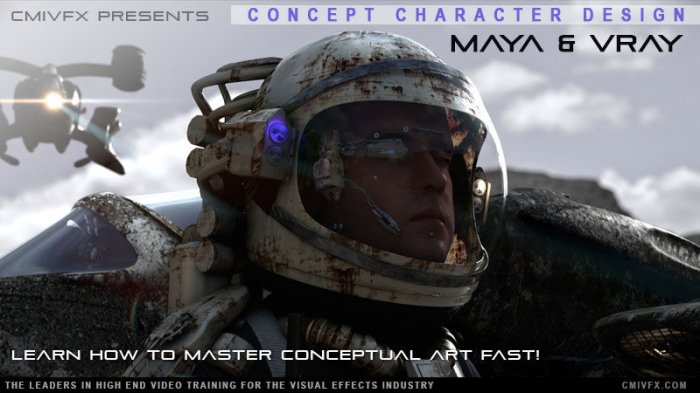
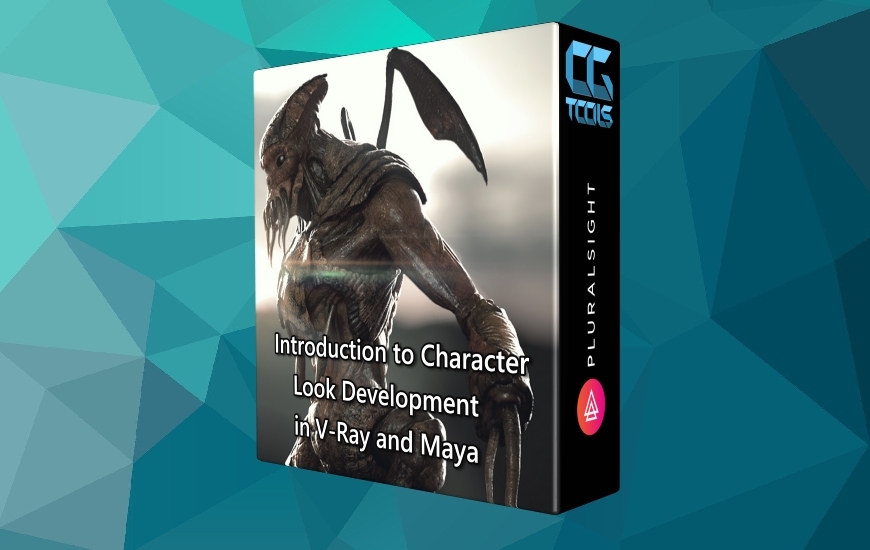
CmiVFX - Concept Character Design Maya and Vray
Time : 2h 41m | Size : 565 MB | Project Files: Included | Software Used : Maya,V-Ray
با سلام
در این آموزش Clifford Green اصول طراحی کاراکترهای سه بعدی را با استفاده از نرم افزارهای Maya و V-Ray آموزش میدهد. او به شما مفاهیم پیچیده را مانند نورپردازی، استفاده از متریال ها، رندر و ... را آموزش میدهد.
مشاهده توضیحاتــ انگلیسی
In our latest cmiVFX video guide, we've joined up with instructor Clifford Green, Senior Lighting/Look Development TD from Zoic Studios. Zoic has created visual effects for vast amount of popular movies and TV Shows such as Breaking Bad, Firefly, Battlestar Galactica, Spider-Man 2, and much more. In this guide to 3D concept creation in Vray and Maya, Clifford will lead you through the world of 3D concepts and he'll explore the challenges within the constraints and the limitations of 3D concept creation. We'll work with a high-end metal shader creation using advanced Fresnel Curve functions that are missing in today's 3D software packages and we'll see how to apply this to our concept. We'll explore subsurface scattering and the creation of a photo-realistic skin, and finally, we'll cover the lighting and and we'll learn how to integrate our concept into a full photographic finish. By the end of this video, you'll have a clear understanding of 3D concept creation and you'll be able to create complex concepts within Maya and Vray. So lets jump in!
Chapter Descriptions
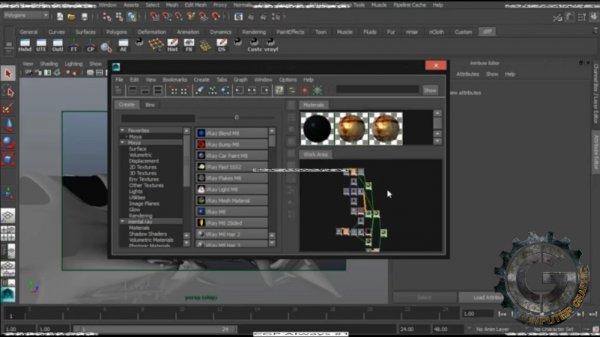
Metal Shader
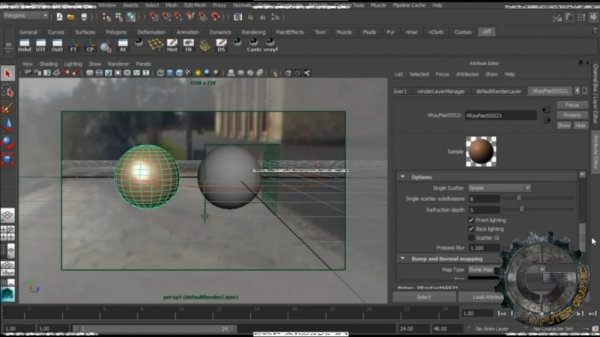
Here you'll get to experience the intricacy of creating a realistic metal shader by using advanced Fresnel Reflection Curve techniques that have never been seen before in the in the Vray shader setup methodology. We'll explore the different reflective curves using scientific data from online sources, and then we'll apply our setup to our concept character.
Skin and Glass Shader
Continuing on from the previous chapter, we're going use the same Fresnel technique and apply it to our glass visor material and our skin shader. In addition to this we are going to briefly explore VRayFastSSS2 in relation photorealistic human skin.
Character Setup
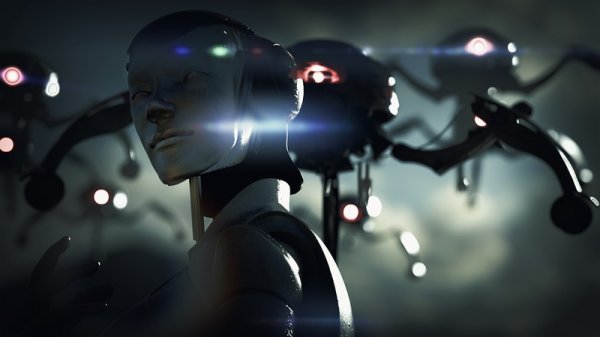
This chapter shows you how to setup your Sci-Fi character concept. We'll navigate the difficulties of shading, modeling, and composition.
Spaceship Setup
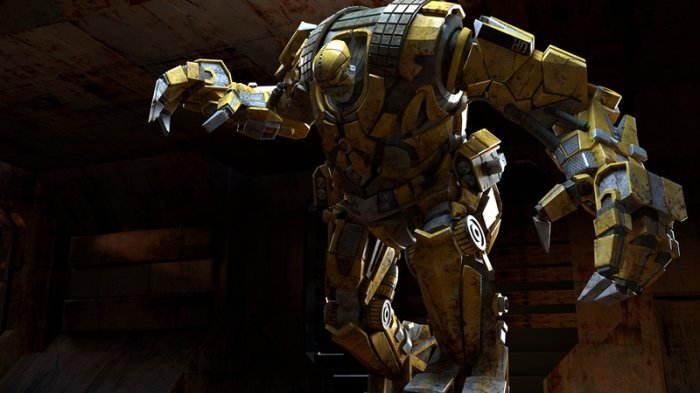
Now let's setup our Sci-Fi ship concept with more emphasis on shader creation based on the techniques we explored in chapter one.
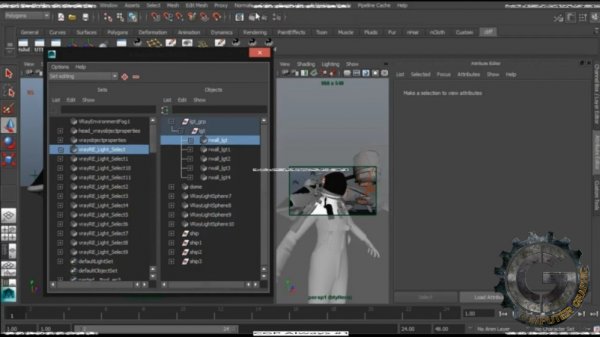
Lighting Setup
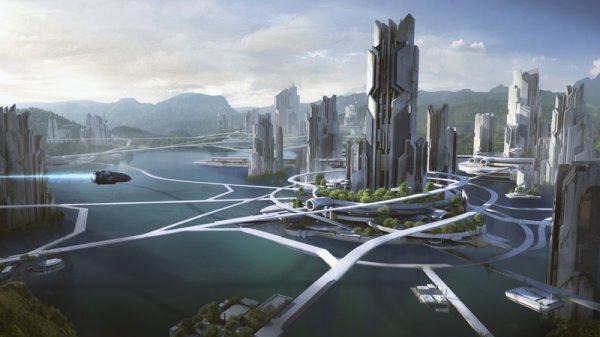
This is the most important aspect of the tutorial. We are now going to explore lighting setup in Vray. We'll learn how to accomplish the challenging task of blending three different assets together with lighting. We are going to be exploring HDR image-based lighting, three-point light setup, and global illumination within the context of a complicated scene.
Final Scene Setup
This chapter addresses scene optimization, final asset preparation, and character concept finalization. We are going to put the finishing touches on our character, address any modeling, shading, or lighting issues, and in addition, we'll add extra render layers. This will be a step-by-step approach that will show you how to overcome the challenges associated with scene optimization.
Finalizing Our Concept
So we've created our 3D concept and rendered it. What's next? In this chapter, we'll integrate our background, mid-ground, and foreground elements together to create one photographic finish. We are also going to explore the addition of lens flares and volume rays to help sell the integration of our assets.

