![]()
کلاس 1: معرفی و مرور دوره. ما به دینامیک ذرات مایا، دینامیک مایعات مایا و مایعات ذرات مایعات مایعات در مایکروسافت نگاه می کنیم.
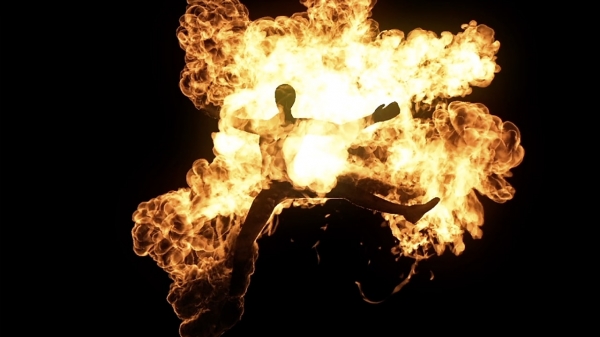
کلاس 2: در این کلاس، درباره تراکم سیالات / ذرات و سرعت انتشار بحث می کنیم. ما مایعات را درک می کنیم: voxels، density، speed، temperature، fuel. سپس ما ذرات را بررسی می کنیم: در هر جسم در مقابل ذره و سرعت ذرات، در ذره. ما ویژگی های ذاتی برای ذرات را برای رانندگی دینامیک سیال تنظیم می کنیم. کار با عبارات متعلق به ذرات متعادل و اصطلاحات مرجع پارامتر برای عبارات ذرات. سپس ذرات را به صورت چگالی مایع و اهرمهای سرعت تنظیم می کنیم و یک شبیه سازی مایع با ذرات را کنترل می کنیم.
کلاس 3: در کلاس 3 ما دینامیک سیالات ما را تنظیم می کنیم. ما در مورد زمینه های خارجی صحبت می کنیم و میدان های پویا و تفاوت های آنها را با استفاده از Fluid ها درک می کنیم. ما از فیلدهای برای کنترل شبیه سازی سیال استفاده می کنیم. ما به ذخیره ذرات و مایعات نگاه می کنیم و با استفاده از retiming حافظه پنهان کار می کنیم. در نهایت، ما مایعات را به خوبی می سازیم.
کلاس 4: در این کلاس، پروژه مایع ما را از کلاس 3 به پایان می رسانیم.
کلاس 5: نوشتن پایتون در مایا. ما با Mel و / یا Python کار می کنیم و مفاهیم برنامه نویسی اساسی را معرفی می کنیم. ما به نوشتن کد عملی نگاه می کنیم.
کلاس 6: اجرای عملی برنامه نویسی پایتون در تولید. در مورد نوشتن ابزارهای سفارشی با Python و PyQt بحث می کنیم.
کلاس 7: ادامه تمرین نوشتن ابزارهای سفارشی، نوشتن یک GUI برای ابزار مورد استفاده در مایا.
کلاس 8: شبیه سازی با عمق با وضوح بالا با مایعات و ذرات. ما صحنه را راه اندازی کردیم و شبیه سازی ذرات را ساختیم. ما درباره ادغام ذرات مایع، ذخیره سازی، رندرینگ و کامپوزیت بحث می کنیم.
کلاس 9: شبیه سازی با رزولوشن بالا با مایعات و ذرات پایان دهید.
کلاس 10: ما مایعات / ذرات تلطیف شده ایجاد می کنیم و رویکرد عملی و پیاده سازی گام به گام را نشان می دهیم.
مشاهده توضیحاتــ انگلیسی
Class 1: Introduction and course overview. We look at Maya Particle Dynamics, Maya Fluids Dynamics and Maya Particle-Fluids IntegrationClass 2: In this class, we discuss Fluid/Particle Density and Velocity emission. We understand fluids: voxels, density, velocity, temperature, fuel. Then we explore particles: per-object vs per-particle and particle-velocity, per-particle. We set custom per-particle attributes to drive fluid dynamics. Work with conditional Per-Particle Expressions and Parameter Reference Per-Particle Expressions. Then we set the particles as fluid density and velocity emitters and control a fluid simulation driven with particlesClass 3: In class 3 we fine tune our Fluid dynamics. We discuss external fields and understand the dynamic fields and their differences when used with Fluids. We use fields to control a fluid simulation. We look at caching particles and fluids and work with retiming the cache. Finally, we well render the fluids.Class 4: In this class we finish up our fluid project from class 3Class 5: Python Writing in Maya. We work with Mel and/or Python and introduce the basic programming concepts. We look at practical code writingClass 6: Practical implementation of Python programming in production. We discuss custom tool writing with Python and PyQtClass 7: Continuing the exercise of custom tool writing, writing up a GUI for the tool to be used within MayaClass 8: Practical high resolution simulation with fluids and particles. We set up the scene and build particles simulations. We discuss fluid particle integration, caching, rendering and compositing.Class 9: Finish practical high resolution simulation with fluids and particlesClass 10: We build stylized fluids/particles and show step by step practical approach and implementation

