![]()
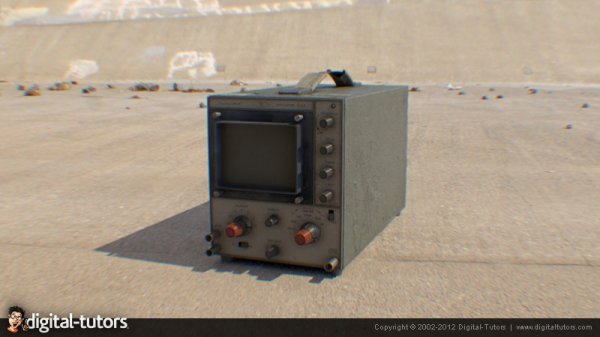
Digital Tutors - Introduction to UVLayout
Beginner | 2h 59m | 844.6 MB | Project Files: Included | Software used: UVLayout v2.08.01 Professional
با سلام
UV یک فرایند پر زحمت است که بسیاری از هنرمندان آن را عملی وحشتناک و وقتگیر میدانند. با استفاده از Headus UVLayout علاوه بر آسانتر شدن ایجاد UVs ،آن را نیز برای هنرمندان سرگرم کننده کرده است. در ابتدای آموزش خواهید آموخت که چگونه هندسه های خود را برای UV آماده نماییم. در این راه مشکلاتی احتمالی را حل خواهیم نمود و سرعت شما را در انجام UV افزایش خواهیم داد.
مشاهده توضیحاتــ انگلیسی
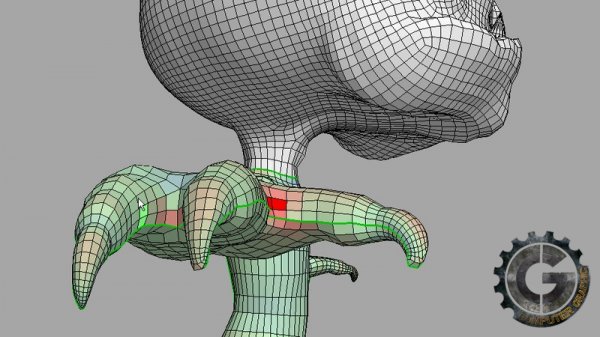
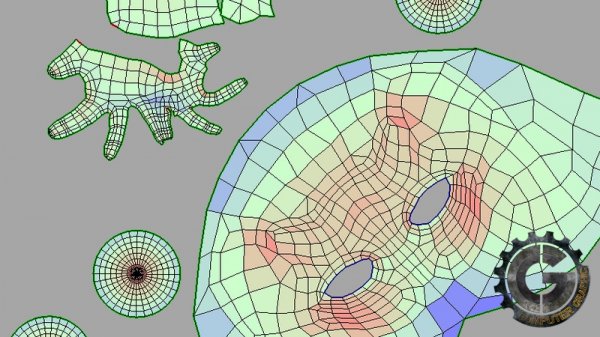
Laying out UVs is often times a painstaking process that many artists dread. Well those days are over because using Headus UVLayout to create your UVs is not only quick and easy but itandrsquo;s also fun. To get things started weandrsquo;ll first learn how to bring in our geometry, navigate around it and customize the display of UVLayout to our liking. From here we will dive right in and learn how to cut our geometry apart, drop it into the UV view and begin flattening it out and optimizing it. After we've learned to cut things up, itandrsquo;s only logical that we learn how to weld things back together which by the way is just as easy as cutting it apart. Next we will learn how to resolve potential problems that may arise in the flattening process by manipulating individual points in our mesh. Several other topics you will learn about in this course include symmetry, snapping and stacking of UVs, packing UVs together and copying UVs from one piece of geometry to another. To wrap this course up, weandrsquo;ll even learn about some tools included in UVLayout that will help us quickly create a UV map for our hard surface models. After completing this course, you should be ready to dive into Headus UVLayout and quickly create UVs for your own models.


