![]()
Digital Tutors - Creating an Illustrated Title Sequence in Photoshop and After Effects
1h 25m | 1.43 GB | Project Files: Included | Software used: Photoshop CC, After Effects CC.
با سلام
در این سری از آموزشهای After Effect و Photoshop، مدرس Alex Hernandez به تصویر سازی یک توالی(Sequence) میپردازد. او در ابتدا کار طراحی را با استفاده از ابزار های مختلفی همچون مداد، براش ها و ... در Photoshop آغاز نموده و در ادامه از نرم افزار After Effect جهت کامپوز و انیمیت دادن به لایه ها کمک میگیرد.
مشاهده توضیحاتــ انگلیسی
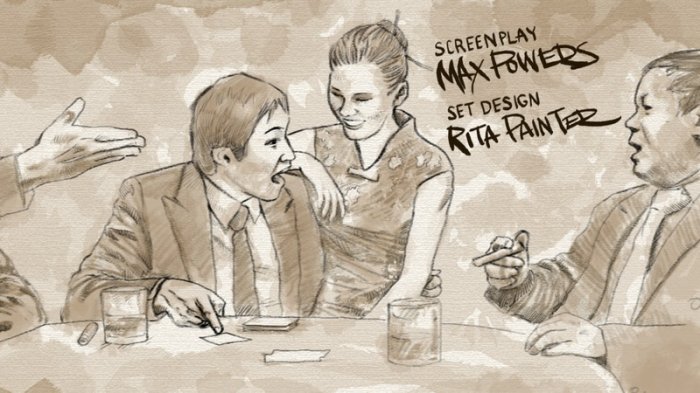
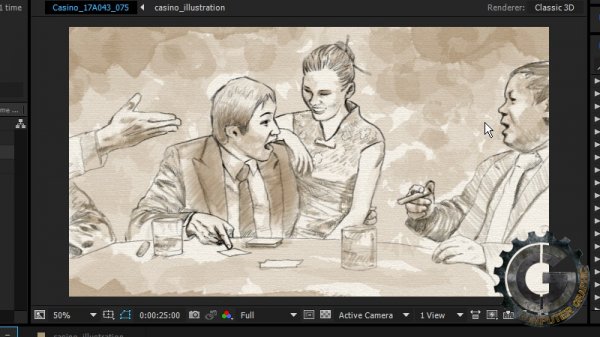
In this series of Photoshop and After Effects tutorial, weandrsquo;ll be creating an illustrated title sequence in Photoshop and After Effects. Weandrsquo;ll start in Photoshop by pulling in our clip and deciding which frame will work best to begin our illustration process.
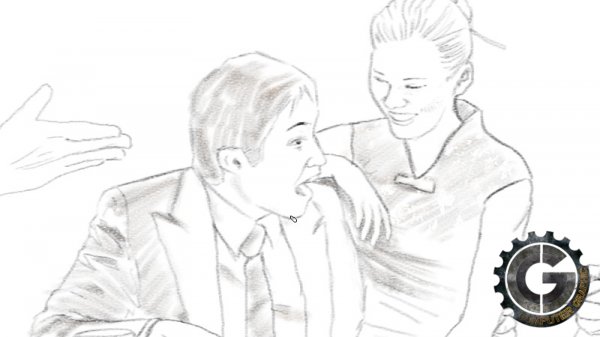
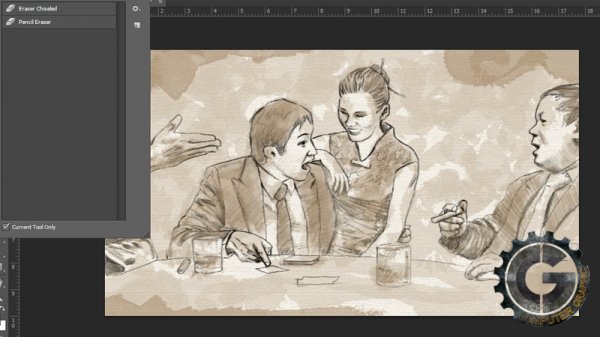
Once weandrsquo;ve picked a dynamic frame, weandrsquo;ll begin drawing pencil outlines of the actors in the clip. Weandrsquo;ll take advantage of the great brush tools in Photoshop to create a hand-illustrated look for our frame and add background shading and a simulated paper texture. Weandrsquo;ll also go through the process of creating hand-drawn titles for our footage.
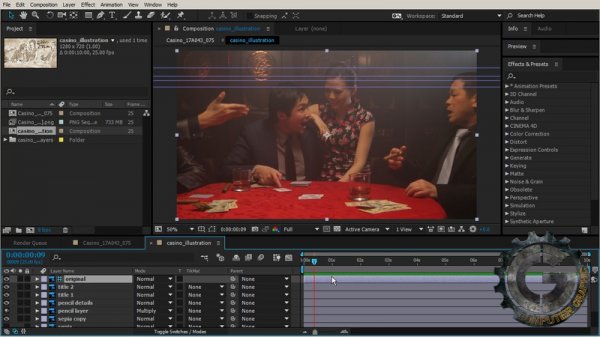
Next, weandrsquo;ll bring our document into After Effects as a composition and animate the revealing of each layer to add variety and movement. By the end of this Photoshop and After Effects training youandrsquo;ll be familiar with adjusting brush settings in Photoshop, creating a custom brush, working with layer masks and animating masks and 3D cameras in After Effects.

