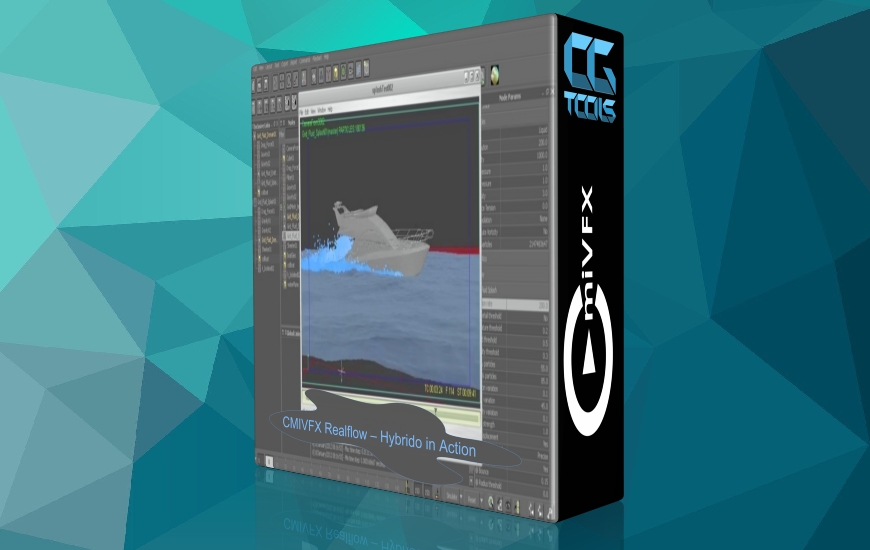
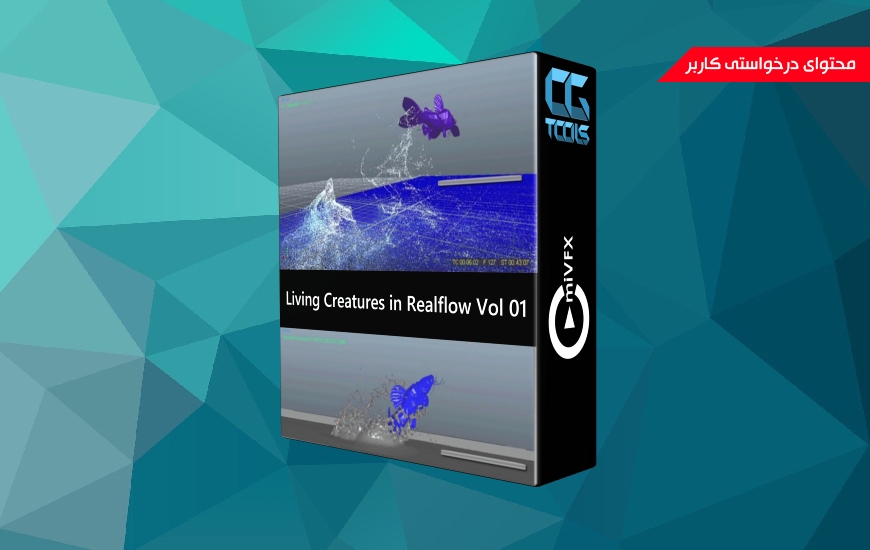
![آموزش هیبریدو در ریل فالو]()
فصل 1: شروع به کار فصل مقدمه شما را با تمام پیش زمینه های مورد نیاز برای شروع به کار در RealFlow آشنا می کند. لینک های مفید و برخی پس زمینه نرم افزار. افزونههای مایا برای صادرات هندسه برای شبیهسازی استفاده میشوند، اما میتوانید در برنامه 3 بعدی دلخواه خود را دنبال کنید. تئوری آماده سازی geo و انیمیشن شما برای محیط پویا RealFlow در کل یکسان خواهد بود. این یک دوره مبتدی نیست، بنابراین پس از نگاهی به اولویتهای پروژه خود، ما مستقیم به درون چیزها بپرید
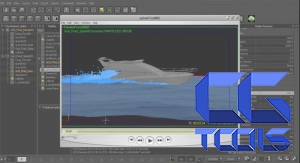
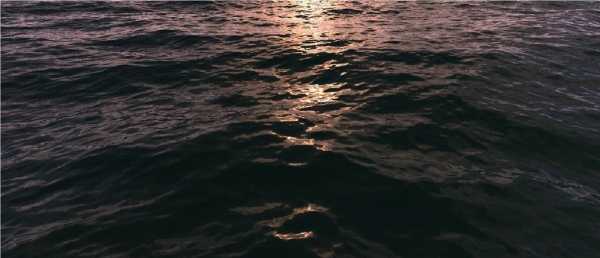
فصل 2: تکنیک های شبیه سازی آب مبتنی بر هیبریدو Hybrido یک پارادایم کاملاً جدید در دینامیک سیالات معرفی می کند. در این فصل ما یاد خواهیم گرفت که چگونه یک سیم کارت آب پایه قابل استفاده و بهینه سازی شده ایجاد کنیم تا در بقیه دوره از آن استفاده کنیم. ابزارها و مفاهیم جدید را در یک پروژه از نوع تولیدی یاد خواهیم گرفت. تنظیم یک عکس برش سریع از مسابقه قایق با دوربین. تمام پارامترهای اصلی همراه با چند ترفند برای ایجاد و بهینهسازی ایجاد جابجایی و مجموعه دادههای اضافی برای شبیهسازیهای وابسته مانند پاشش و فوم بررسی میشوند. ما از تکنیک هایی مانند شبیه سازی خط cmd اسکریپت شده برای سرعت بخشیدن به گردش کار خود استفاده خواهیم کرد.
فصل 3: جابجایی هیبریدو و مش بندی در این فصل نحوه ایجاد یک مش پایه خوب که با استفاده از نقشه جابجایی رویه ای، کاشی کاری، جابجا می شود را بررسی خواهیم کرد. میانبرهایی برای ایجاد و تغییر مکان ما و همچنین تجسم جابجایی در ویوپورت.
فصل 4: چلپ چلوپ، پاشیده شدن، و بیشتر! اکنون که یک مش پایه، بافت جابهجایی و همه مجموعههای داده اضافی داریم، آماده هستیم تا به ایجاد splash برویم. در این فصل ما یاد خواهیم گرفت که چگونه اولین شبیه سازی وابسته خود را راه اندازی و بهینه سازی کنیم. با استفاده از سیال پایه ذخیره شده، پاشش های ما به سرعت شبیه سازی می شوند و با شبکه موج پایه جابجا شده برخورد می کنند. ما به پارامترهای اصلی و برخی از ترفندها برای ایجاد، کنترل و بهینه سازی شبیه سازی های اسپلش خود نگاه خواهیم کرد. ما همچنین به ایجاد چندین شبیه سازی اسپلش برای یک سیال دامنه خواهیم پرداخت.
فصل 5: اضافه کردن فوم / خط آب ایجاد کف از ذرات پاشش ما در هنگام برخورد با سطح، کار سختی بود که شامل راه حل های اسکریپت شده بود. اکنون استفاده از سیستم هیبریدو بسیار راحت است. ما یاد خواهیم گرفت که چگونه از پاشش های ذخیره شده خود برای ایجاد فوم و شبیه سازی خط آب استفاده کنیم که با سیال پایه ذخیره شده و جابجا شده ما تعامل داشته و روی آن قرار می گیرد. تمام پارامترهای اصلی بررسی خواهند شد و چند تکنیک جالب برای سرعت بخشیدن به ایجاد فوم معرفی خواهند شد.
فصل 6: ادامه آن اگر تا این مرحله دنبال کرده باشید، درک قوی از سیستم Hybrido، هم ایجاد سیال پایه آن و هم اجرای سیالات فاصله برای ایجاد پاس های ثانویه که به طور یکپارچه با سیستم کش کار می کنند، خواهید داشت. در این فصل ما بقیه عناصر ثانویه را که میتوان ایجاد کرد و راههایی برای جلوه دادن بیشتر این اثر و ساختن آن واقعاً متعلق به خود بحث و معرفی خواهیم کرد.
مشاهده توضیحاتــ انگلیسی
Hybrido in Action Volume 01 Chapter 1: Getting Started The introduction chapter will take you through all the back ground needed to get going in RealFlow. Helpful links and some background on the software. The Maya plugins are used to export geometry for simulation but you can follow along in you 3d app of choice. The theory of preparing your geo and animation for RealFlow dynamic environment will be the same across the board. This isnt a beginners course so after a look at the preferences for our project we jump straight into things. Chapter 2: Hybrido Based Water Simulation Techniques Hybrido introduces a whole new paradigm in fluid dynamics. In this chapter we will learn how to create a useable, optimized base water sim to build on for the rest of the course. We will learn the new tools and concepts in a production type project. Setting up a quick cut shot of a boat racing by camera. All the major parameters are worked through along with a few tricks for creating and optimizing displacement creation and additional data sets for the dependent simulations like splashes and foam. We\'ll use techniques like scripted cmd line simulating to speed up our workflow. Chapter 3: Hybrido Displacement And Meshing In this chapter we will explore how to create a good looking base mesh thats displaced using a procedural, tileable, displacement map. Shortcuts for building and tweaking our displacement as well as visualizing the displacement in the viewport. Chapter 4: Splashes, Splashes, And More Splashes! Now that we have a base mesh, displacement texture, and all of the additional data sets we\'re ready to move onto splash creation. In this chapter we\'ll learn how to setup and tweak our first dependent simulation. Using the cached out base fluid our splashes will simulate quickly and collide with the displaced base wave mesh. We\'ll look at the major parameters and some tricks for creating, controlling, and optimizing our splash simulations. We\'\'ll also look at creating multiple splash simulations for one domain fluid. Chapter 5: Adding Foam / Waterline Having our splash particles create foam as they hit the surface used to be a intense task that involved scripted solutions. Now using the Hybrido system its a breeze. We\'ll learn how to use our cached out splashes to create foam and waterline simulations that interact with and sit on our cached and displaced base fluid. All the major parameters will be explored and some cool techniques for really speeding up the foam creation will be introduced. Chapter 6: Taking It Further If you\'ve followed along until this point you will have a strong understanding of the Hybrido system, both its base fluid creation and the implementation of distance fluids to create secondary passes that work seamlessly with the cached system. In this Chapter we will discuss and introduce the remaining secondary elements that can be created and ways to take this effect further and really make it your own!!
