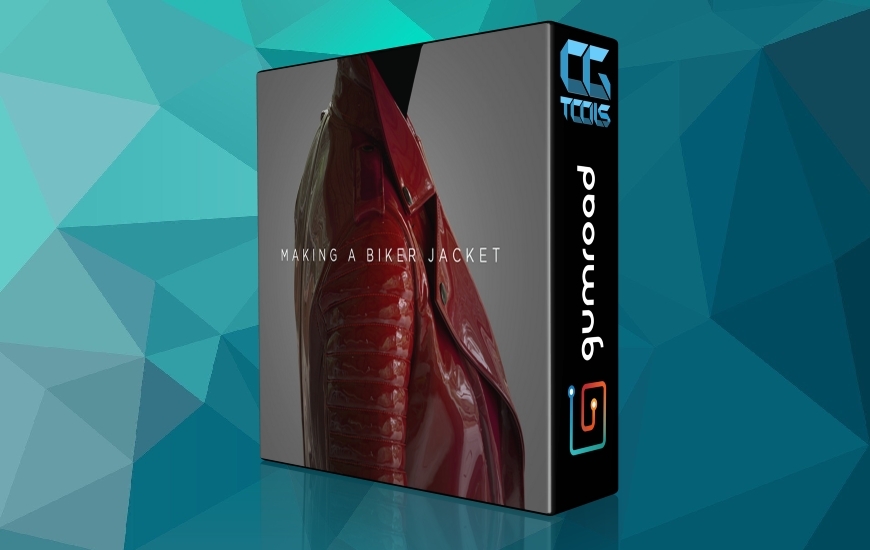
![آموزش ایجاد ژاکت سبک Biker در Marvelous Designer 7]()
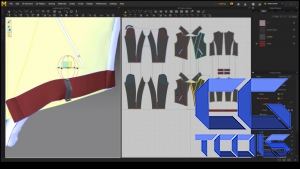
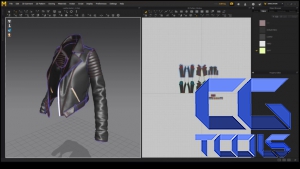
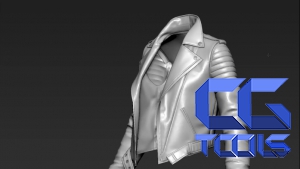
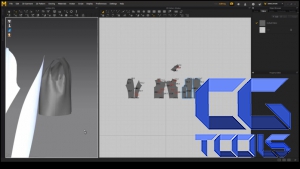
در این آموزش ، مراحل ساخت ژاکت سبک Biker در Marvelous Designer 7 را طی می کنید. این دوره بر روی فرایند ساخت استاندارد و همچنین ترفندهای جدید در این نسخه از جمله اضافه کردن دوخت و دکمه های داخل Marvelous Designer 7 تمرکز دارد. در طول این فرآیند گام به گام ، مدرس در حالی که ساختار اولیه را تا حد ممکن محکم نگه می دارد از اشکال بزرگ به جزئیات کوچک می رود ، که برای این نوع لباس ها واقع بینانه تر است. با پایان این آموزش ، شما قادر خواهید بود برای استفاده در بازی یا تولید فیلم ، لباس هایی با پیچیدگی مشابه بسازید.
مشاهده توضیحاتــ انگلیسی
If needed password is cgpersia.com
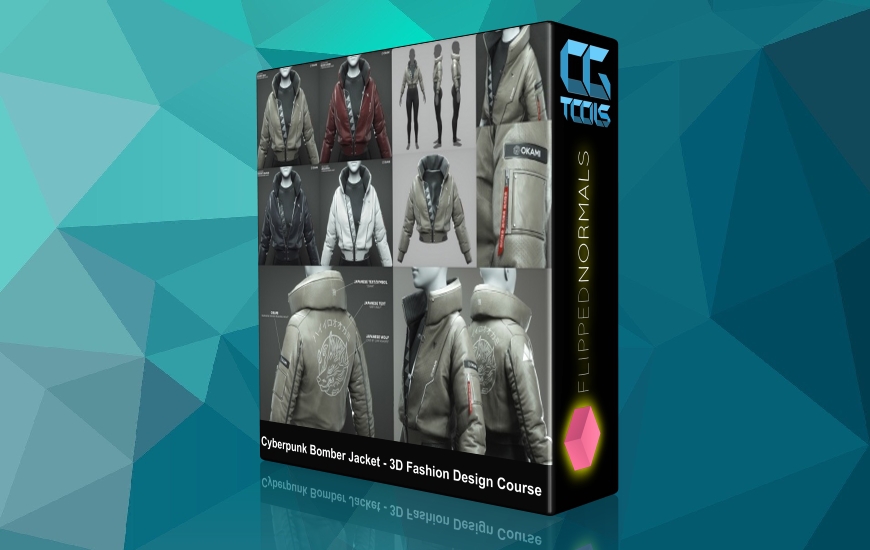
In this tutorial, we are going through the process of building a Biker Style Jacket in Marvelous Designer 7.
It focuses on the standard building process as well as new tricks in this version such as adding stitching and buttons within MD.
Throughout this step-by-step process, we are going from big shapes down to small details while keeping the initial structure as firm as possible, which is very important for these types of garments to look realistic.
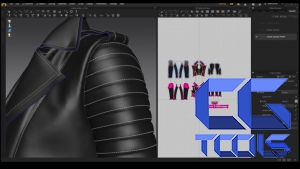
Special attention is given to non-destructive, natural-looking padding and I am also sharing my process of exporting to Zbrush in order to add thickness and integrate the stitching.
By the end of this tutorial, you will be able to construct garments of similar complexity for use in game or film production.
CONTENTS
MD Project Files
Reference Images
11 chapter
1. Blocking out the Base
2. Adjusting & Fitting the Base on the Avatar
3. Detailing the Sleeves
4. Adding Second Layer with Layer Clone
5. Adding Pockets & Zipper Tape
6. Adding Shoulder Boards
7. Adding the Belt (Part 1)
8. Adding the Belt (Part 2)
9. Polishing Layer Clone Artefacts
10. Adding Stitches & Rivets
11. Exporting the Jacket to Zbrush
