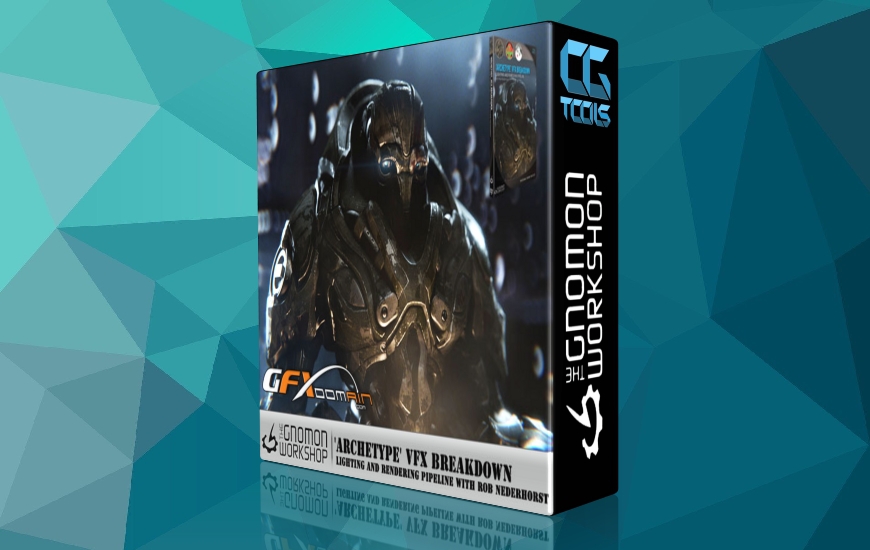
![آموزش ساخت نمونه اولیه جلوه های ویژه - گردش کاری نورپردازی و رندرینگ]()
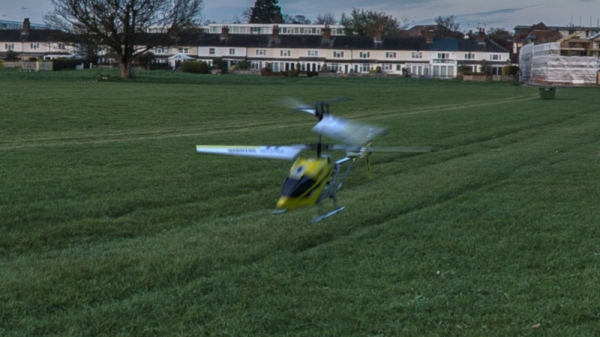
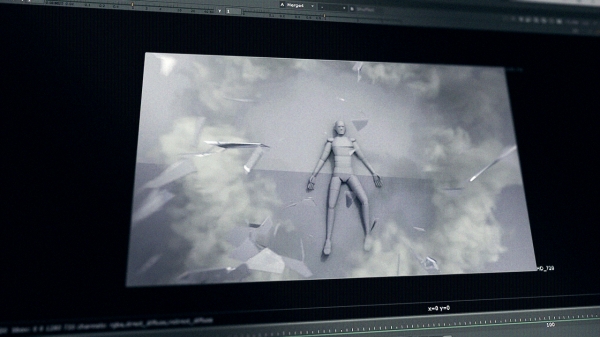
در این آموزش، مدرس Rob Nederhorst (سرپرست VFX) کل فرآیند چگونگی به وجود آمدن یک شات را نشان می دهد. او در ابتدا با ایجاد HDRI با استفاده از PTGui شروع می کند و با یک کامپوزیت نهایی شات را به پایان می رساند. پس از ساخت HDRI، مدرس برای توسعه و رندر شیدر ها به برنامه مایا حرکت می کند و از VRay برای خروج پاس ها و لایه های مختلف عکس ها استفاده می کند. پس از تمیز کردن صفحه و کاراکتر سه بعدی، به رنگ آمیزی صحنه می پردازد. Rob سپس لمسهای نهایی را اعمال می کند، مانند تأثیرات جوی ایجاد شده با استفاده از PhoenixFD ، لرزاندن صحنه ، همراه با لرزش واقعی دوربین ، شعله ور شدن لنزها و غیره... تا باورنکردنی ترین نتیجه را ایجاد کند.
مشاهده توضیحاتــ انگلیسی
In this tutorial, Robert Nederhorst (VFX Supervisor on Archetype) shows the entire process on how a shot came to be. He starts at the beginning by creating an HDRI using PTGui and ends with a final composite. After constructing the HDRI, Rob moves into Maya for shader development and rendering, using VRay to output the various passes and layers for the shot. Once the plate is cleaned up and the 3D character has been color graded and integrated into the shot, he constructs a production “gizmo” to give the artists control over various attributes of the composite. Rob then applies the final touches, like atmospheric effects created using PhoenixFD, film flicker and grain, along with realistic camera shake, lens flares and lens distortion to create the most believable result.
Project Introduction
Constructing the HDRI for Image Based Lighting
Maya and VRay Setup
Using VRay Proxy
VRay Material
Lighting
Rendering
Passes and Layers
Composite Setup & Plate Cleanup
Foreground Roto
Grading, Glows and Depth
Constructing the “Robotron” Gizmo controls
Atmospherics and Phoenix Fluid Dynamics
Film Flicker
Camera Shake
Flare Generation
Lens Distortion and Aberration
Film Grain and Closing Comments
