![]()
CG Cookie - Photoreal car with VRay
All 4 parts | Required Software: 3ds max , V-Ray | 3 GB
سلام
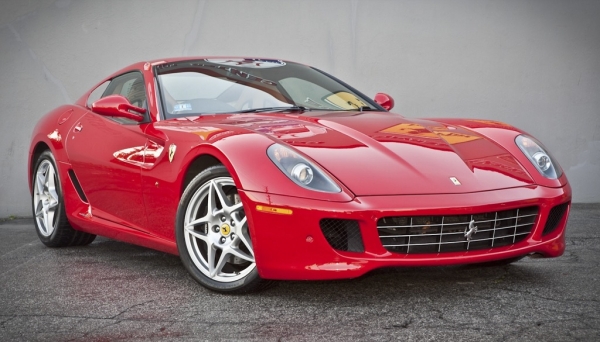
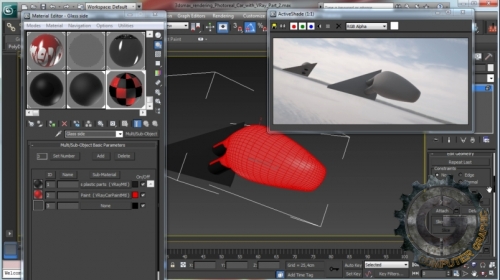
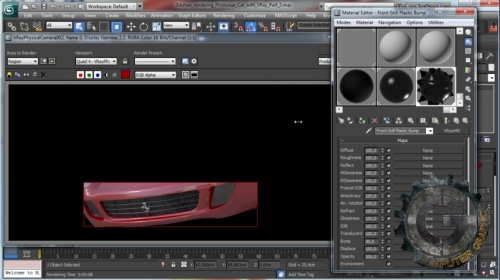
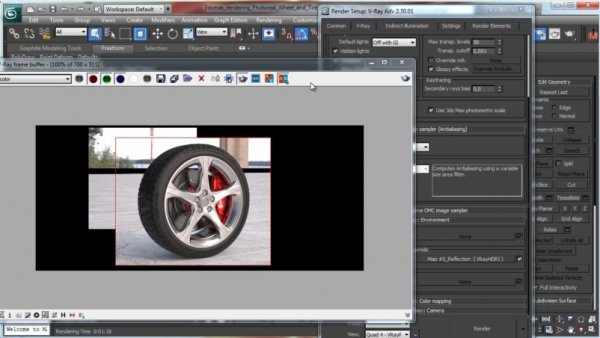
در این آموزش با نحوه ی رندرگیری یک ماشین با استفاده از نرم افزار 3ds max و موتور رندر Vray آشنا می شوید. در این آموزش به رندر کردن یک ماشین در نمای بیرونی میپردازیم ، هدف از این اموزش رسیدن به یک رندر واقعی است.ما ابتدا کار خود را با یک مدل Ferrari شروع می کنیم ، و اینکه چگونه این مدل را باید برای رندر گیری آماده کنیم.پس از آن ما از یک HDRI ساده برای استفاده در نورپردازی استفاده می کنیم.ما همچنین نحوه ی درست کردن رنگ ماشین (Car Paint) ساده را به شما آموزش خواهیم داد.در این آموزش با ساختن شیدر برای شیشه ها ، تایرها و.... نیز آشنا خواهید شد.
مشاهده توضیحاتــ انگلیسی
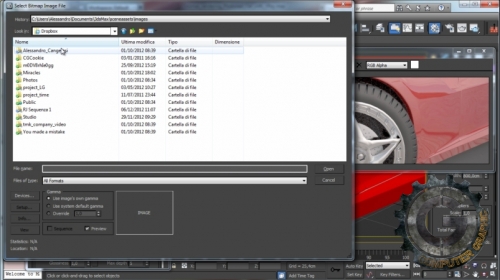
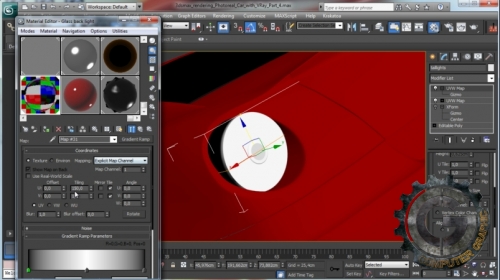
In this video for 3ds max weandrsquo;ll talk again about car rendering but this time weandrsquo;ll focus on how to achieve good and realistic results using VRay rendering engine.Part 1:In Photoreal car with VRay weandrsquo;ll take a look at outdoor photoreal car rendering done using Chaos Group engine. Weandrsquo;ll start using a Ferrari 3D model made for a tutorial on Blender Cookie website. Weandrsquo;ll see how to prepare it to be rendered, weandrsquo;ll prepare a basic HDRI lighting rig to work with. Working on preliminary lighting and shading weandrsquo;ll use the VRay RT engine able to give instant results during normal working session. In this way weandrsquo;ll be able to work faster to achieve a good result. Weandrsquo;ll work on some of the shaders just to prepare a basic setup for car paint, glasses, tire, wheel, braking system etc etc.Part 2:In Photoreal car with VRay - Part 2, weandrsquo;ll weandrsquo;ll work on more shaders/materials. Weandrsquo;ll finalize the braking system using VRay Power shaders and procedural gradients, then weandrsquo;ll do the same for all tires/wheels, and then weandrsquo;ll work to have right materials on some metal logos, plastic parts and some glasses.Part 3:In Part 3 of Photoreal Car with VRay series weandrsquo;ll cover again HDRI lighting and shading. Weandrsquo;ll start making some changes to the illumination picking a better HDR image from the web and tweaking dome light parameters. Then weandrsquo;ll go back at work on the shaders, first of all weandrsquo;ll tweak the car paint setup to obtain a more realistic result and then weandrsquo;ll work on various logo, front plastic grills, front lights shaders and then back on tires, wheels and braking system trying to achieve a more believable result. Weandrsquo;ll work a little bit on rendering setup too, adding ambient occlusion calculation to have better shadows/details contrast.Part 4:In Part 4 of Photoreal Car with VRay, weandrsquo;ll work at some materials on the back area and some minor details, then weandrsquo;ll tweak a little bit other shaders as car paint, plastics, light glasses, and then weandrsquo;ll work to obtain final image tweaking rendering setup. In a future tutorial weandrsquo;ll talk about camera matching to put this car on a real life photo.
جعبـه دانلود
پسورد کلیه فایل ها www.cgtools.ir میباشد.
شما می توانید این آموزش را از لینکهای زیر دانلود کنید.
فقط اعضای VIP قادر به دیدن لینک ها میباشند.
================================

