این پست بنا به درخواست ثبت شده توسط tootro20 در سایت بازنویسی شده است.
![]()
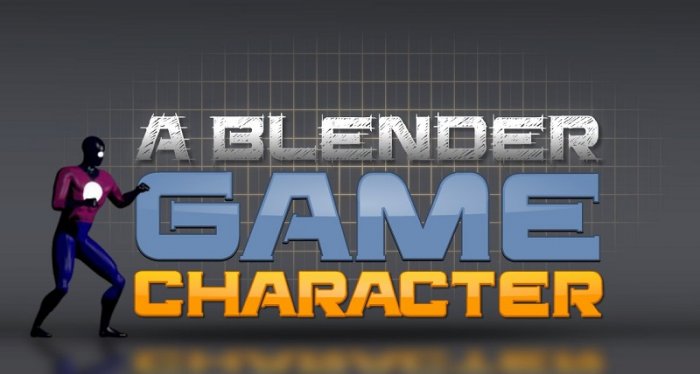
CartoonSmart - A Blender Game Character
9h | 2.75 GB | Project Files: Included | Software used: Blender
با سلام
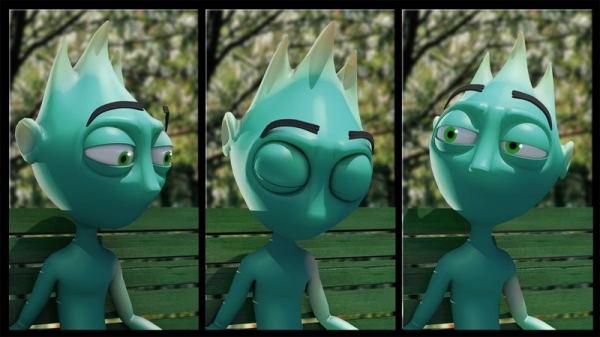
در این آموزش با استفاده از تکنیک های مختلفی که خواهید آموخت، به ساخت کاراکتر ابر قهرمان در نرم افزار Blender خواهید پرداخت. این دوره مدلسازی را از ابتدای کار شروع کرده و شامل مدلسازی، بافت دهی، ساخت ریگ، انیمیت، رندر و ... میشود. از دیگر ویژگی های این دوره آموزشی میتوان به 2 قسمت بودن این مجموعه اشاره کرد، قسمت اول یک آموزش راهنمای سریع بلندر میباشد و در قسمت دوم آموزش به صورت مبنی بر پروژه میباشد و به ساخت کاراکتر میپردازد. با توجه به قسمت اول این آموزش حتی کسانی که تجربه کار در بلندر را هم ندارند میتوانند از این آموزش استفاده نمایند.
توضیحات کامل به همراه عناوین آموزشی را میتوانید در قسمت توضیحات انگلیسی مشاهده نمایید.
مشاهده توضیحاتــ انگلیسی
Create a superhero in Blender, from scratch! Blender is a great way to generate sprites for games. The goal of this course is to show you how to create an animated character and then render out sprites. In this course you'll model, texture, rig, animate, and render out images in an iterative fashion.
This course is taught in real-time, no accelerated video (so a 10 minute lecture really is 10 minutes of work). My intended teaching style is like sitting down with a friend. You'll see my workflow as I develop this character from scratch. When I make a mistake, you'll see how to correct it. You'll see how Blender supports iterating over the creation of a character, even when in different phases of its development.
This course is intended for folks with some Blender experience (so not complete newcomers). If you are comfortable with A Blender Quickstart, you will probably be okay (but challenged) with A Blender Game Character. If you haven't used Blender in years, you should be fine if you used the 2.4x and/or 2.5x series. #blender #b3d
Lectures Information :
Season 1 :
Blender Quick Start
Season 2 :
SECTION 1: Welcome1-Introduction2-Prerequisite Skills3-If you're on a Mac4-If you don't have a number pad5-If you don't have a 3-button mouseSECTION 2: Modeling6-Modeling Intro7-Body Building8-Getting a Head9-Give 'em a Hand10-Footloose11-Tweaking the FigureSECTION 3: Mapping12-Mapping Intro13-Adding Seams14-Add Detail to the Head15-Islands16-Painting the Color Map17-Painting Details on Head and Chest18-More Figure TweakingSECTION 4: Sculpting19-Sculpting Intro20-Body SculptingSECTION 5: More Mapping21-Mapping Intro (Deja Vu)22-Mmmm, Baking Normals23-SpeTACular Map24-Emit Map25-Renderin' Fun26-Touch Up27-Removing some GeometrySECTION 6: Rigging and Skinning28-Rigging Intro29-Building the Rig30-Move your Bones31-Rig the Fingers32-Finger Constraints33-Snap to Symmetry34-Weight Painting and a Little Script35-Reverse Foot Rig36-Weighting the Foot37-Rig Tweaks38-Tweaking the Hand Mesh39-Action Constraints40-Right Hand Animation41-Adjusting Body ProportionsSECTION 7: Animation42-Animating Intro43-Hiding Bones44-Animating a Run45-Punching Action46-Idle Time47-Logic Bricks48-Fine-tuning the RunSECTION 8: Rendering49-Rendering Intro50-Rendering Sprites51-Rendering Around Fixed AnglesSECTION 9: Back to Modeling52-Back to Modeling Intro53-Adding a Belt54-More BeltingSECTION 10: Cycles Rendering55-Cycles Intro56-Setting up a Pose57-Creating Node-based MaterialsSECTION 11: Conclusion58-Goodbye

