![آموزش مجسمه سازی شخصیت سه بعدی وایکینگ در بلندر]()
چیزی که یاد خواهید گرفت :
- گردش کار کاراکترهای سه بعدی در بلندر
- مجسمه سازی شخصیت تلطیف شده
- آناتومی انسان
- تفسیر
الزامات
دانش بلندر متوسط و بلندر
شرح
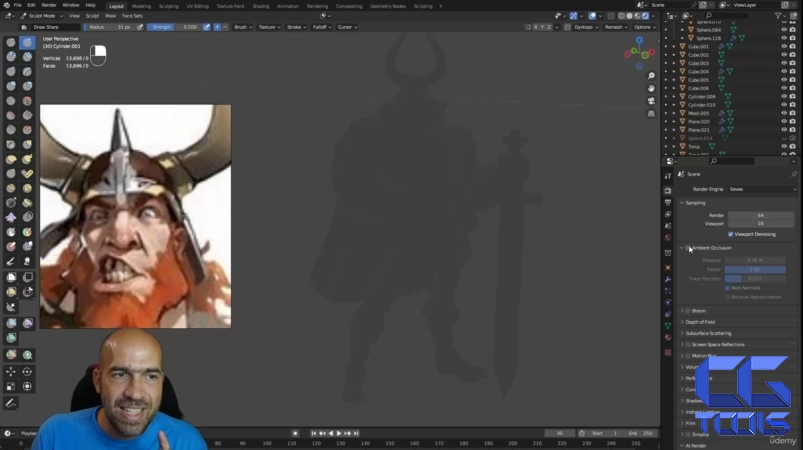
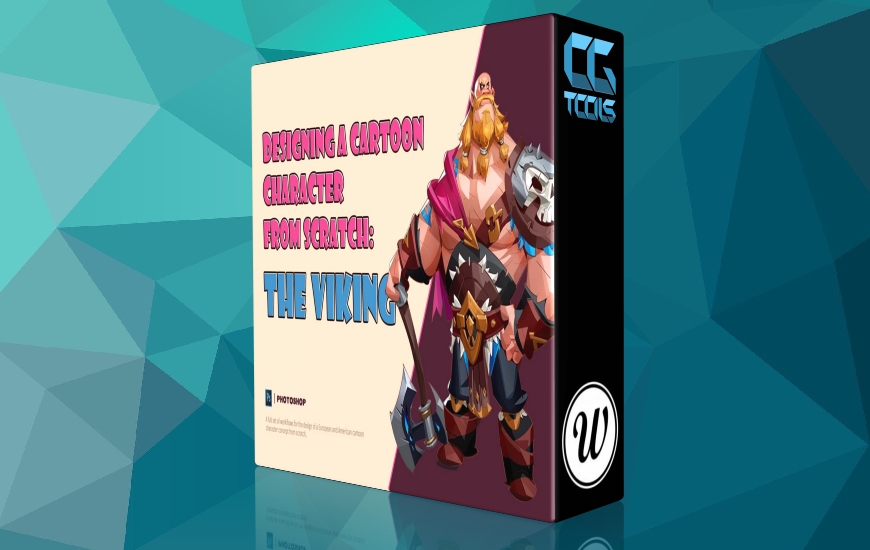
آیا این شخصیت وایکینگ را دوست دارید؟
من به شما نشان خواهم داد که چگونه آن را از ابتدا در این دوره بلندر درست می کنم!
تمام زمان واقعی و شما قادر خواهید بود به طور کامل مجسمه سازی شخصیت را از یک مفهوم دنبال کنید.
اساسا، شما یاد خواهید گرفت که چگونه وایکینگ های بزرگ را با پاهای نازک و شمشیرهای بزرگ مجسمه سازی کنید.
در این دوره متوسط بلندر، ما این VIking را با پیروی از مفهوم Laurel D Austin می سازیم.
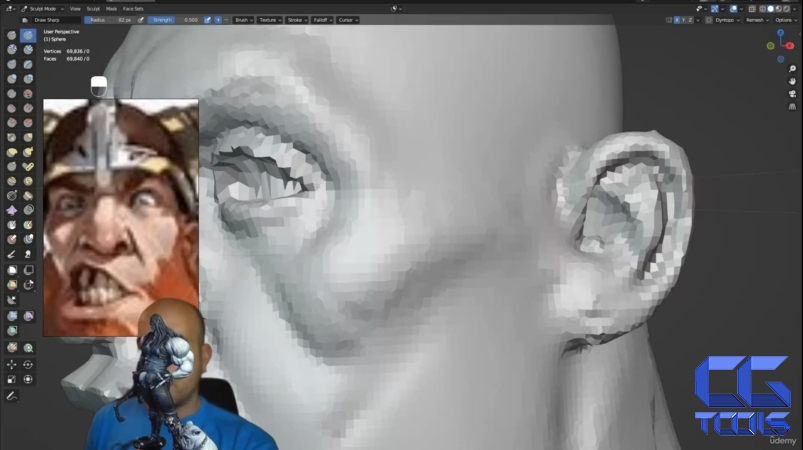
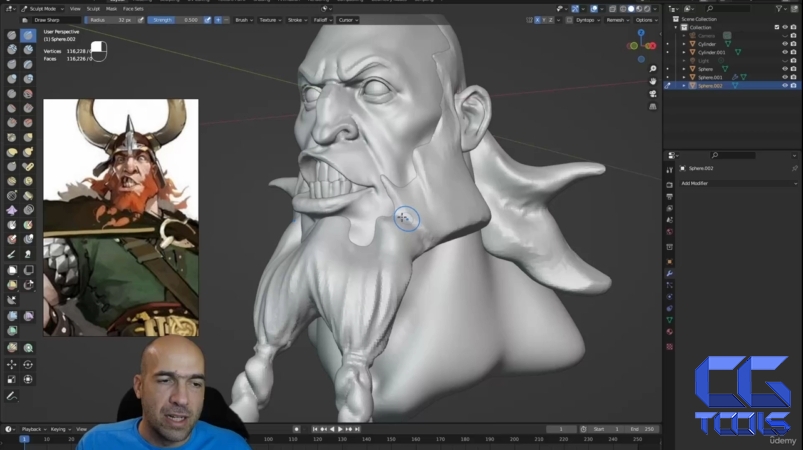
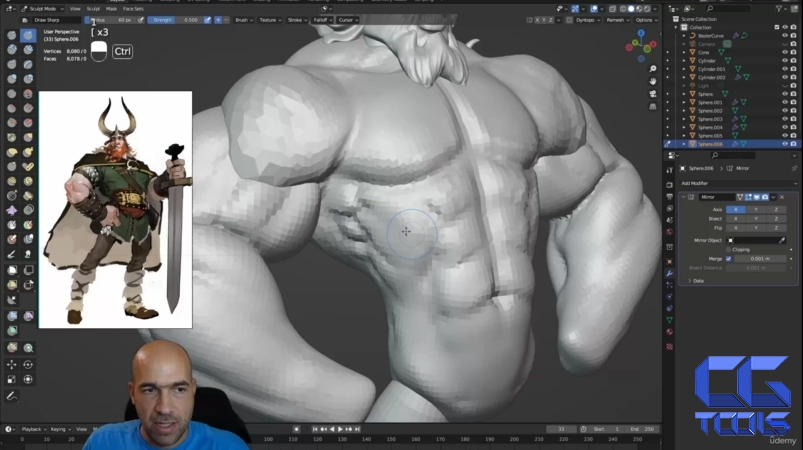
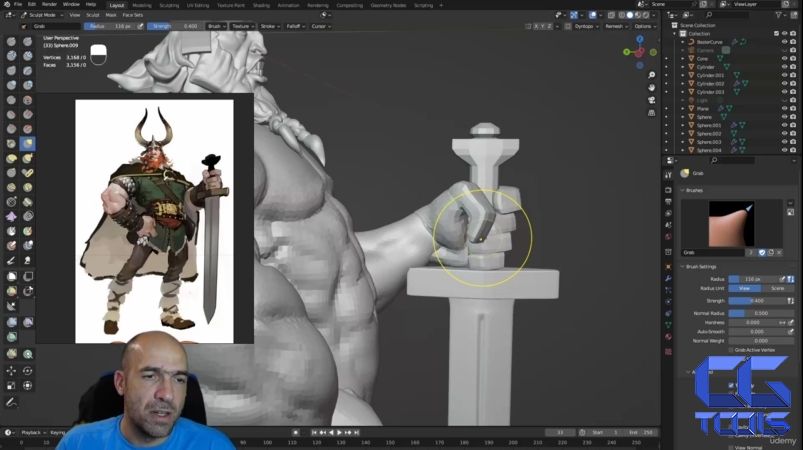
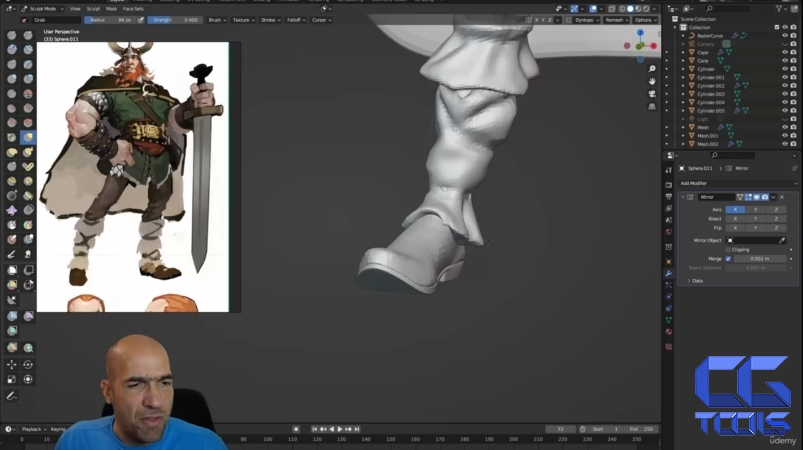
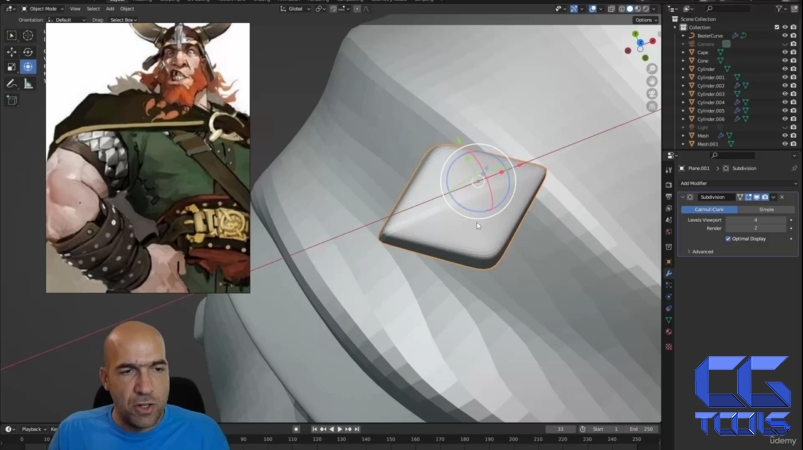
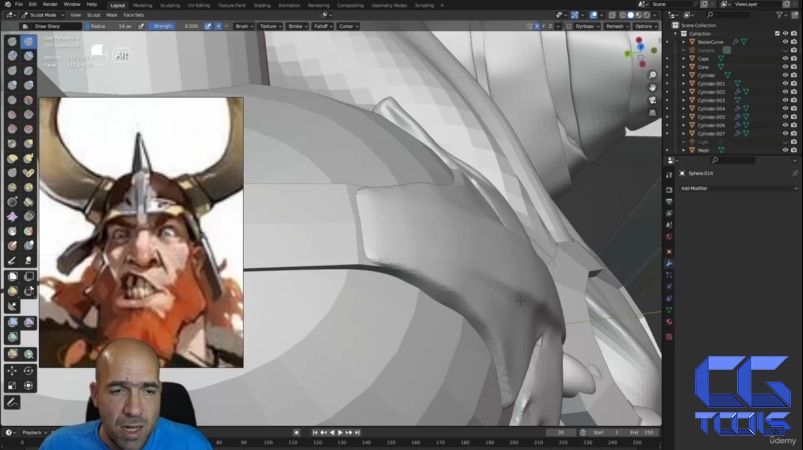
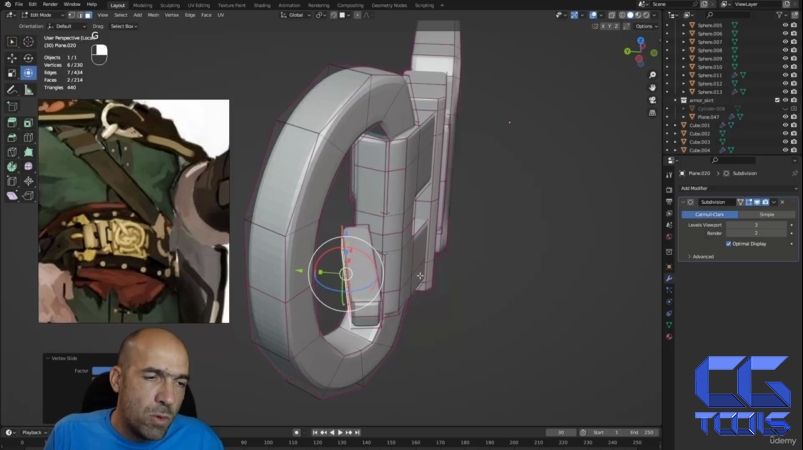
ما با تجزیه و تحلیل مفهوم و انجام سر VIking شروع خواهیم کرد. پس از آن ریش، مو و کلاه خود را زیر میکشیم تا به بالاتنه، دستها و پاها برسیم. وقتی با بدنه اولیه آماده شدیم شروع به اضافه کردن لباس، چکمه و زره می کنیم. سپس ما شروع به پالایش هر کاری می کنیم که انجام دادیم، بنابراین شخصیت را برای پرینت سه بعدی بدون قطعات نازک یا جدا آماده می کنیم. سپس نوبت به رنگ آمیزی کاراکتر و ایجاد مقداری نورپردازی و مواد می رسد. همچنین در پایان با نحوه ساخت فیلم سایه گیر و صفحه گردان آشنا خواهیم شد.
این دوره برای چه کسانی است:
همه کاربران متوسط بلندر که می خواهند هنر شخصیت سه بعدی خود را ارتقا دهند
مشاهده توضیحاتــ انگلیسی
What you'll learn
3D character workflow in Blender
Stylized character sculpting
Human anatomy
Rendering
Requirements
Intermediate Blender knowledge and Blender
Description
Do you like this Viking character?
I will show you how i make it from scratch in this Blender course!
All realtime and you will be able to completely follow the sculpting of the character from a concept.
Basically, you will learn how to sculpt big vikings with thin legs and big swords.
My name is Niko and i am a 3D character artist and teacher. I have more than 20 000 students in my courses of human anatomy, Zbrush and Blender.
In this intermediate Blender course we will make this VIking, following the concept from Laurel D Austin.
We will start by analyzing the concept and doing the VIking head. After that we will go trough the beard, hair, and helmet until we reach the torso, arms and legs. When we are ready with the initial body, we will start adding clothes, boots and armors. Then we will start refining everything we did, so we will make the character ready for 3D printing without thin or separate parts. Then it will be time to color the character and make some lighting setup and materials. We will also learn how to make a shadow catcher and turntable video at the end.
This course is mostly for intermediate Blender users, but if you are an thrill seeking beginner, you could try it too :).
Lets start it then!
Who this course is for:
All intermediate Blender users who want to advance their 3D character art

