![آموزش سلسله مراتب بافت ،ریگ و انیمیت کردن یه عنکبوت]()
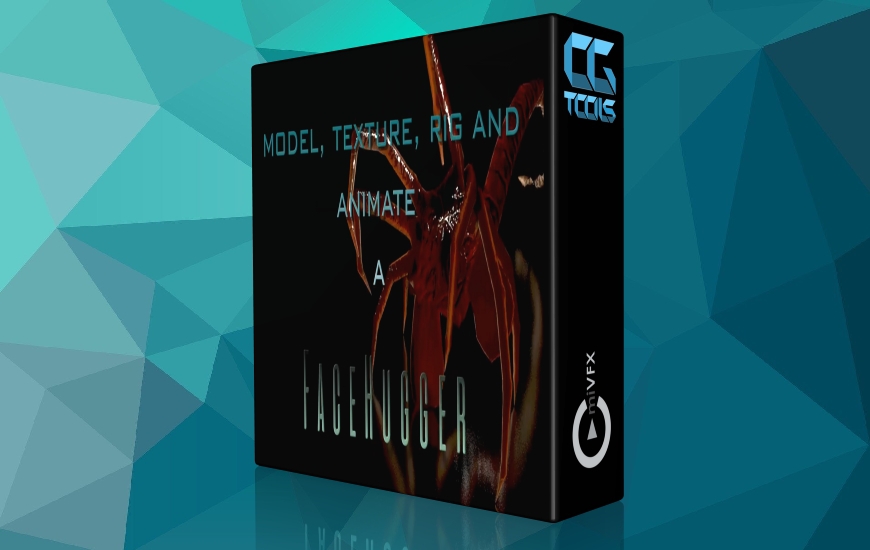
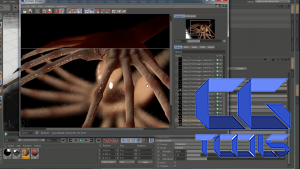
یکی از جذاب ترین امتیازات فیلم های علمی تخیلی که در چند دهه گذشته به بازار عرضه شده است ، سریال Alien است. بخش عمده ای از آن مراقبت هایی است که آنها برای طراحی موجود داشته اند. در این مجموعه ، Greg Kulz شما را با مدل سازی ، بافت ، ریگ و متحرک سازی Facehugger راهنمایی می کند.
فصل ها:
1: مدل سازی قسمت A
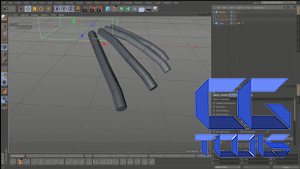
- در فصل اول ما با قرار دادن تصاویر مرجع خود در پس زمینه چشم انداز ، محیط مدل سازی خود را تنظیم می کنیم. در مرحله بعدی با استفاده از انواع تکنیک های مدل سازی چند ضلعی ، شروع به طراحی تنه و پا با استفاده از اشکال هندسی می کنیم.
2: مدل سازی قسمت B
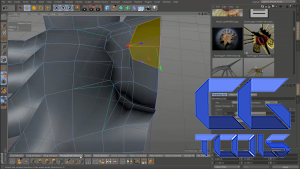
- سپس یک دم اضافه می کنیم و شروع به کانتورینگ پاها می کنیم و مطمئن می شویم که حلقه لبه ما برای تغییر شکل پوست مناسب است.
3: مدل سازی قسمت C
- اکنون ما آماده هستیم تا ترکیب قطعات مختلف خود را با هم ترکیب کنیم. با استفاده از Poly Pen و چند ابزار دیگر ، مناطقی از هندسه را که باید جوش داده شود آماده می کنیم تا پس از فرو ریختن آن به یک شی single ، جریان لبه خوبی داشته باشیم.
04: نقشه برداری UV
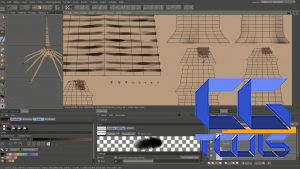
- هنگامی که نیمی از مدل خود را انجام دادیم ، قبل از فرو ریختن جسم تقارن ، می خواهیم مختصات UV خود را تنظیم کنیم. ما چند ضلعی های پای خود را انتخاب می کنیم و یک انتخاب لبه ایجاد می کنیم که درزهای UV باشد. اکنون با تنظیمات مناسب ، ابزار لایه بردار UV را باز کنید. لغزنده ها را به دلخواه و BAM تنظیم کنید! جزایر UV متقارن زیبا. پس از جمع کردن برچسب Symmetry ، با استفاده از ترکیبی از انتخاب ها و پیش بینی ها صفحه ای زیبا از جزایر UV را بسته بندی می کنیم.
05: مجسمه سازی قسمت A
- با باز کردن طرح مجسمه سازی ، چندین بار تقسیم می کنیم. ما پاها را با ماسک جدا کرده و عملکردها را برای به حداکثر رساندن منابع سیستم دید پنهان می کنیم. ما روش های مختلف استفاده از ابزار تمبر و برس را کشف خواهیم کرد. سپس تنه را جدا کرده و به همان روش درمانی عمل می کنیم.
06: مجسمه سازی قسمت B
- بعد دم را جدا کرده و با استفاده از استنسیل برخی از چین و چروک ها را نقاشی می کنیم. سپس ما ابزار چاقو را کشف خواهیم کرد تا جزئیات عمیق تری را بدست آوریم. ادامه دادن ابزار چاقو بر روی تنه ، تنظیم حرکت ثابت و قلم FX برای سفارشی کردن سبک برس ما.
07: مجسمه سازی قسمت C
- به دنبال تصاویر مرجع ما شروع به مسدود کردن جزئیات عمده سطح با ماسک و برس های کششی می کنیم. برخی از تمبرها را تنظیم می کنیم تا چین و چروک و رگ ها را اعمال کنیم. و جزئیات نهایی ما را صیقل دهید.
08: مواد قسمت A
- اکنون که توری های hi-res خود را تراشیده ایم ، آماده پخت نقشه های مختلف خود هستیم. در مدیر اجسام bake sculpt ما تنظیمات و مسیرهای خود را برای نقشه هایی که پخت می کنیم تنظیم می کنیم. پس از انجام برخی محاسبات (پخت) ، ما دارای مش چند مشکی کم با ماده ای حاوی نقشه هایی هستیم که به تازگی ایجاد کرده ایم. اکنون ما آماده هستیم تا طرح UV BodyPaint را باز کرده و شروع به نقاشی کنیم. سپس با استفاده از ابزارهای مختلف رنگ آمیزی رنگ خود را مسدود می کنیم.
09: مواد قسمت B
- در ادامه نقاشی ، ما ابزار گرادیان ، ابزار خط را کشف می کنیم و یک برس سفارشی درست می کنیم.
10: مواد قسمت C
- قبل از شروع ساخت مواد ، یک محیط رندر ساده ایجاد خواهیم کرد: صفحه کف ، دوربین ، نورپردازی. سپس کانال درخشندگی خود را با Sub Surface Scatter تنظیم دقیق می کنیم. نقشه های پخته شده از فرآیند مجسمه سازی در کانال های مناسب خود قرار می گیرند.
11: تقلب بخش A
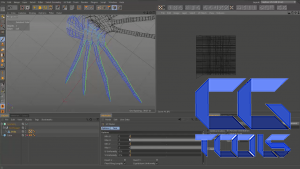
- اکنون ما آماده ایم که خلقت خود را حرکت دهیم. ابتدا شروع به ترسیم استخوان ها با ابزار ایجاد مفصل می کنیم. اطمینان حاصل کنید که به طور دقیق استخوانهایمان را با مش قرار دهید. ما برچسب های IK را روی پاها و IK را برای دم استفاده می کنیم.
12: تقلب بخش B
- در ادامه روند تقلب ، با استفاده از ابزار نامگذاری مطمئن می شویم که کلیه استخوان های ما نام مناسبی داشته باشند. سپس ما آماده فرآیند اتصال هستیم که وزن اساسی پوست را به ما می دهد. با استفاده از ابزار وزنه رنگ و مدیر وزنه ، نفوذ هر استخوان بر روی مش را به خوبی تنظیم می کنیم.
13: پوزمورف قسمت A
- اکنون با استفاده از ابزار مجسمه سازی چندین اصلاح ژست ایجاد می کنیم که یک برچسب شکل نقطه ای متحرک ایجاد می کنند. این به ما امکان می دهد حرکات ظریف تری را که توسط استخوان کنترل نمی شوند تحریک کنیم (تنفس ، حرکات دهان و غیره)
14: پوزمورف قسمت B
- در اینجا ما یک برچسب شکل بدست می آوریم که به ما امکان می دهد تا موقعیت های کل سلسله مراتب شخصیت را ذخیره کنیم. سپس برخی از ژست های منفرد و همچنین ژست های چرخشی را برای ایجاد حرکات حلقه ای به راحتی ایجاد می کنیم.
15: رندر کردن
- در این فصل ما تنظیمات رندر خود را مانند رندر ، نور جهانی تنظیم می کنیم. سپس ما یک سری رندرهای آزمایشی را با استفاده از تنظیمات مختلف نور و تنظیمات مواد مرور می کنیم. با استفاده از Viewer Picture ما رندرها را در کنار هم و همچنین زمان رندر را مقایسه خواهیم کرد. سپس با کمی فیلتر یک ضربه اضافی به آن می دهیم.
16: گزیننده ها
- در اینجا ما برچسب انتخابگر بصری را بررسی خواهیم کرد. ما با جایگزینی تصویر پیش فرض انسانی با یکی از نماهای مدل سازی خود شروع می کنیم. سپس ما شروع به نقاشی کردن و مرتبط کردن نشانگرهای ساخته شده خود با نولهای کنترل مربوطه می کنیم. سپس چند شی انتخاب ایجاد می کنیم تا انتخاب های گروهی سریعتر انجام شود.
17: انیمیشن قسمت A
- ابتدا شروع به مسدود کردن چرخه پیاده روی با استفاده از کلیدهای کنترل کننده می کنیم. که آنها را به یک کلیپ های حرکتی تبدیل می کنیم که با استفاده از آنها می توانیم با دقت بیشتری حلقه و کنترل کنیم. F
مشاهده توضیحاتــ انگلیسی
One of the more exciting sci-fi movie franchises to come around the last couple of decades has been the Alien series. A big part of that has been the care they put into the creature design. A favorite is the “Facehugger,” and in this series, Greg Kulz will walk you through modeling, texturing, rigging, and animating a Facehugger.
Chapters:
01: Modeling Part A
In the first chapter we set up our modeling environment by placing our orthographic reference images into the background of our viewports. Next we start blocking out the basic shapes of the torso and legs using a variety of polygon modeling techniques.
02: Modeling Part B
Then we add a tail and start contouring the legs, making sure our edge loop placement is appropriate for skin deformations.
03: Modeling Part C
Now we are ready to start combining our different parts together. Using the Poly Pen and a few other tools we’ll prep the areas of geometry that are to be welded to insure a nice edge flow once it’s collapsed to a single object.
04: UV Mapping
Once we have half our model done, before we collapse the symmetry object we are going to start setting up our UV coordinates. We select our leg polygons and create an edge selection that will be UV seams. Now with the proper set up, open the UV peeler tool. adjust the sliders to your preference and BAM! Nice symmetrical UV islands. After collapsing our Symmetry tag, using a combination of selections and projections we layout a nicely packed page of UV islands.
05: Sculping Part A
With the sculpting layout open we hit subdivide a several times. We isolate the legs with mask and hide functions to maximize visibility system resources. We’ll explore different methods of using the stamp and brush tools. Then we isolate the torso and give it the same treatment.
06: Sculpting Part B
Next we isolate the tail and use a stencil to paint some wrinkles. then we’ll explore the knife tool to get some deeper details. Continuing with the knife tool on the torso, setting up steady stroke and pen FX to customize our brush style.
07: Sculpting Part C
Following our reference images we start blocking out the major surface details with the mask and pull brushes. then we set up some stamps to apply wrinkles and veins. And polish up our final details.
08: Materials Part A
Now that we have sculpted our hi-res mesh we are ready bake out our various maps. In the bake sculpt object manager we set up our settings and paths for the maps that we bake out. After some calculations (baking) we have a low poly mesh with a material containing the maps we just created. now we are ready to open the BodyPaint UV layout and start painting. then we start blocking in our color with various painting tools.
09: Materials Part B
Continuing painting, we explore the gradient tool, line tool and make a custom brush.
10: Materials Part C
Before we start building up our material, we’ll set up a simple rendering environment: floor plane, camera, lighting. Then we start fine tuning our luminance channel with a Sub Surface Scatter. The maps baked out from the sculpting process are put in their proper channels.
11: Rigging Part A
Now we are ready to make our creation move. First we start sketching out the bones with the joint creation tool. Making sure to precisely line up our bones with our mesh. We’ll apply IK tags on the legs and spline IK for the tail.
12: Rigging Part B
Continuing with our rigging process, we make sure all our bones have the proper name using the naming tool. Then we are ready for the bind process which gives us basic skin weighting. Using the paint weight tool and the weights manager we fine tune the influence each bone has on the mesh.
13: Posemorph Part A
Now using the sculpt tools we make several pose tweaks which create an animatable point morph tag. This will enable us to animate subtler movements not controlled by the bones (breathing, mouth movements, etc.)
14: Posemorph Part B
Here we set up a pose morph tag which will enable us to store poses of the entire character hierarchy. Then we create some individual poses as well as cyclical poses for easily making looped movements.
15: Still Render
In this chapter we set up our rendering settings, such as renderer, global illumination. then we go through a bunch of test renders using various light arraignments and material settings. Using the Picture Viewer we’ll compare renders side by side, as well as render times. Then we give it an extra kick with some filtering.
16: Selectors
Here we will explore the visual selector tag. We start by replacing the default human image with one of our modeling views. Then we go about painting and associating our newly made markers with the corresponding control nulls. Then we create a few selection objects to make certain group selections quicker.
17: Animation Part A
First we start blocking out a walk cycle by key-framing the controllers. Which we turn into a motion clips, with which we can loop and control with more precision. For the tail, we’ll add an additional IK tag with dynamics enabled to create some realistic secondary movement.
18: Animation Part B
In our final chapter we create more complex use of the motion clips as well animating our point morphs. We’ll do some preview renders to check out our results. I hope this series will help you create dynamic animation for any sort unworldly creatures you can imagine.
