![]()
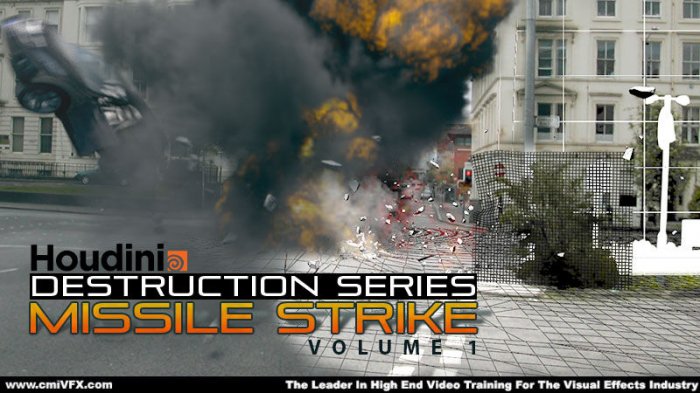
cmiVFX - Houdini Destruction Series - Missile Strike Volume 2
Time : 4h 45m | Size : 5.12 GB | Project Files: Included | Software Used : Houdini
با سلام
در این آموزش مدرس نحوه شبیه سازی یک انفجار موشکی را توسط نرم افزار Houdini آموزش میدهد. در قسمت گذشته او بیشتر بروی نحوه انیمیت اجسامی مانند موشک و ماشین تمرکز کرده بود، اما در این قسمت او بیشتر بروی شبیه سازی انفجار و ایجاد جلوه های ویژه تمرکز کرده است.
مشاهده توضیحاتــ انگلیسی
cmiVFX brings you an excellent addition to the new Houdini Destruction Series by varomix DaGreit. Volume 2 of this series will pick up right where volume 1 ended as you advance through the process of working with a missile strike animation. You'll continue to learn how to use Houdini's world-renowned dynamic tools, which are the same tools that are used by all of the best world class Visual Effects artists and Technical Directors. We'll continue to show you all of the best techniques, tricks, and workflows so you can maximize your efficiency. Weandacirc;andeuro;andtrade;ll cover it all so you can be the best artist you can be.
ntroduction
We'll do a brief overview of what you'll be working with in volume 2.
Missile Exhaust
We'll start by making our missile exhaust element. Weandacirc;andeuro;andtrade;ll approach the effect as an element that we can reuse for later projects which will improve our efficiency. Then we'll make our element follow the missile animation.
Making the Explosion
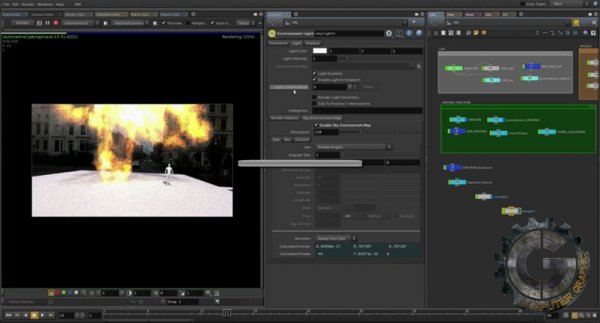
This is the biggest part of the project. We'll need to make smart decisions from the beginning so it doesnandacirc;andeuro;andtrade;t come to hunt us at the end. Weandacirc;andeuro;andtrade;ll avoid problems by preparing a good source for our explosion. Weandacirc;andeuro;andtrade;ll tweak the gas emission to make the explosion a bit more aggressive and then weandacirc;andeuro;andtrade;ll cache the effect. Once that is done, we'll still need to adjust the timing of the effect to give us a realistic feel and allow us to achieve the true aggression of an explosion.
Extra Smoke Release
Weandacirc;andeuro;andtrade;ll add more smoke/dust that will expand closer to the floor. This element adds an extra layer of detail to the shot and it glues the CG and the plate better.
Talk About the plants
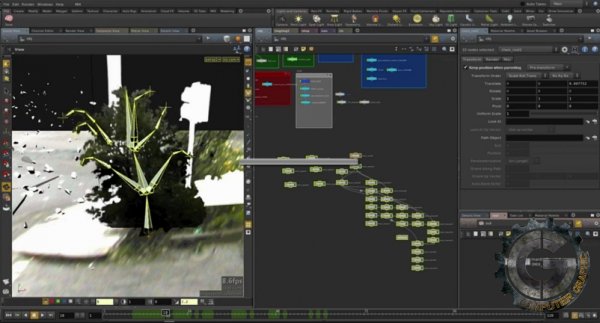
You'll get an overview of the various techniques used on the plants in the original plate. These techniques will give a bit more life to the shot. It's important to remember that the small details will help sell your work.
Materials, Shading
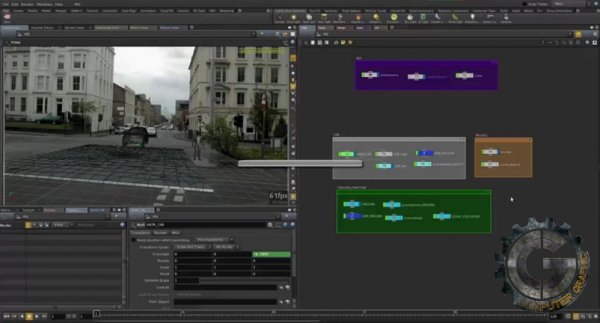
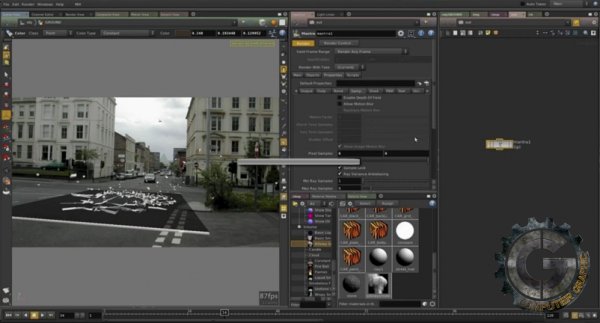
Next we'll need to make the shaders and tweak the lighting for your final product. Weandacirc;andeuro;andtrade;ll start by separating the car into material groups for shading. We'll need to use UV's in certain areas because they will have textures applied. Weandacirc;andeuro;andtrade;ll also add sky reflection cards to simulate the sky reflection on top of the car. Then, weandacirc;andeuro;andtrade;ll shade the floor using camera projection so we can grab the same texture that is used as the back plate in order to integrate the effect seamlessly.
Final Render
Now that everything is done, we'll need to make the final preparations. We'll cache to the disk while everything else is taking time to cook. This is to minimize any errors that might happen during the final render so we can start renders at any frame or even distribute renders to a farm. We'll finish by using hbatch to kick off the final render.
Celebrate
This is a very important step. Be happy! Celebrate! This is a huge project. It was not an easy task, and I bet you have a lot more questions with all of the new information that you have. Thatandacirc;andeuro;andtrade;s great! So, if you completed and enjoyed this, congrats to you, you rock!
Room for improvement
There are certainly a lot of things that we can do to make this effect even stronger. A few of the things that we'll do include: adding light on the floor from the explosion, incorporating another layer of smaller debris particles for the floor fracture, denting the car, making the car catch fire, improving the animation of the car, and making a real rig. We should also use HDRI for the lighting and reflections to improve our result. So, if you're up to the challenge, keep working on your scene and improve it.
About the Instructor
varomix is a VFX Artist and Generalist TD and his love for visual effects began in 1993 when he attended a screening of Jurassic Park. He began working with 3D applications in 1998, starting with 3ds Max, then moving on to Cinema 4D, then Maya 2.0 in 1999, and he has been doing CGI for film, TV, video games, print, and web ever since. Shortly after Side Effects launched the Houdini Apprentice Program in 2002, varomix became an ardent Houdini user. Since then it has become his main tool for creation. varomix has also been an on-set VFX Supervisor and DOP assistant. He has been an excellent mentor for cmiVFX.

