![]()
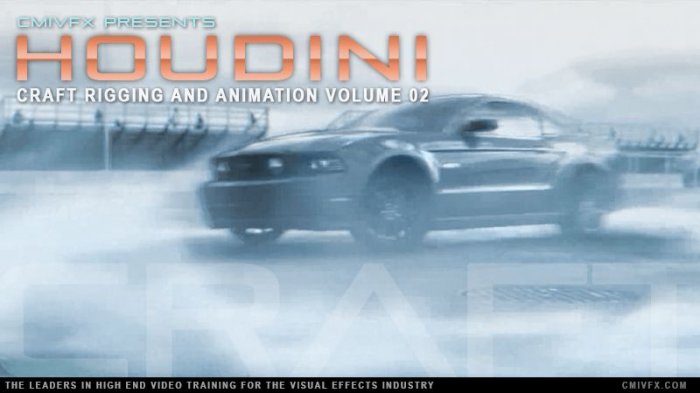
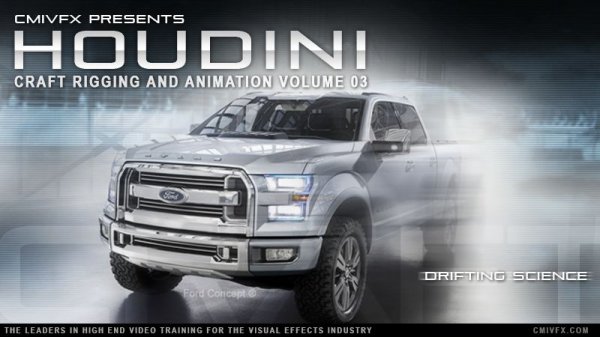
cmiVFX - Houdini Craft Rigging and Animation - Volume 2
Time : 3h 18m | Size : 2.52 GB | Project Files: Included | Software Used : Houdini
با سلام
این آموزش به دنباله قسمت قبلی میباشد که در آن Alaliwi Hossam-Aldin به ریگ دارایی های دیجیتال خودرو میپردازد. او جزئیات بیشتری را به ریگ ماشین اضافه میکند و در ادامه به کشف شتاب خطی(linear velocity) و شتاب زاویه ای(angular velocity) میپردازد که به منظور ساخت شبیه سازی خودرو به صورت Real-Time میبایست تفاوت بین این دو نوع از شتاب را درک کنید. او همچنین یک کلید توربو جهت افزایش سرعت و یک ترمز قوی جهت متوقف کردن وسیله نقلیه به دارایی ها اضافه میکند.
مشاهده توضیحاتــ انگلیسی
cmiVFX has released the second video for their brand new three-part series on Houdini FX for simulation of real-time motion. In this video we'll start from where we left off in volume 1 by continuing to build our automobile rig digital asset. We'll begin by adding more detail to our automobile rig and we'll explore linear velocity and angular velocity. In order to build this real-time automobile simulation, one must understand the difference between these two types of velocity. We'll also add a Turbo Key to our asset so you can move faster. If you want your vehicle to stop, there are also strong brakes that we'll be adding. In the last chapter we'll use particles for the primary simulation and we'll explore particle nodes as they relate to our real-time project. This lesson is packed with some valuable knowledge that every one needs to know about controlling particle behavior. Enjoy Volume 2!
Chapter Descriptions
Additional Rotation of the Wheels Part 1
This first chapter will explain the difference between linear velocity and angular velocity with a very clear example.
Additional Rotation of the Wheels Part 2
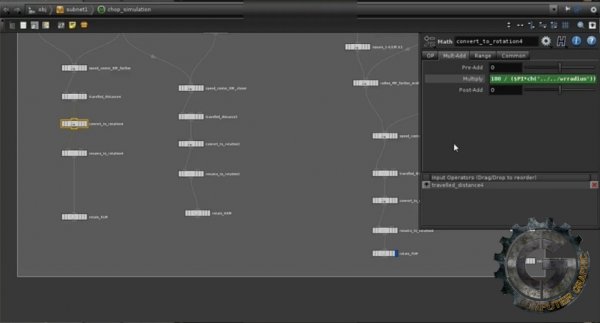
To create an accurate rotation for our wheels ,we'll need to compute the speed for each wheel and apply it inside our tool. This is a cool detail and it's one of the secrets of good vehicle animation.
Adding a Turbo Key
We'll add a turbo function and we'll add detail to all of the control parameters.
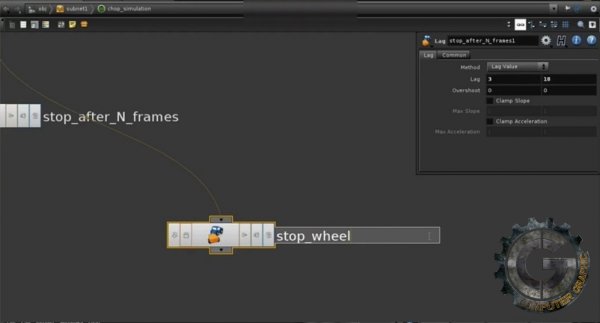
Add Brakes and Hand Brakes Keys
Most cars also have two types of brakes. Usually one brake is stronger than the other. We'll make all this happen with Houdini.
Suspension Effect
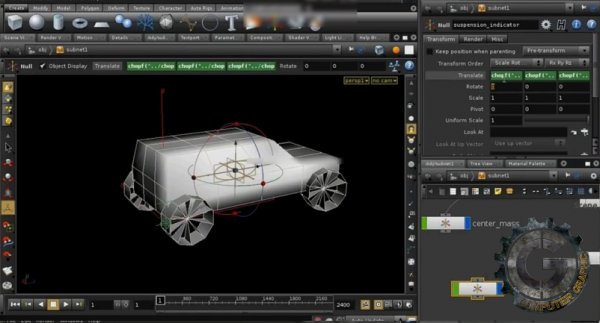
Creating a suspension system will add a very realistic effect to our car simulation. The vehicle's body moves differently than the wheel base. You'll notice this even more during turns and speed changes. We'll implement this by using a very clever, fast method.
Particle Simulation
Now we'll begin using particles. The particle operator context will become our primary simulation combined with channel operators. We'll make our particles move in space exactly how we want them to. We can use them to limit speed for example. The velocity node, force, suppress, event, and many other nodes will be discovered in this chapter as well.

