![]()
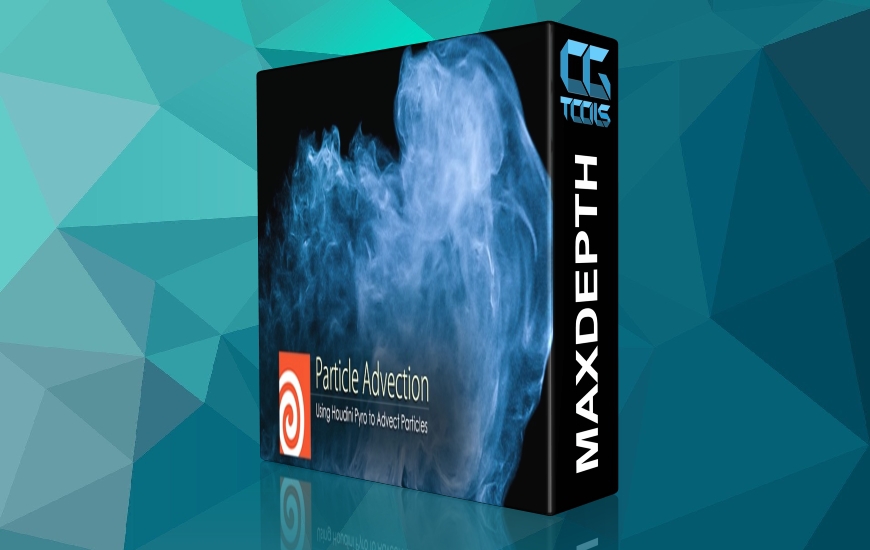
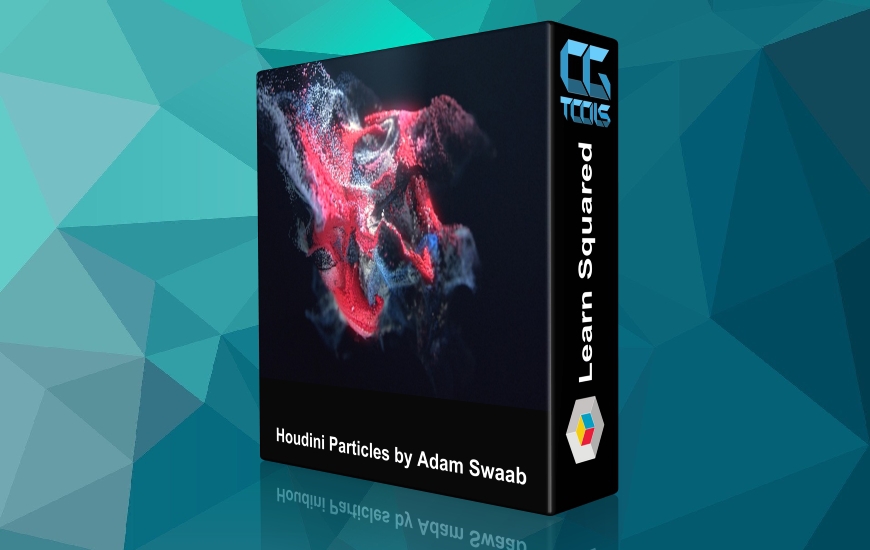
اکنون شما می توانید با استفاده از این راهنمای جامع برای هنرمندان هودینی در سطح مقدماتی، به انیمیشن ذرات بپردازید. همه چیز یک آغاز دارد و شبکه ذرات در هودینی همیشه با ایجاد ذرات شروع می شود. شما در مراحل اولیه این مجوعه آموزشی ایجاد ذرات را یاد خواهید گرفت. در ادامه مرحله ايجاد ذرات، ما بحث خواهيم کرد که چگونه از هندسه براي انتشار ذرات با استفاده از گره منبع استفاده کنيم. ما در مورد پارامترهای آن صحبت خواهیم کرد. در ادامه نیز یک نمونه ساده از باران ایجاد خواهیم کرد. در ادامه درس ها این مجموعه ما با گره گرانش شروع خواهیم کرد و نیروهای اساسی را بر اساس این گره توضیح خواهیم داد و موارد بیشتری که در درس های دیگر این مجموعه خواهید دید.
مشاهده توضیحاتــ انگلیسی
Now you can jump right into particle animation with this comprehensive guide for entry level Houdini artists. No matter if your migrating from another animation package, or learning Houdini from scratch, this video is a must have!
Chapter Descriptions
Creating Particles
Everything has a beginning, and a particle network in Houdini always begins with the creation of the particles. You will learn in this chapter the first steps for creating particles. we will be using a location emitter to demonstrate how and where to create those particles.
Location Node Parameters
In order to manipulate particles, the first parameters to change are in the the location node. Since it always begins with the creation, learning the parameters in this phase is a crucial achievement towards getting the most out of your project. During the explanation of the Location Node Parameters we also show the details view, an important place to visualize many of our particles parameters.
Emitting Particles From Geometry
Users are not limited to emitting particles from a location. You can also use custom geometry to emit particles from. Continuing in the particles creation phase, we will be discussing how to use geometry to emit particles using the source node. We will talk about its parameters and we will see how it can inherit velocity from the source geometry. Then we will end up creating a very simple basic rain example.
POP Network Parameters
Particle placement can't really exist without a simulation. In the POP Network Node, we can control some of the simulation parameters. In this chapter of the video, you will learn about the parameters of the POP Network, which will prove very useful in several situations.
Initial State
Sometimes users may just need particles to begin from a certain point in time, after the beginning of the simulation. One simple and efficient way of achieving this is by using Initial State. In this section of the video, we will show how to import an initial state file, applying that to an example in which we will blow up a baseball bat into a number of smaller fruit bats.
Gravity And Force Attributes
Forces and dynamics are mandatory in order to drive simulations because they reproduce real life situations in a fast and easy way. Here we will begin with the gravity node and explain the basic forces based on this node. [ktir mhemmin l forces, w lezem l wa7ad ymatrezon] . We will also show the property node, a very useful node that we will be using often later.
Fan-Wind-Noise
Fan and wind are two important force nodes that can help you achieve many cool effects. Randomizing things with noise creates a more organic style of movement then with velocity or force used alone. This part will explain in detail those 3 nodes and how to use them in order to continue the bat example. (ending it by blowing up the bat to small bats.)
Planetary System
Beside smoke, fire and other widely used visual effects, particles can serve to a different type of effect simulation. We combine and explain a bunch of nodes such as the orbit, torque, group, drag and more in order to create a not so common effect with particles: a planetary system.
Commercial Soda Bubble Effect
This chapter is all about making the bubbles in a glass of soda with complete detail. We will make them appear on the inner surfaces of the glass, change size with age, and float to the surface where they will burst when colliding with the liquid surface. We then talk about the collision node which is used for the collision of the bubbles with the surface. Continuing, will also show how we can make our particles interact with rigid bodies and collide with them without using the collision node.
Shading And Rendering
What's life without color? Just an old black and white tv with bad reception. In this section, we will be using some of what we have learned in the previous sections to make an electric saw cut into a cube. Then we will learn how to give colors and alpha to the sparks emitting from the saw and change them with time. We show how we can use the render pop to change some of our particles attributes such as shape, and we will end up giving our particles some motion blur.
Sprites And Rendering
Sprites are a very important aspect of particle networks. They are fast, efficient, and allow you to create very interesting effects such as smoke, dust and more. This part will be dedicated to sprites, showing how to create them, color them, control alpha, and how you can attach textures or custom shaders to them all while setting them up for Mantra to render.

