![]()
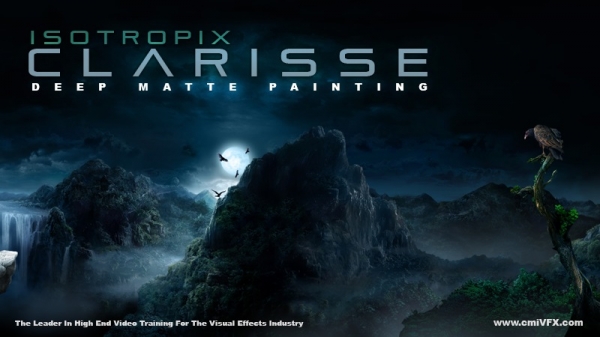
در این آموزش نحوه ی ساخت یک نقاشی مات ( Matte Painting ) را با استفاده از نرم افزارهای فوتوشاپ و مایا و Clarisse به شما آموزش می دهیم. ما به شما نحوه ی ساخت یک نقاشی مات در حال حرکت بسیار زیبا را به شما اموزش می دهیم.در این آموزش نحوه ی ساخت لایه ها در فوتوشاپ ، ساخت سرزمینی بسیار زیبا از زمین تا آسمان را به شما آموزش داده ، سپس به شما تکنیک های سریعی را برای ساخت بعدی جدید در نرم افزار مایا به شما آموزش می دهیم ، همچنین برخی از تکنیک های ساده ی انیمیشن را به شما آموزش می دهیم.و در نهایت تمامی المانهای ساخته شده را در Clarisse با هم ادغام میکنیم.
مشاهده توضیحاتــ انگلیسی
Animation and VFX Instructor Christopher Tedin offers this workshop on creating deep matte paintings using Adobe Photoshop, Autodesk Maya and Isotropix Clarisse. He will cover the entire pipeline from beginning to final render.
cmiVFX has released the brand new Deep Matte Paintings in Clarisse video. Take a step into the future of rendering with the all new Isotropix Clarisse. We will create engaging and believable moving matte paintings, diving into the artwork almost in real time. The video will show you how to create layers in Photoshop, building the landscape up from the sky to the foreground. Then, we will show you some quick and easy techniques to build up dimensionality using Autodesk Maya, and some simple animation techniques will be covered. Then, all the pieces are combined in Clarisse. From there, you can render very quickly and get great looking results in record time. Chris demonstrates the power of these potentially complex tools using provided files so you can follow along. Featuring original Matte Painting By Saizen Media then modified by Chris Maynard specifically for this project.
Chapter Descriptions
Introduction
Here is a brief introduction to concepts of creating Deep Matte Paintings.
Photoshop
First, we take a flat piece of artwork and begin to extract the pieces to be used in the dimensional set piece. The instructor will cover such tools as the Lasso Selection Brush, Layer Masking, Painting Tools, and the Clone Stamp tools, and much more.
Modeling in Autodesk Maya
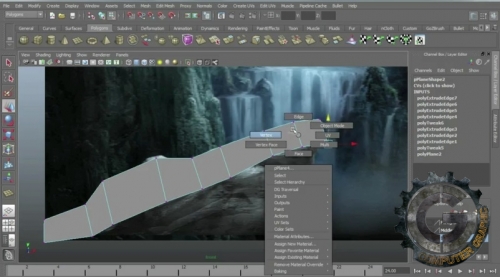
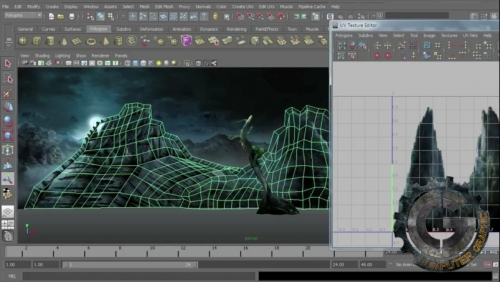
In order to introduce parallax, the video will cover some of the basics of modeling in Maya, as well as creating UV maps and projecting the files from Photoshop onto the simple shapes.
Assembling the scene in Clarisse
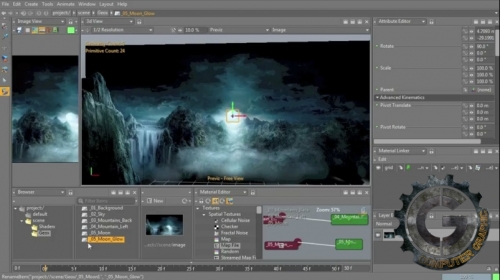
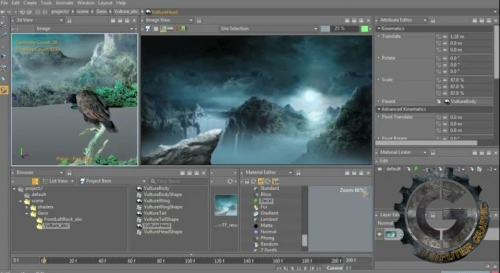
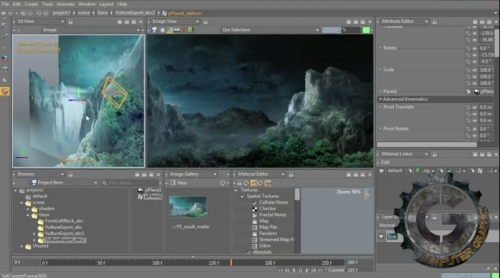
Clarisse was built as a scene assembly system, and its power and flexibility really shows when you begin to bring in your assets from Maya and Photoshop. With the intuitive and powerful interface, you can move and scale your scene elements, and even add new textures and materials. You can even add moving images to the scene. Animating your camera and objects in the scene is a snap. It is the perfect environment for creating new, deep and interesting worlds. We only see the tip of the iceberg in this introductory lession.
Rigging and Animation in Maya
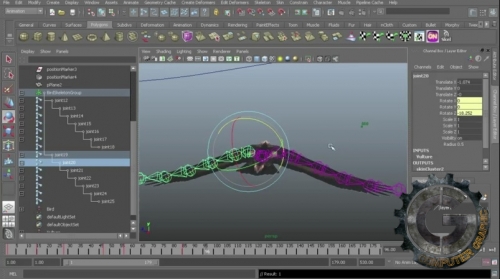
We rig and animate a simple Vulture, apply motion to a path, and bring that asset into Clarisse using the new Alembic format. You will see how easy it is to create believable creatures for long distance shots, and how well they hold up in the scene.
Rendering in Clarisse
Hold on to your socks, the real power of Clarisse comes alive with its powerful and modern rendering engine. The entire scene is rendered in record time, at full HD quality. Motion blur, depth of field and a full layered pass system are only a few of the features that are built into Clarisse. The final results speak for themselves. Have you always wanted to try Clarisse? This is your chance to really take it for a spin!

