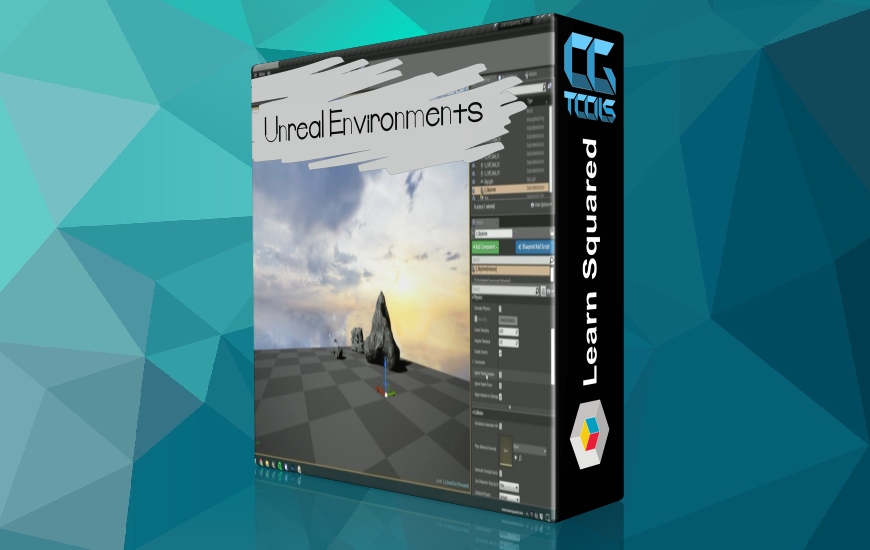
![آموزش ایجاد محیط بازی فانتزی واقعی]()
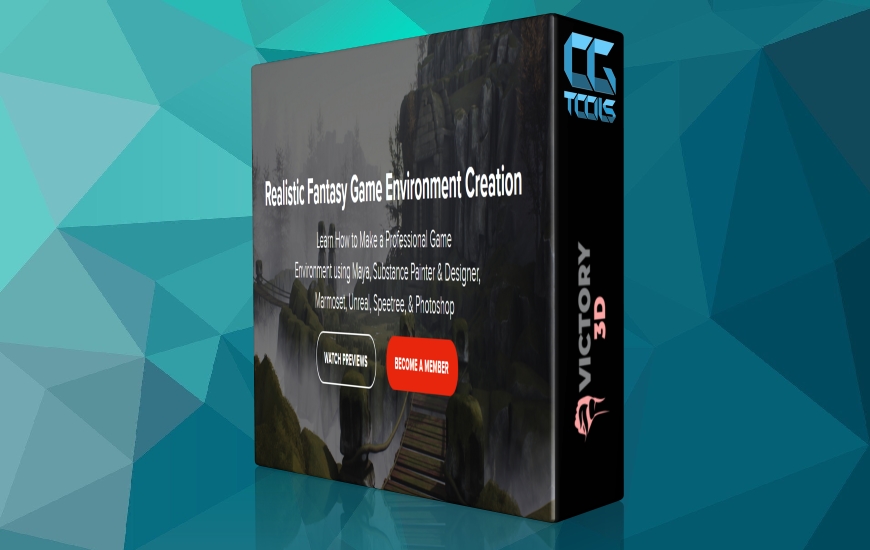
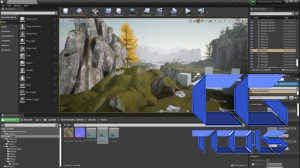
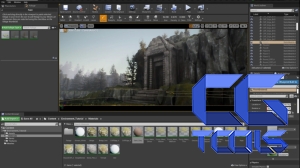
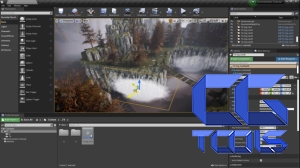
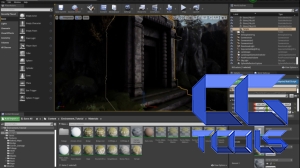
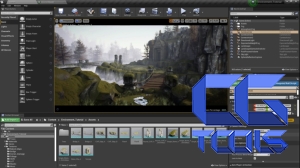
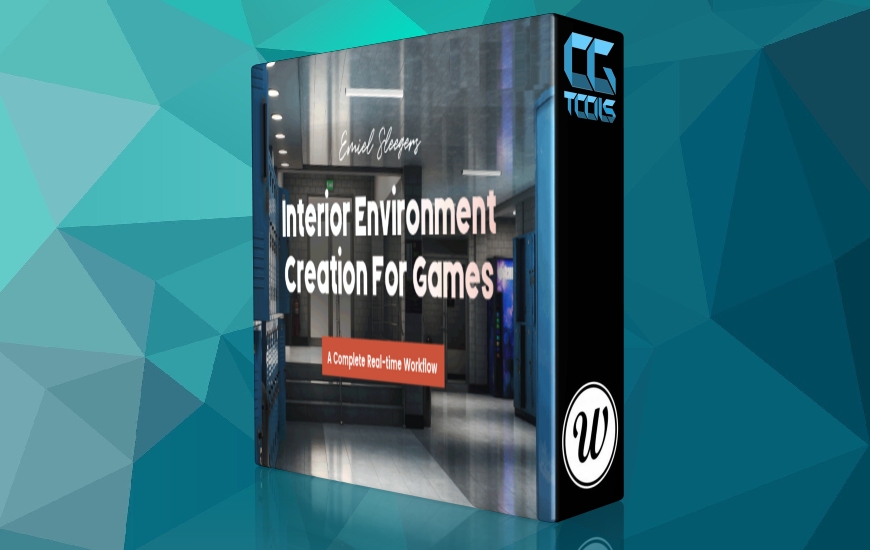
سلام به همه . به این دوره آموزشی بسیار هیجان انگیز در مورد نحوه ایجاد یک محیط بازی از ابتدا تا انتها خوش آمدید. نام من Emiel Sleegers است، من یک هنرمند ارشد محیط سه بعدی هستم که سالها تجربه کار در استودیوهای بازی AAA را دارم و معلم شما خواهم بود. این دوره. در این دوره به نحوه ایجاد یک محیط بازی Realtime به طور کامل از ابتدا می پردازیم. یعنی از ابتدا تا انتها آن را 100% خواهیم کرد و 95% از این آموزش را در زمان واقعی خواهیم داشت.
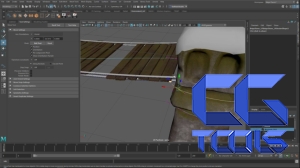
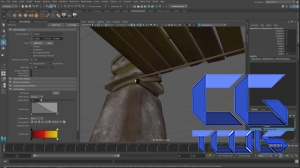
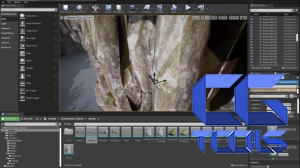
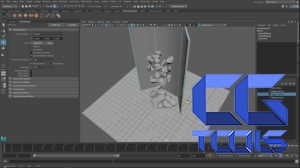
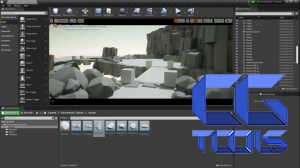
برای این دوره ما از Maya، Zbrush، ساب استنس پینتر و ساب استنس دیزاینر ، کمی فتوشاپ، کیسه ابزار marmoset، Speedtree و آنریل اینجین 4 استفاده خواهیم کرد.
اکنون، این آموزش هنرمندان متوسط را هدف قرار داده است، آنها هنرمندانی هستند که قبلاً با ابزارهایی که ذکر کردم آشنا هستند اما فقط می خواهند گردش کار و تکنیک های ایجاد یک محیط بازی ویدیویی را بیاموزند.
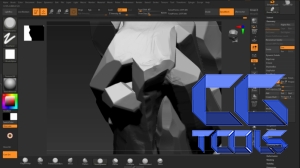
به عنوان یک نمای کلی کوچک. ما این دوره را با مرور مرجع خود و بحث در مورد چگونگی ایجاد این محیط شروع می کنیم. سپس با ایجاد یک بلوک خوب از محیط شروع می کنیم تا در مقیاس بندی و ترکیب بندی دقت داشته باشیم. ابتدا روی از آنجایی که سنگ ها یکی از اجزای اصلی این آموزش هستند. این بدان معناست که ابتدا تمام مجسمه های سنگی در Zbrush را تکمیل می کنیم. پلی کم را در مایا قرار دهید و سنگ ها را در کیسه ابزار مارموست بپزید. سپس یک ماده سنگی در داخل طراح ماده و یک ماده ویژه در داخل موتور غیر واقعی ایجاد می کنیم تا سنگ ها شگفت انگیز به نظر برسند. برای این کار ما همچنین باید به سرعت یک ماسک مخصوص در رنگآمیزی مواد ایجاد کنیم که به ما امکان کنترل میزان کثیفی و برجستهترین سنگها را بدهد.
پس از انجام همه کارها، به سیستم خزه خود خواهیم رفت، زیرا این احتمالاً دومین چیز مهم در این محیط است.من با ایجاد یک ماده خزه در داخل طراح مواد شروع خواهم کرد.سپس به شما نشان خواهم داد که چگونه از این ماده برای ایجاد خزه رویه ای و خزه فازی دست ساز برای تمام سنگ های خود استفاده کنید.
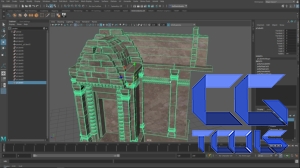
در نهایت با تنظیم محیط خود، انجام پاس های نورپردازی و ترکیب بندی شروع می کنیم. ما مقداری شاخ و برگ در داخل Speedtree ایجاد می کنیم و آن را در صحنه خود قرار می دهیم. ما ساختمان معبد خود را همراه با آسیب های لبه کاشی کاری ویژه ایجاد خواهیم کرد. و هنگامی که ما از کل محیط راضی هستیم، به شما نشان خواهم داد که چگونه می توانید چند اسکرین شات و پرتفولیو نهایی ایجاد کنید.
اگر این دوره را دنبال کنید، پایه و مهارت بسیار محکمی برای مقابله با هر نوع محیط بازی، بدون توجه به ارگانیک بودن یا شهری بودن، خواهید داشت.
مشاهده توضیحاتــ انگلیسی
Hello everyone! And welcome to this very exciting tutorial course on how to create a game environment from start to finish.My name is Emiel Sleegers, I am a senior 3d environment artist who have years of experience working for AAA game studios and I will be your tutor for this course. In this course we will go over on how to create a Realtime game environment completely from scratch.That means that we will make it 100% from start to finish and we will have 95% of this tutorial in real time.
For this course we will be using Maya, Zbrush, Substance painter and designer, a tiny little bit of photoshop, marmoset toolbag, Speedtree and unreal engine 4.
Now, this tutorial is targeted towards intermediate artists, these are artists who are already familiar with the tools I just mentioned but just want to learn the workflows and techniques to creating a video game environment.
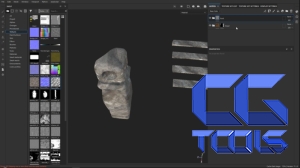
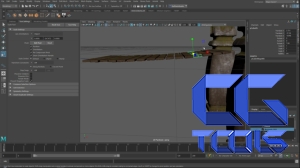
As a quick little overview. We will start this course off with going over our reference and discussing on how we are going to create this environment We will then start by making a nice blockout of the environment so that we have accuracy in the scaling and composition.We will first focus on the rocks since those are one of the main components in this tutorial.This means we will first complete all the rock sculpts in Zbrush. Setup the low poly in maya and bake the rocks in marmoset toolbag.Then we will create a rock material inside of substance designer and a special material inside of unreal engine to make the rocks look amazing. For this we also need to quickly create a special mask in substance painter which will give us control over the dirt amount and highlights of the rocks.
After we have done all that we will move on to our moss system, since this is probably the second most important thing in this environment.
I will start by creating a moss material inside of substance designer.
Then I will show you how to use this material to create both procedural moss and hand made fuzzy moss for all your rocks.
Finally, we will start by setting up our environment, doing lighting and composition passes. We will create some foliage inside of speedtree and placing it in our scene. We will create our temple building along with special tileable edge damages. And once we are happy with the entire environment, I will show you how to create some final portfolio screenshots and flythroughs.
