![آموزش رندر با کی شات]()
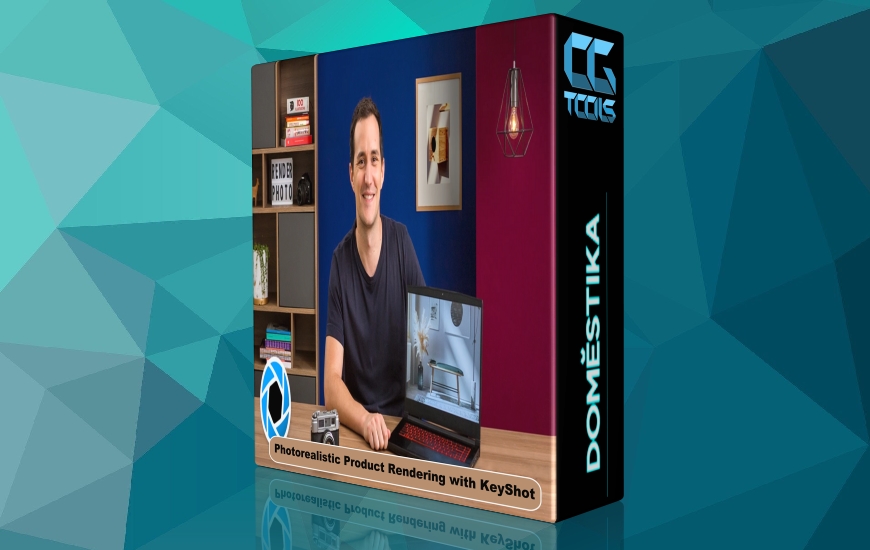
طراحی و شکل یک شی نه تنها قدرت برقراری ارتباط دارند، بلکه توانایی حل مسائل روزمره را نیز دارند. نیکلاس رابرتسون، طراح صنعتی، معتقد است که طراحی سه بعدی کلید بهبود فرآیند ایجاد با اجازه دادن به مشتریان برای تجسم محصولات قبل از تولید است.
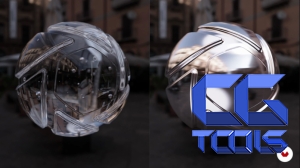
یاد بگیرید که چگونه با استفاده از KeyShot رندرهای فوتورئالیستی از هر شی سه بعدی ایجاد کنید. در پایان این دوره، میدانید که چگونه اشیا را از روی تخیل خود طراحی کنید و با استفاده از نور، مواد دیگر و تکنیکهای روتوش، ظاهری واقعی به آنها ببخشید.
دوره را با آشنایی با استاد خود نیکلاس رابرتسون آغاز کنید. او کمی در مورد خودش، کاری که انجام می دهد و اینکه چرا معتقد است تجسم سه بعدی برای طراحی و معماری ضروری است به شما می گوید. او همچنین برخی از بزرگترین تأثیرات خود را به اشتراک می گذارد و نمای کلی پروژه نهایی را به شما ارائه می دهد.
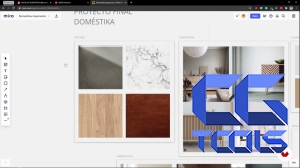
مفاهیم کلیدی فوتورئالیسم را مرور کنید و چند نمونه از سیستم های روشنایی ساده استودیویی را ببینید. اصول اولیه انواع مختلف مواد را مرور کنید و تصاویر مرجع را برای تابلوی حالت مبلمان خود تهیه کنید.
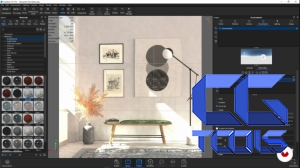
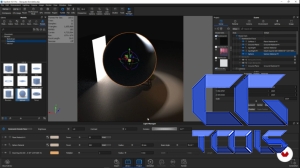
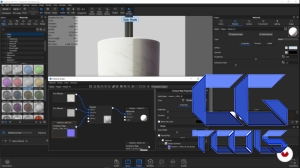
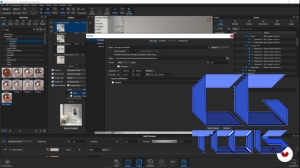
اکنون زمان آن است که در KeyShot به کار بپردازیم. با وارد کردن مدل خود شروع کنید و سپس با بررسی رابط کاربری و ویژگی های اصلی آن با برنامه آشنا شوید. یاد بگیرید که چگونه مواد را به اشیا اختصاص دهید، به صحنه خود نور اضافه کنید و مجموعه ای از دوربین ها را ایجاد کنید. Nicolás توضیح می دهد که چگونه هر یک از این عناصر بر ظاهر و ترکیب تصویر شما تأثیر می گذارد. در نهایت تنظیمات فایل خود را تنظیم کرده و آن را برای رنینگ آماده کنید.
اکنون که اصول اولیه را پوشش دادهاید، راههای مختلف را برای واقعیتر کردن صحنه خود، از افزودن عناصر جدید، مانند دیوارها یا اشیاء، تا تکنیکهای نورپردازی و متریال پیشرفته، بررسی کنید. سپس، یاد بگیرید که چگونه فرآیند رندر را بهینه کنید
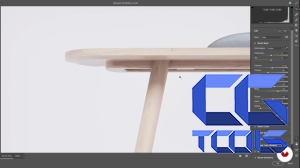
دوره را با افزودن نکات نهایی به پروژه خود پایان دهید. درست مانند نحوه ویرایش عکسهای حرفهای توسط عکاسان برای ارائه یک سبک خاص، هنرمندان سه بعدی میتوانند کار خود را در مراحل پس از تولید بهبود بخشند. Nicolás یک سری از ترفندها را هم در KeyShot و هم Photoshop به شما نشان می دهد تا کار خود را جلا داده و ظاهری حرفه ای به آن ببخشید.
پروژه این دوره چیست؟
یک رندر از یک مبلمان را از ابتدا ایجاد کنید و با استفاده از نور، مواد دیگر و تکنیکهای روتوش، ظاهری واقعی به آن ببخشید.
این دوره آنلاین برای چه کسانی است؟
طراحان، معماران، مهندسان و هر کسی که علاقه مند به زنده کردن ایده های خود و ایجاد تجسم واقعی از محصولات، مبلمان و سایر اشیاء مرتبط است.
الزامات و مواد
این دوره برای مبتدیان طراحی شده است، اما برخی از دانش اولیه سه بعدی مفید است.
تنها مواد مورد نیاز برای این دوره یک کامپیوتر میان رده تا سطح بالا با KeyShot و Photoshop است.
مشاهده توضیحاتــ انگلیسی
earn to create realistic visuals of objects from scratch before they are manufactured
The design and shape of an object not only have they power to communicate–they also have the ability to solve everyday problems. Industrial designer Nicolás Robertson is a firm believer that 3D design is the key to improving the creation process by allowing clients to visualize products before manufacture.
Learn how to create photorealistic renders of any 3D object using KeyShot. By the end of this course, you'll know how to design objects from your imagination and give them a realistic look by applying light, other materials and retouching techniques.
Begin the course by getting to know your teacher, Nicolás Robertson. He tells you a bit about himself, what he does, and why he believes that 3D visualization is essential for design and architecture. He also shares some of his biggest influences and gives you an overview of the final project.
Review the key concepts of photorealism and see a few examples of simple studio lighting systems. Go over the basic principles of different types of materials and compile reference images for your furniture mood board.
Now it's time to get to work in KeyShot. Start by importing your model and then get familiar with the program by exploring the interface and its main features. Learn how to assign materials to objects, add lighting to your scene, and create a set of cameras. Nicolás explains how each of these elements affects the look and composition of your image. Finally, adjust the settings of your file and prepare it for rending.
Now that you've covered the basics, explore different ways to make your scene more realistic, from adding new elements, like walls or objects, to advanced lighting and material techniques. Then, learn how to optimize the rendering process
Wrap up the course by adding the final touches on your project. Much like how professional photographers edit their photos to give them a signature style, 3D artists can enhance their work in post-production. Nicolás shows you a series of tricks in both KeyShot and Photoshop to polish your work and give it a professional look.
What is this course's project?
Create a render of a piece of furniture from scratch and give it a photorealistic look by applying light, other materials, and retouching techniques.
Who is this online course for?
Designers, architects, engineers, and anyone interested in bringing their ideas to life and creating realistic visualizations of products, furniture, and other related objects.
Requirements and materials
This course is designed for beginners, but some basic knowledge of 3D is helpful.
The only materials needed for this course are a mid-range to high-end computer with KeyShot and Photoshop.
