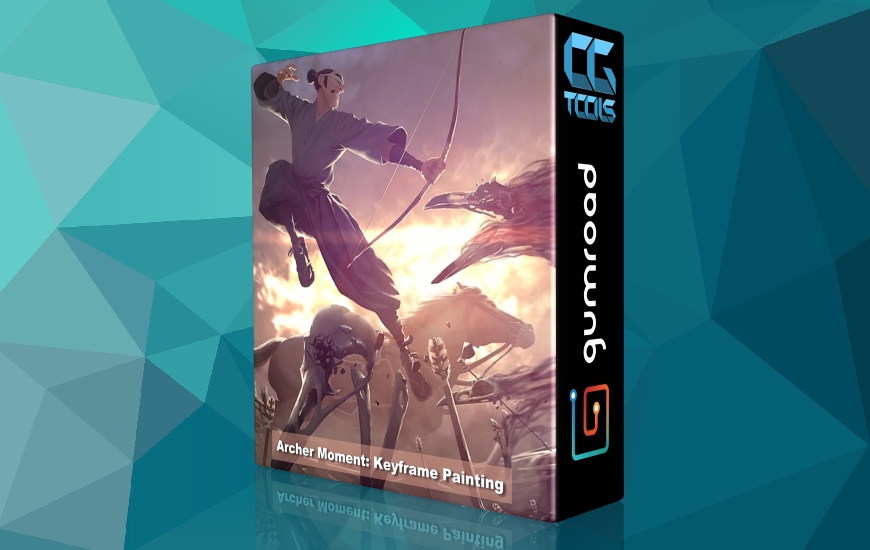
![آموزش نقاشی کماندار - نقاشی فریم کلیدی]()
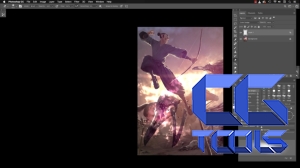
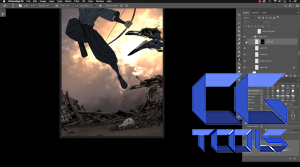
برای کاربران متوسط تا پیشرفته فتوشاپ، از یک صفحه سیاه و سفید از رمان گرافیکی خود شروع می کنم، روند خود را طی می کنم تا رنگ اضافه کنم و تصویر را به عنوان یک نقاشی "فریم کلیدی" تبدیل کنم. من در مورد مراحل اساسی برای افزودن رنگی صحبت می کنم که به درستی تحت تأثیر نور محیط، استفاده از جلوه های لایه، و ترکیب بندی برای ایجاد تصویری که می تواند به عنوان تصویر "نگاه تصویر" استفاده شود (تصویر نماینده نمای رندر نهایی یک تصویر) صحبت می کنم. فیلم) در صنعت انیمیشن.
این آموزش شامل:
- نسخه ی نمایشی 2.5 ساعته با صداگذاری
- 20 دقیقه ویدیوی «اضافی» که چندین تکنیک را عمیق تر مورد بحث قرار می دهد، از جمله گزینه های جاخالی دادن رنگ، لک و انتخاب رنگ
- 1 مجموعه براش ABR برای فتوشاپ براش های استفاده شده در دمو
- 1 "گام" PSD (نه یک فایل لایه ای از تصویر) این مجموعه ای از تصاویر مسطح است که لایه ها / مراحل نقاشی را نشان می دهد.
- 1 تصویر نهایی با فرمت JPG
مشاهده توضیحاتــ انگلیسی
For intermediate to advanced Photoshop users, starting from a black and white page from my graphic novel, I walk through my process to of adding color and rendering the image to be a "keyframe" painting. I talk about basic steps to add color that feels correctly influenced by the environment lighting, using layer effects, and composition to create an image that can be used as a "look of picture" image (an image representative of the final rendered look of a movie) in the animation industry. This tutorial contains:
-2.5 hour demo with voiceover
-20 min "extras" video discussing several techniques more in depth, including color dodge, smudge, and color picker options
-1 ABR brush set for photoshop of brushes used in the demo
-1 "steps" PSD (NOT A LAYERED FILE OF THE IMAGE) this is series of FLATTENED images that show the layers/stages of the painting.
-1 Final image in JPG format
