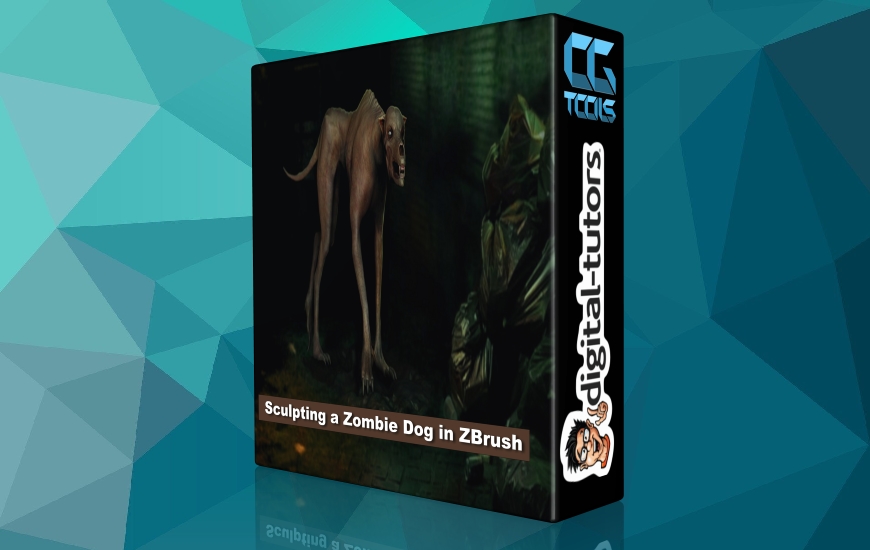
![دانلود آموزش اسکالپت کردن یک سگ زامبی در زیبراش]()
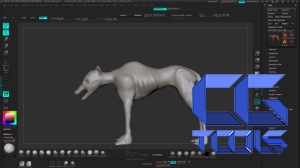
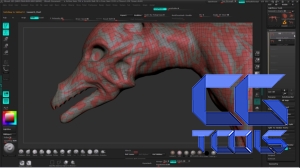
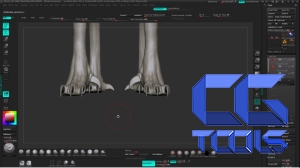
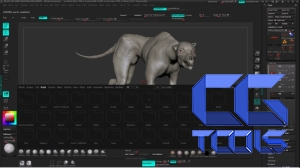
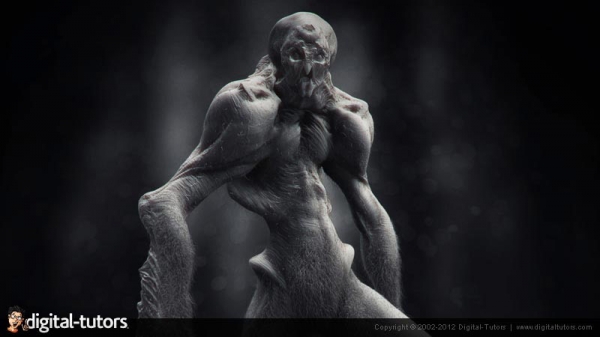
ما در این آموزش نگاهی به جمع شدن پوست در بدن خواهیم کرد ، و اینکه چگونه با بیرون انداختن برخی از استخوان ها و ماهیچه ها شکل متفاوتی را در سگ ساخته شده بوجود آوریم.نحوه ی آموزش ما به صورت قدم به قدم بوده و نحوه ی ساخت هیچ یک از قسمت ها را از دست نخواهیم داد ، تا شما بتوانید به شکل درست در آینده موجود ذهنی خود را بسازید.پس از گذراندن این اموزش شما درک عمیقی از آناتومی چهارپایان و اینکه چگونه آنها را برای نیازهای خود دستکاری کنید خواهید داشت.
مشاهده توضیحاتــ انگلیسی
What you will learn
In this ZBrush tutorial our focus is going to be on animal anatomy and how to adapt it when we need to ?zombify? something.
We will take a look at how the skin retracts onto the body, how visible the bones and muscles are and what sort of changes we can implement to make our dog look just different enough from the source material.
The workflow is displayed in its entirety so you wont miss any details on how to construct your own creatures with correct anatomical structure and cool detail.
Upon completing this tutorial you will have a solid understanding of quadruped anatomy and how to tweak it to fit your needs.
1. Introduction and project overview
2. Taking a look at our reference
3. Modifying our base mesh
4. Establishing our major landmarks
5. Tweaking our proportions
6. Refining our landmarks
7. Dividing our model and adding more detail
8. Adding more muscle structure to the model
9. Sculpting the head of our dog
10. Continuing to work on the head
11. Reshaping the back claws
12. Reshaping the front claws
13. Refining our overall sculpt
14. Creating clean geometry with QRemesher
15. Continuing to sculpt on the entire body
16. Adding bony landmarks to our legs
17. Sculpting the back legs
18. Adding details to the body and spine
19. Refining the spine and back muscles
20. Sculpting the face
21. Refining the shapes of the face
22. Adding more detail to the head
23. Sculpting time-lapse of overall refinements
24. Adding new geometry for the claws
25. Sculpting more detail all over the model
26. Breaking symmetry on the head
27. Creating a custom wrinkle brush
28. Final tweaks and details
29. Using Transpose to pose our model
30. Creating some ground for our model to stand on
31. Polypaint overview
32. Taking a look at our final render composite
