![آموزش ضروریات رندرینگ سه بعدی با استفاده از Cycles در بلندر]()
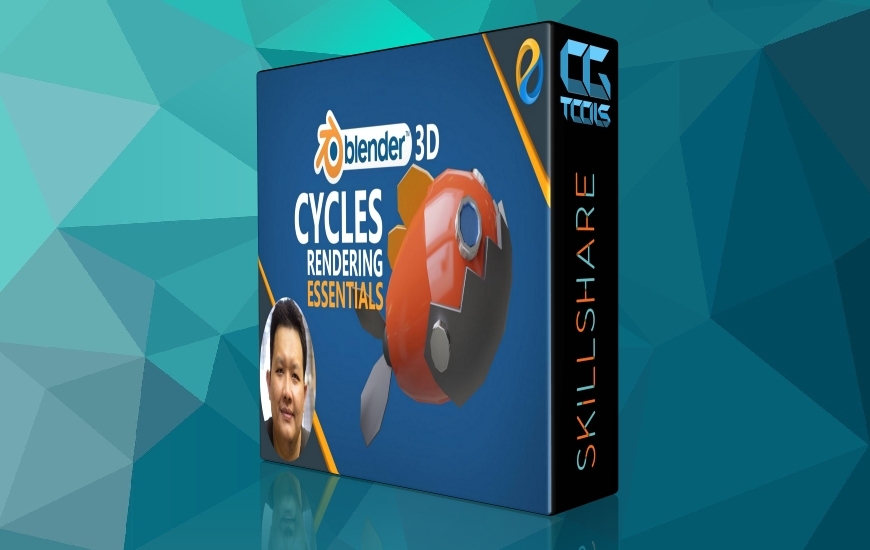
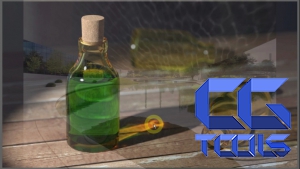
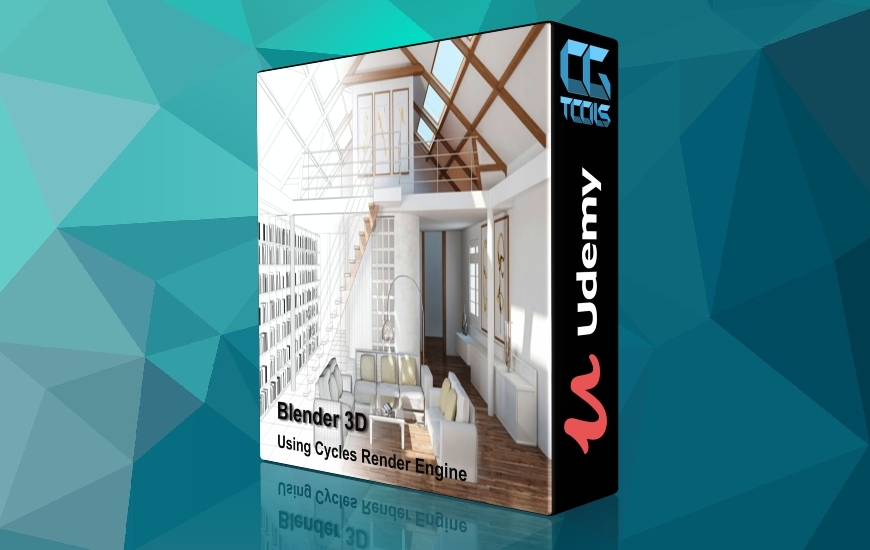
در این دوره، مدرس Widhi Muttaqien تکنیک های اساسی رندر در برنامه Blender را با استفاده از موتور Cycles پوشش خواهد داد. برای کسانی از شما که جدیداً به Blender وصل هستند، Cycles یک موتور ارائه دهنده است که با V-Ray ، Corona ، آرنولد ، اکتان و غیره قابل مقایسه است. در واقع Cycles می توانند وضعیت روشنایی دنیای واقعی را شبیه سازی کنند ، بنابراین شما را قادر می سازد تا تصاویر واقع گرایانه ای را تولید کنید. اما برخلاف موتورهای ارائه دهنده دیگر ، Cycles با Blender همراه می شود بنابراین رایگان است و نیازی به بارگیری یا نصب هر چیز جداگانه نیست. در اصل اگر از بلندر استفاده می کنید ، در حال حاضر Cycles دارید.
مشاهده توضیحاتــ انگلیسی
In this course we will cover the essential techniques of rendering in Blender using Cycles. For those of you who new to Blender, Cycles is a rendering engine that is comparable to V-Ray, Corona, Arnold, Octane etc. Essentially Cycles can simulate real world lighting condition, so it enables us to produce photorealistic images. But unlike the other rendering engines, Cycles comes bundled with Blender so it is free and you don’t need to download or install anything separately. Basically if you use Blender then you already have Cycles.
What we are going to cover
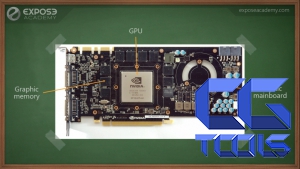
First we’re going to cover how GI rendering works, then we move on to discussing the differences between GPU and CPU rendering. Next we will discuss about rendering samples and different rendering methods. After that, we will cover in depth about light paths and how it can help us to optimize the rendering time. Next we will cover how to control transparency and caustics in Cycles. And then we will cover how to control light range and use the filmic tone mapping. We will learn how to create environment light using HDRI images. Then we will cover more lighting techniques using different types of lamp object and then learn about creating custom shaped light by turning any geometry into a light source.
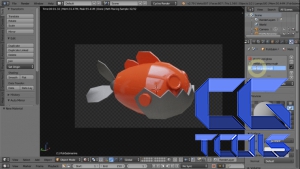
After we cover the render settings and lightings, we will then move on to materials. We will cover a lot of aspects about the principled shader such as the difference between metallic and dielectric material, creating transmissive materials, subsurface scattering, sheen, anisotropy, clearcoat, specular etc. As a bonus, we will discuss the workflow of how to create any material you can think of and then how to manage materials by creating your own material library. At the last part of this course we will discuss how to do final rendering, creating camera and how to control it. We will have a final project of creating this fish robot rendering. Basically in this project we will apply all that we have learned before, plus we will learn how to take our rendering result from Blender to Krita to create the final composition.
