![آموزش مدل سازی ماشین در بلندر قسمت 1]()
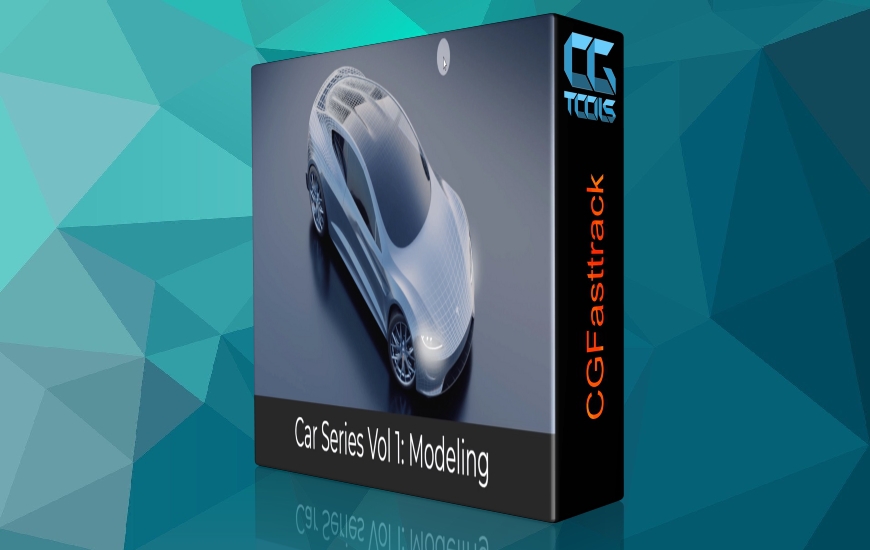
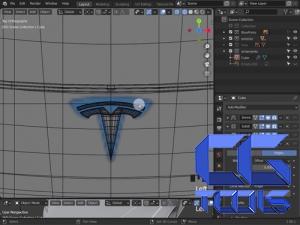
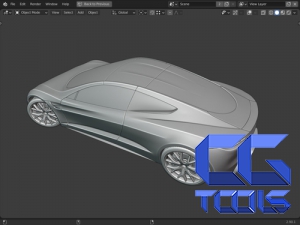
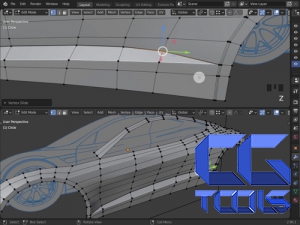
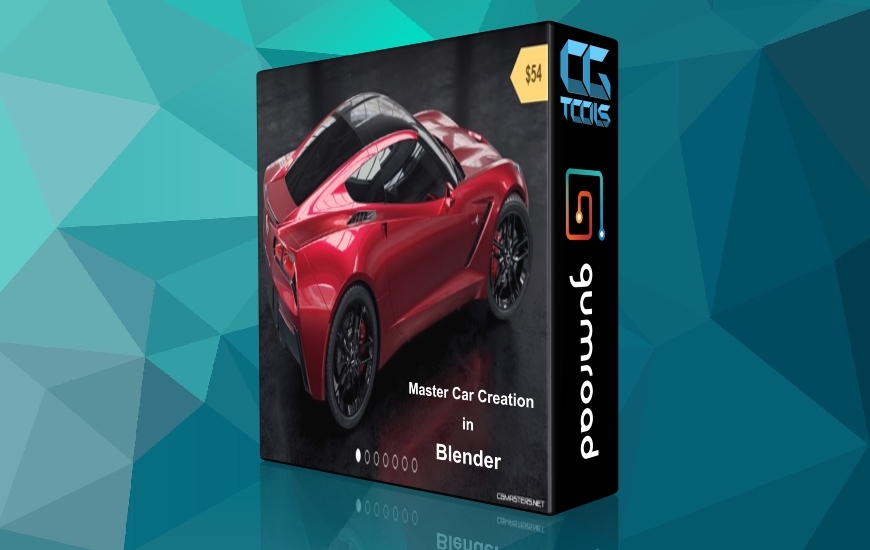
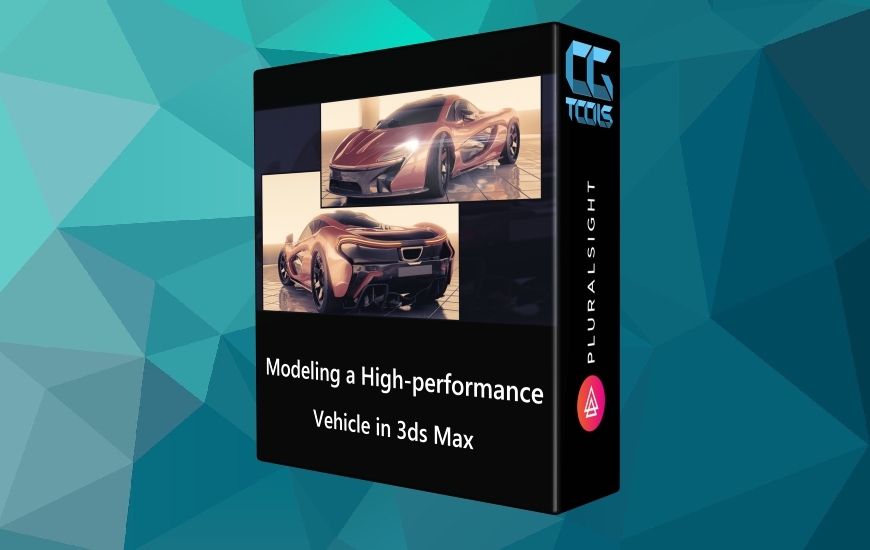
آیا هنوز اولین اتومبیل خود را مدل کرده اید؟ فیلم ها و تبلیغات پیشرفته مملو از وسایل نقلیه رایانه ای است. این مجموعه شما را از طریق تکنیک های میانی مدل سازی سطح سخت که به سمت ایجاد اشکال براق اتومبیل در داخل بلندر هدایت می شوند ، هدایت می کند.
قسمت 1
سفر اتومبیل خود را با استفاده از تکنیک های مناسب برای جمع کردن بسته بندی پلی های بالا به مش های کم پلی برای جلوگیری از فرورفتگی های سطحی که معمولاً با آن مبارزه می کنند ، شروع کنید. با ایجاد اشکال براق خودرو با دقت خود را برای موفقیت آماده کنید.
قسمت 2
با ایجاد توپولوژی دقیق و پیچیده مورد نیاز برای بدست آوردن سطوح سازگار و پیچیده ، ساخت مش مش بلند خود را در قسمت 2 شروع کنید. قدرت بسته بندی جمع شدگی در ترکیب با توپولوژی خوب به شما امکان کنترل دقیق مش را می دهد.
قسمت 3
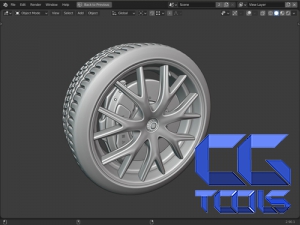
در قسمت 3 ، هنگام آرایه كردن دقیق هندسه آج در اطراف لاستیك ، روش های كارآمدی را برای استفاده از قدرت اصلاح كننده ها یاد خواهید گرفت. در مرحله بعدی ، رینگ ها و مش های دقیق ترمز را مدل می کنید تا یک چرخ اتومبیل ورزشی باورپذیر ایجاد کنید.
قسمت 4
در قسمت 4 ما شروع به نهایی سازی نمای بیرونی خواهیم کرد و جزئیات پر زرق و برق را به بالهای سپر جلو و عقب اضافه خواهیم کرد تا به ایجاد ظاهر تهاجمی خودروی اسپرت کمک کنیم.
قسمت 5
مراحل مدل سازی را در قسمت 5 نهایی کنید و سطوح را به حالت صیقلی خود ببرید. این تکنیک های اریب ، ظاهر نهایی را ایجاد کرده و به سطوح خودرو احساسی برتر می بخشد.
قسمت 6
مرحله مدل سازی را با این تنظیمات اولیه Wireframe ، رندر و رایانه به پایان برسانید تا روشی زیبا و هیجان انگیز برای ارائه مدل ماشین خود ایجاد کنید.
مشاهده توضیحاتــ انگلیسی
Have you modeled your first car yet? High end films and commercials are full of computer generated vehicles. This series will take you through intermediate techniques of hard surface modeling that are geared towards creating sleek automotive shapes inside of Blender.
Part 1
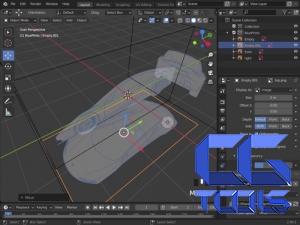
Start your car journey with the proper techniques of shrink wrapping high poly on to low poly meshes to prevent commonly fought surface dents. Set yourself up for success by creating sleek automotive shapes with precision.
Part 2
Begin building your high poly mesh in Part 2 as you create the detailed, complex topology needed to obtain consistent and complex surfaces. The power of shrink wrapping in combination with good topology will allow you to have precision control over the mesh.
Part 3
In Part 3, you’ll learn efficient techniques to utilize the power of modifiers as you array detailed tread geometry around the tire. Next, you’ll model out the rims and detailed brake meshes to create a believable sports car wheel.
Part 4
In Part 4 we will begin finalizing the exterior and add flashy details to the front and rear bumper wings to help create that aggressive sports car look
. Part 5
Finalize the modeling stages in Part 5 and take the surfaces to their polished states. These beveling techniques will create the final look and give the automotive surfaces a premium feel.
Part 6
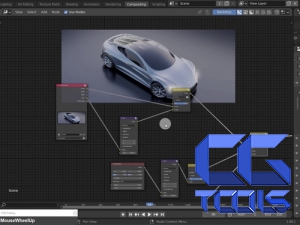
Wrap up the modeling stage with these basic wireframe, rendering, and comp setups to create an elegant, exciting way to present your car model.
