![]()
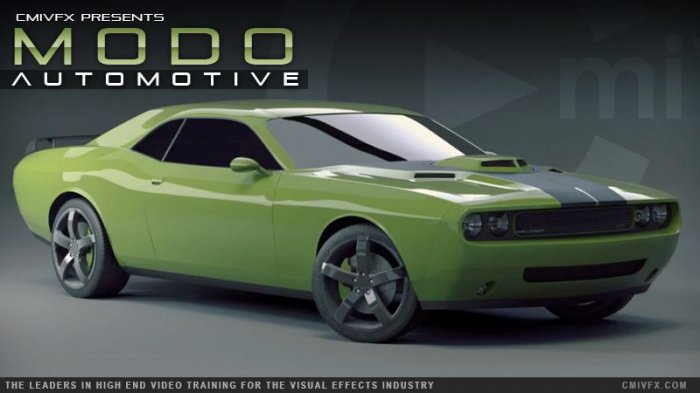
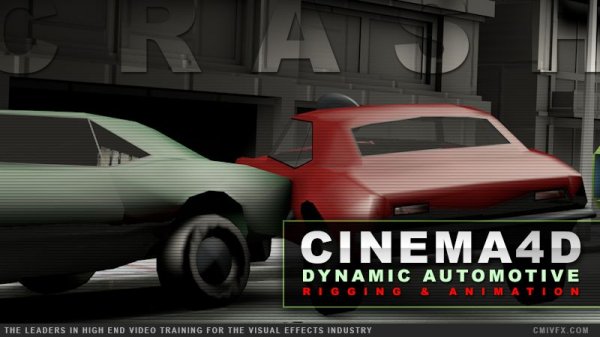
cmiVFX - Modo Automotive
Time : 15h 20m | Size : 25.9 GB | Project Files: Included | Software Used : Modo
با سلام
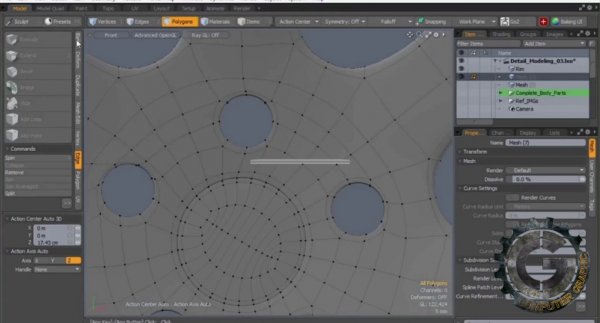
در این آموزش Mike Jagodzinski نحوه مدلسازی یک ماشین را در نرم افزار Modo آموزش میدهد. در طول این آموزش طولانی که بیش از 15 ساعت به طول می انجامد، مدرس به جزئیات عمیق در مورد تکنیک ها و جنبه های مختلف مدل سازی دارایی های ماشین میپردازد. او همه چیز را از یک متد blockout ساده تا تکنی های مدلسازی پیشرفته به صورت Sub-D را آموزش میدهد.
مشاهده توضیحاتــ انگلیسی
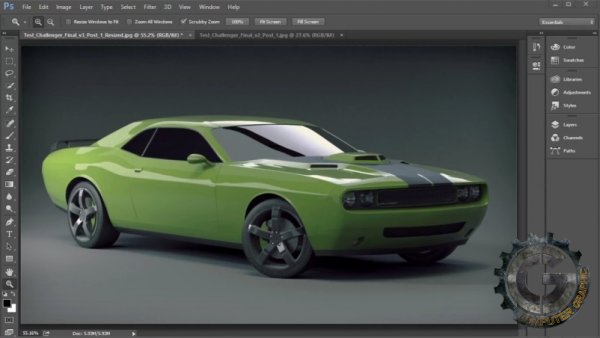
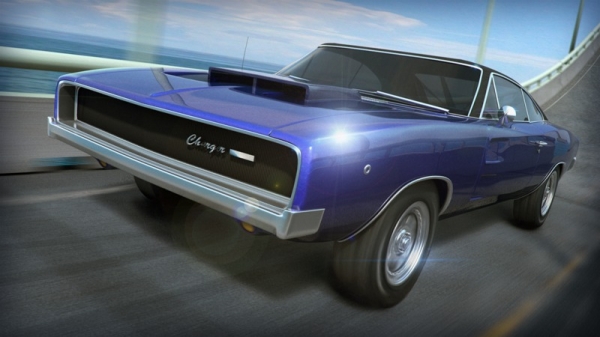
Shift your 3D modeling skills into high-gear with this massive, in-depth, Modo Automotive video by cmiVFX. This video is over 15 hours long! Throughout this lengthy tutorial we will go into deep detail about the techniques and aspects of modeling a production-ready car asset. Our Mentor, Mike Jagodzinsky, will cover everything from his simple blockout method to advanced Sub-D modeling techniques. On top of that, heandrsquo;ll walk you through the process of making each piece of this model from separate body panels, to brake lights, to rims and tires. Also, near the end of this tutorial, we will go over added materials as well as added custom touches that will really add to the realism of our model. Get ready for a serious ride.
Chapter Descriptions :
Introduction
In this tutorial we will cover efficient modeling techniques to create a production-ready car model. Throughout this tutorial, you will learn how to block in the basic shapes of modeling the body panels, rims, tires and more. We will top it off by setting up materials for the final render scene.
Prepping Reference
To start off we will prepare our reference images to ensure we get a good base to work off of within Modo.
Scene Setup
Within this chapter we will go through setting up our scene. We will bring in the reference images and make sure everything is set to real-world scale.
Modeling Block-Out
Now we can begin to block out our low-poly base mesh for the car body, which will end up being Sub-D in the end. I'll also go over some "do's and don'ts" that you should keep in mind when using this approach.
High-Poly Modeling
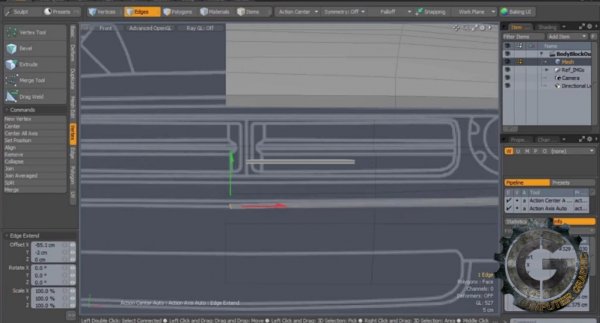
From here we will begin to break up the base mesh into separate panels which will further define the shape. We will wrap up this chapter by completing all the major areas, and by the end, we will have a solid, clean sub-divide mesh.
High-Poly Details
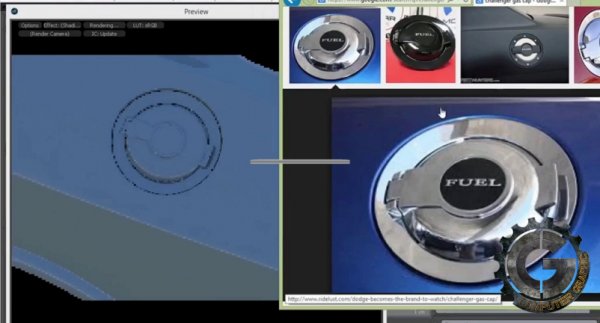
In this chapter we will start modeling all of those great little details. Some of the shape in the body panels will also be further defined.
Modeling Rims
In this chapter I will go over the process I use to model any rim. In this case, we will model a 2015 version for this iconic car.
Modeling Tires
Within this chapter we will learn how to model a high-poly, Sub-D tire. We will also go over the pros and cons of using displacement maps for this task.
Finalizing Modeling
Next we can finalize all the modeling. We will be wrapping up a few areas and getting ready for materials and rendering.
Materials and Rendering
Here I will go over setting up materials so we can get to them. I will also show you how to add a custom hood stripe to add a little punch to the car look. We will wrap up this section by setting the camera and the environment, and then it's off to rendering.


