![]()
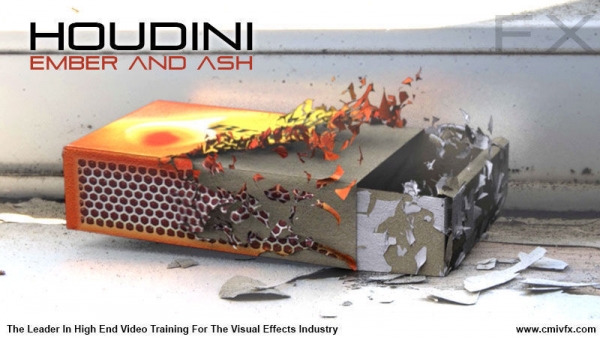
در حالی که این عنوان این مجموعه Ember and Ash است، محتوای این دروس فراتر از این دو مورد می رود. با وجود کارهای شگفت انگیر انجام شده توسط هودینی اما هنوز هم نیاز به دانستن موضوعات فنی جدید در این برنامه احساس می شود، برنامه ای که به طور فزاینده ای که برای چالش کشیدن تکنولوژی شناخته شده است. برای کسانی که به تازگی با برنامه قدرتمند Houdini آشنا شده اند، کریگ تونکس، مربی ما، یک رابط کاربری جدید برای سرعت بخشیدن به جریان کاری Houdini ایجاد می کند. ما این طرح جدید UI را برای ویدیو آینده نیز در نظر می گیریم.مربی این دوره آموزشی شما را با طریق مراحل دقیق ایجاد اثرات خاکستر، ذوب شدن و آلودگی آشنا می کند به شکلی که می توان آن را در صحنه های متعدد دیگر دوباره استفاده کنید.
مشاهده توضیحاتــ انگلیسی
cmiVFX has released the brand new SideFX Houdini Embers and Ash FX video. While this is the title, the content goes way beyond those two items. This instructional content dives deep into the mind of the season FX TD extracting yet more need to know topics in the technical abyss that is known as Houdini. For those of you who are new to Houdini, Craig Tonks, our instructor, creates a new user interface for speeding up the Houdini workflow. We are adopting this new UI layout for future video as well, all based on the success of the delivery of this content. We are proud to announce our ongoing support for one of the most technically challenging softwares known to mankind. When you need to know, and your out of time, there is only ONE CHOICE. Visit cmivfx.com today to get your Visual Effects Skills tuned to a perfect pitch. In a global economy like the one we are living in, job training is not only a good idea, it's a MUST! NOTE: This is over 9 hours of content. 3 cmiVFX Videos in one PLUS A BONUS! We reduced it down in price by 30% right out of the gate. Please let us know if you like this method best. Short Description Learn how to bring the detail into those close up destruction shots by deciphering 3 distinct effects lectured by Craig Tonks. Not only does he take you through the detailed steps to create the effects of ash, melting and debris.. ..but does it in a way in which all artists can reuse the workflow on multiple scene setups.
Chapter Descriptions
Introduction
A small chapter covering the file structure of the project files so you can find everything you need to follow along. Also introducing my favorite Houdini Desktop and showing how to get it ready to use.
Embers Introduction
The embers effect is tested on a teapot to understand how the effect works and cover the basics. We'll look at preparing the geometry, controlling the effect with animation and adding forces for artistic control. You'll be surprised how much we can develop without using any DOP or POP networks!
Embers Further
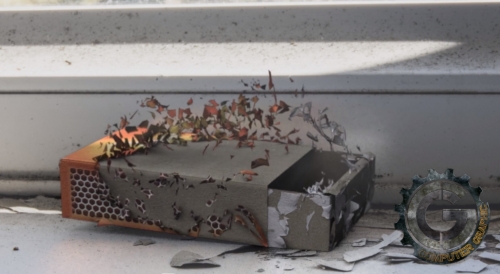
Our effect is implemented on a matchbox model in a scene and developed further. Safe areas are setup through VOPs allowing for an extra level of control.
Embers Refined
We cover how to take the basics and take more control over the network, including the ability to paint safe areas and adding complex forces. We'll also refine our effect to a more detailed level allowing for a higher resolution effect.
Melt Attributes
This chapter is an overview of transferring attributes, understanding the basics before using the same technique to drive our melting. We also look at the advantage of using a SOP solver over a plain SOP network
Melt Setup
We'll be setting up our scene and getting the basics done with shelf tools. We'll then be taking more control with how our object is turned into a FLIP fluid, and looking at making parameters we need more accessible by porting them up.
Melt Dev
We create a procedural Beam to melt our lego man, and cover how to transfer the melting parameters in detail. This section looks at the effects of viscosity in our fluid and set it with attributes.
Melt Finish
To Finish the effect, we cache the dynamics out and save space by throwing away un-needed attributes. We also cover using simulation data to create bubbles in the geometry, and look at lighting the scene from the heat beam itself.
Crumble Introduction
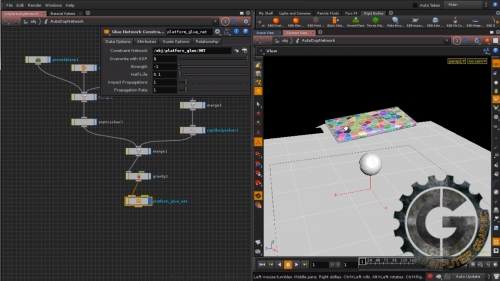
The basics of Bullet dynamics in Houdini 12 are covered, with a focus on taking control with glue networks and geometry attributes. Some new H12 nodes are covered as well as the new bullet solver
Crumble Fractures
A very in depth look at many approaches to fracturing an object covering what to use - when and why. Fracturing your geometry is a very important step so making sure we choose the right methods is important.
Crumble Setup
The scene is setup with our dynamics functioning, including a basic glue network that we can expand upon. This lays the groundwork for building our more complex system on top.
Crumble Effect Part 1
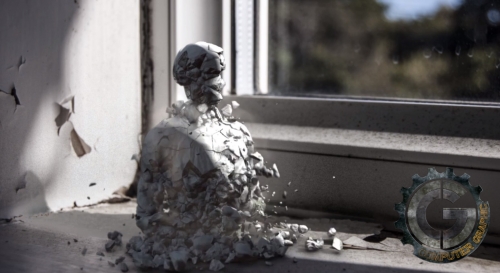
Erosion is spread through our glue making pieces start falling away from any number of start points. A key theme here is keeping the network procedural and open to changes in your incoming fractures.
Crumble Effect Part 2
The glue is developed to allow much greater artistic control, as precise or procedural as we want - creating a very robust system. With all this control in place the network will be very flexible - suitable for anything from a single foreground geometry to making multiple background simulations that are all varied.
Extra Dust And Debris
Bonus Chapter: Some notes on how to get some basic Dust and Debris together to complement the crumble effect with minimal effort.
Light Render Comp
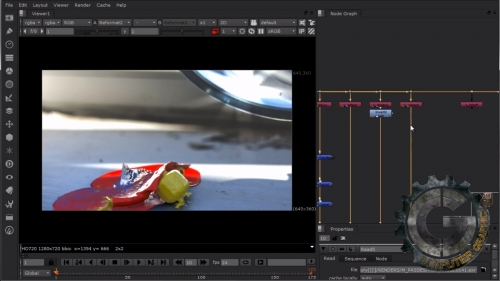
Bonus Chapter: An overview on how I set up lighting and rendering for the 3 effects, as well as a look into compositing the results in Nuke.
Extra Bonus Chapter
A look at the extra files i've included and what is in them.

