![]()
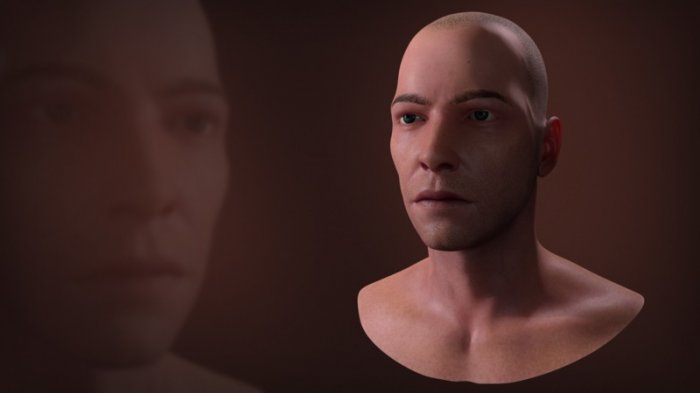
Digital Tutors - Taking Skin Textures from Good to Great in MARI
Time : 1h 36m | Size : 980 MB | Project Files: Included | Software used: MARI 2.6v2, Maya 2015
با سلام
همانطوری که میدانید بسیاری از هنرمندان بنا به دلایل زیادی به دنبال ساخت رنگ بافت واقع بینانه پوست برای شخصیت خود هستند که معمولا از Photoshop در این زمینه کمک میگیرند. در این آموزش Eddie Russell نحوه رنگ آمیری را به صورت بسیار اساسی برای بافت پوست در نرم افزار MARI آموزش میدهد.
مشاهده توضیحاتــ انگلیسی
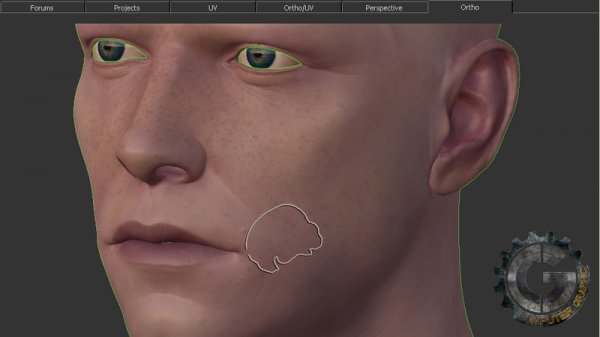
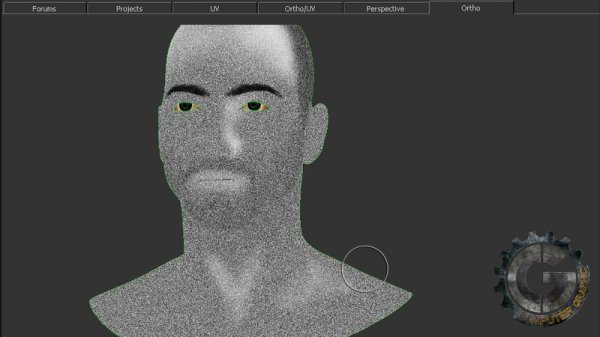
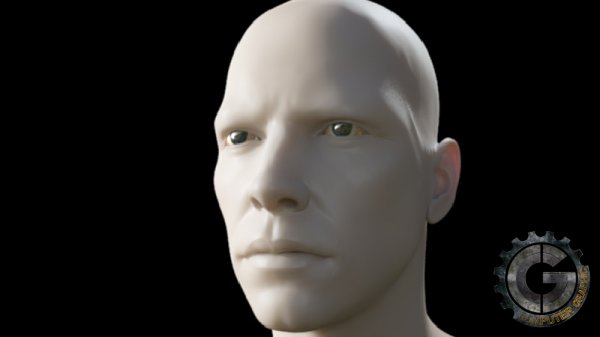
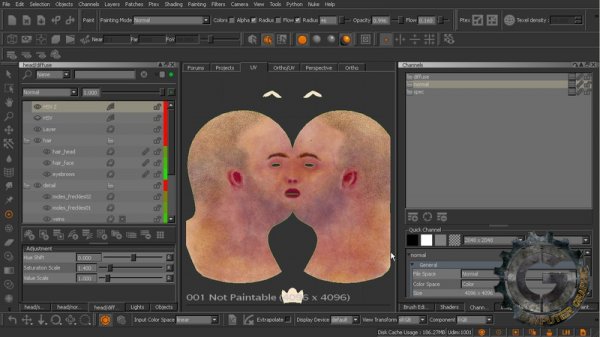
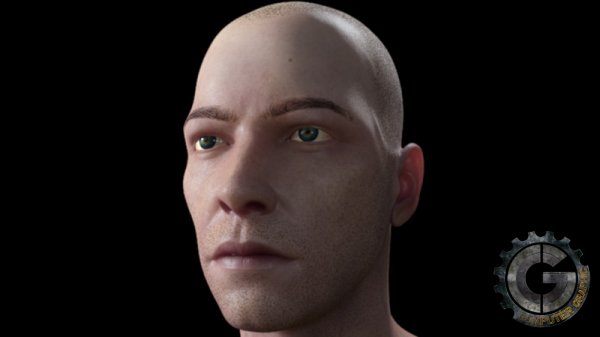
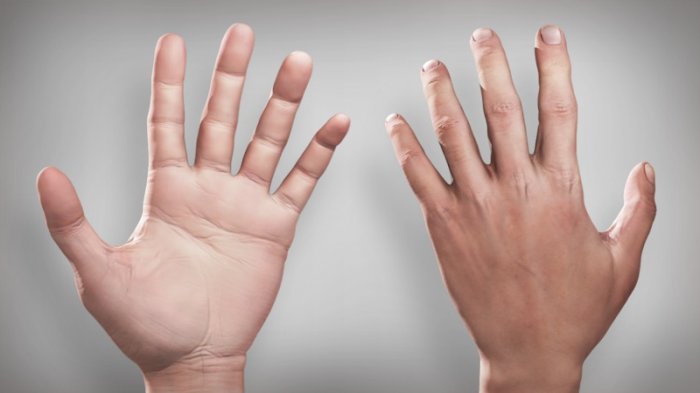
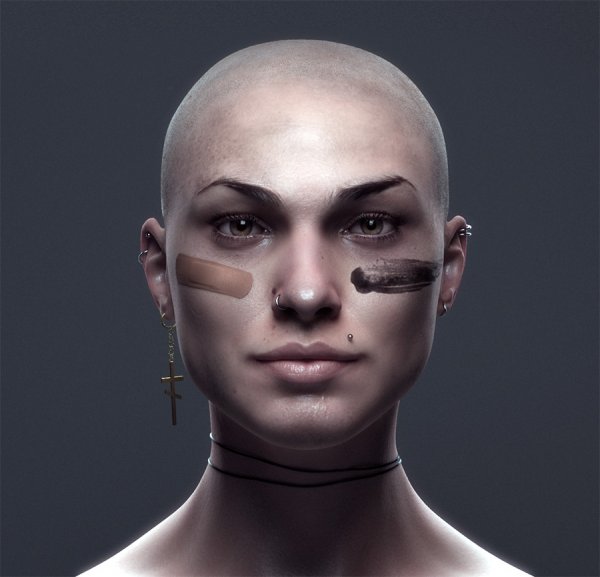
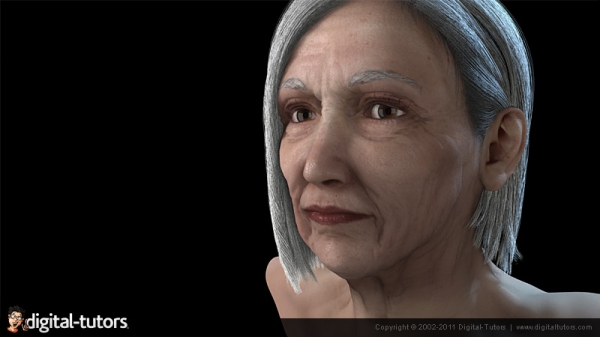
For a number of reasons, many artists struggle to paint realistic skin textures for their characters. Often times, to save time and speed up the painting process, photographs are used to texture skin. On top of introducing quite a few addition problems, this process creates a dependency on finding just the right photo. Wouldn't you like to be able to paint realistic skin without having to rely on a photo? This MARI tutorial will begin with a very basic coloration for our skin texture in MARI. Weandrsquo;ll render this out using Maya to see that while it could work, it could definitely be better. From here weandrsquo;ll go through the process of painting a number of different blemishes and details as well as additional maps for our asset. From here weandrsquo;ll move back to Maya and learn how to setup a subsurface scattering material for our textures that will give as a more realistic preview of their effectiveness. To wrap things up, weandrsquo;ll examine the rendered result and then make some modifications to our textures to push them even further. After completing this MARI training, youandrsquo;ll have a great understanding of how you can add that extra realism to the textures you render for your own characters.

