![]()
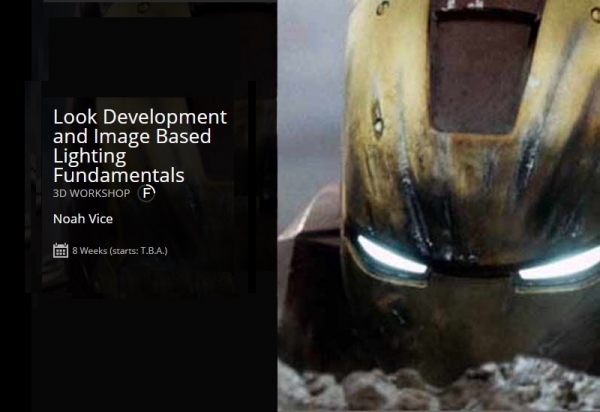
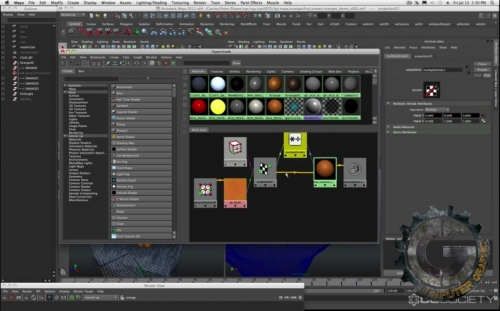
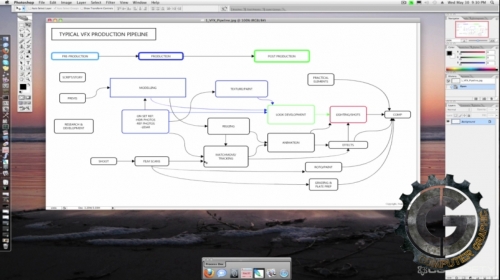
Noah Vice با توجه به تجربیات خود از کار بر روی فیلم هایی مانند آواتار، مرد آهنی 1 و 2، هری پاتر و یادگاران مرگ، The Avengers و نگهبانان کهکشان نوح به آرامی شما را با اصول روشنایی با استفاده از محیط کپچر شده و تصاویر HDRI آشنا میکند.
او همچنین اصول و تکنیک های موجود در پشت صحنه توسعه نگاه خوب و نورپردازی را آموزش میدهد. درک صدای این تکنیک نه تنها به شما روشی برای ارائه و به طور مداوم رسیدن به یک دید مورد نظر را افزایش میدهد. او همچنین شما نحوه نمایش جهان اطراف شما را در یک نور جدید و هیجان انگیز یاری میکند.
این دوره به صورت زیر میباشد :
هفته 1 - مقدمه به توسعه نگاه
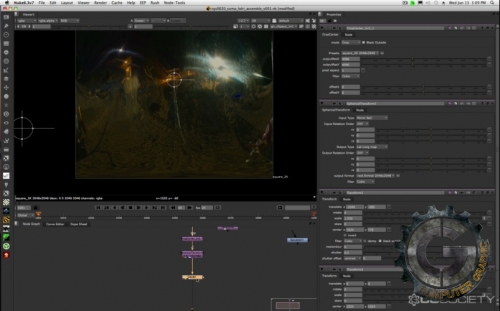
هفته 2 - HDRI محیط و نور پروب
هفته 3 - shader ها و BRDF
هفته 4 - مفاهیم پیشرفته
هفته 5 - مقدمه به نورپردازی
هفته 6 - مطالعه نورپردازی دنیای واقعی و محیط.
هفته 7 - در عمق تکنیک های نورپردازی
هفته 8 - قرار دادن همه با هم
مشاهده توضیحاتــ انگلیسی
COURSE OVERVIEW
Fast-trackyourworkflowby undertsandingthe principles and techniques behind good look development and lighting. A sound understanding of these techniques willnot only provideyouwith a method to consistently achieve adesired look, but willalso allows youto view the world around youin a new and exciting light.
Drawing on his experience drawn from working on films like,Avatar, Iron Man 1 and 2,Harry Potter and the Deathly Hallows,The Avengers andGuardians of the GalaxyNoah wil take you from the fundamentals to lighting using captured environments and HDRI Images. You will learn whatwhat makes or breaks lightiingin production and come to understand a broad range of industry practices.
WHAT YOU WILL LEARN
During this workshop weandrsquo;ll spend the first few weeks learning the core fundamentals of look development and what makes or breaks it in production. Weandrsquo;ll look at lighting environments and how they are captured on set and look at how we can replicate them in the computer. From there weandrsquo;ll then setup a good turntable environment to study our look-dev in, and move into the shading and texturing and how this defines the look of our subject matter. Weandrsquo;ll then finish up with some advanced techniques and Iandrsquo;ll share some production tips and tricks that I have learnt over the years.
From there weandrsquo;ll move into the lighting component of the course. Starting again with the core fundamentals of lighting and our available techniques, as well commonly used terms and techniques in production and on set. Weandrsquo;ll then look at what creates interest in lighting, and why certain techniques are chosen and what they achieve. Weandrsquo;ll then move into the environment section and how we can add light using captured environments and HDRI images that we have taken on set to enhance our level of realism. Finally, weandrsquo;ll look at some advanced techniques and Iandrsquo;ll share some production tricks, and weandrsquo;ll wrap up by putting our look-developed object into a shot and integrate it with some solid lighting.
Each week will begin with several video tutorials and example images and scenes to study. Most of your time will be spent inside Maya applying the concepts and techniques demonstrated in the examples. We will conclude each week with a production oriented project that will fortify the techniques and skills demonstrated that week.
WEEK BY WEEK OUTLINE
WEEK 1 - INTRODUCTION TO LOOK DEVELOPMENT
In week one, weandrsquo;ll explore look development, what it is, and how it contributes to a production. Weandrsquo;ll then delve the process behind it and how we define and describe an objectandrsquo;s properties. Finally weandrsquo;ll collect and collate reference and create a reference contact sheet. Most of this week will be spent studying reference provided. Wewill alsospendsome time in either Photoshop or Gimp.
Introduction to the look development and how it works in production.
Learn a process for analysing and object and itandrsquo;s look.
Look at the difference between material vs texture properties and when to use each.Getting to know places on-line to collect good reference and learn how to break it down.
Learn what a reference contact sheet is and why itandrsquo;s important to the process.
How to compile a reference contact sheet.
Assigmnent: Collect reference online or in the field and develop a reference contact sheet.
WEEK 2 - HDRI ENVIRONMENTS AND LIGHT PROBES
In week twoweandrsquo;ll focus on HDRI environments, how they are captured onset, and then how we can replicate and balance their contribution to our scene in the computer. Weandrsquo;ll then look a couple of different types of turntable rigs and create one of our own to study our look development.
HDRI environments and light probes and how they are captured on set.
Probe and plate analysis- the importance of the grey and chrome sphere.
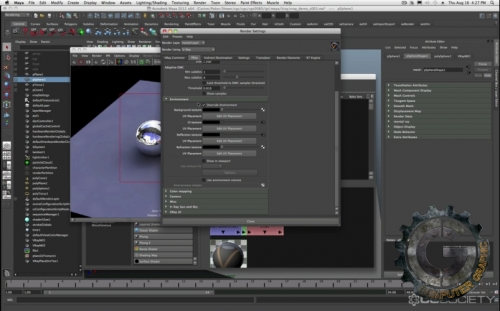
Recreating onset light probes in Maya.
Balancing colour, and HDRI environment intensity.
Different types of turntable environments.
Assignment: Create a turntable and environment probe setup.
WEEK 3 - SHADERS AND THE BRDF
The focus of week threewill be shaders and their manipulation to develop a desired look. Weandrsquo;ll look at different types of shaders and their unique qualities, as well as some of the theory behind how they work internally. Weandrsquo;ll then look at some commonly needed types of materials in production and how we can quickly achieve these looks.
Shading models and when to use each one.
2D and 3D textures and UV space.
Raytracing and the BRDF.
Monolithic and energy conserving shaders.
Assignment: Recreate some more common material looks in Maya using provided examples.
WEEK 4 - ADVANCED CONCEPTS
This week weandrsquo;ll be finishing up the look development component by looking at some more advanced materials and concepts. Weandrsquo;ll finish up by taking a real world plate object and recreating its look in our turntable using the skills weandrsquo;ve developed over the prior weeks.
Advanced material types. (layered shaders, SSS, displacement)
Light shaders.
Final gathering and ambient occlusion.
Bringing it all together- turntable and look development evaluation.
Advanced tips and tricks.
Assignment: Look-developing a more complex object in Maya using provided examples.
WEEK 5 - INTRODUCTION TO LIGHTING
This week will be a quick introduction to lighting in Maya. For most students this will be more of a refresher. Weandrsquo;ll look at the basic light types, terminology and controls.
Lighting basics. Types of lights and their controls.
What defines interesting lighting and how can it contribute to a film production?
Light properties in the computer: intensity and color, shadows, falloff, patterns and texture.
Flags and cookies.
Assignment: Use the techniques learned in this weekandrsquo;s class to light a simple scene.
WEEK 6 - STUDYING REAL WORLD LIGHTING AND ENVIRONMENTS.
This week weandrsquo;ll take another look at what we covered in the environments section in week twobut this time from a lighting perspective. Weandrsquo;ll look at some real world examples and recreate them using image based lighting techniques and traditional lights.
Real world examples and comparisons.
Popular lighting configurations used on set and in production.
Identifying what makes them good and understanding why they are chosen and what they achieve.
Plate analysis and visual lighting cues.
Assignment: Re-creating environment looks using more advanced lighting setups in the computer.
WEEK 7 - IN-DEPTH LIGHTING TECHNIQUES
In week sevenweandrsquo;ll step it up a bit and look at some of the more advanced lighting techniques we have available to us in Maya, as well as some proven ways to use them in production.
Advanced lighting setups used on set.
Bounce cards, silks and their computer equivalents and how to recreate them.
Advanced lighting techniques in the computer- Global Illumination and Final Gathering.
Baking Final Gathering to reduce noise.
Advanced Shadow properties.
Assignment: Lighting a more advanced scene using some of the techniques learned in this weekandrsquo;s class.
WEEK 8 - PUTTING IT ALL TOGETHER
In our final week, weandrsquo;ll do a quick recap of the skills weandrsquo;ve learned over the course and spend the class bringing it all together by look-developing and integrating an object seamlessly into a plate.
Object analysis -breaking down material vs texture properties.Shader creation and tuning of look.Plate analysis.Lighting setup and environment recreation.Final integration into a plate.Tips and tricks and how to fine tune your results.
Assignment: Students are provided a plate and a model and weandrsquo;ll work along as a class look- developing our model and integrating it into the plate. Weandrsquo;ll then render a turntable of the object on the plate as our final project.
WHAT YOU'LL NEED
ABILITY
This course is geared towards beginning and intermediate level artists who are either new to look-development or lighting, or would like to further their skills in these disciplines
A good understanding of Maya and its basic workflows is required.
SOFTWARE
Students must have access to a version of Autodesk Maya 2008 or later Mac, PC, or Linux is suitable and a copy of Adobe Photoshop or similar 2D image manipulation software. (Gimp, Nuke, etc).
HARDWARE
Students need a computer with minimum 1GB RAM (4+ preferred) and a 2GHz+ CPU, as well as a decent Maya compliant video card.

