![]()
Digital Tutors - Asset Pipeline in Maya and ZBrush
1h 25m | 1.31 GB | Project Files: Included | Software used: ZBrush, Maya
با سلام
در این آموزش Justin Marshall پروسه و روند کار بروی دارایی ها(Asset) را با استفاده از برنامه های چندگانه آموزش میدهد. او در این آموزش از نرم افزار ZBrsuh و Maya استفاده میکند.
مشاهده توضیحاتــ انگلیسی
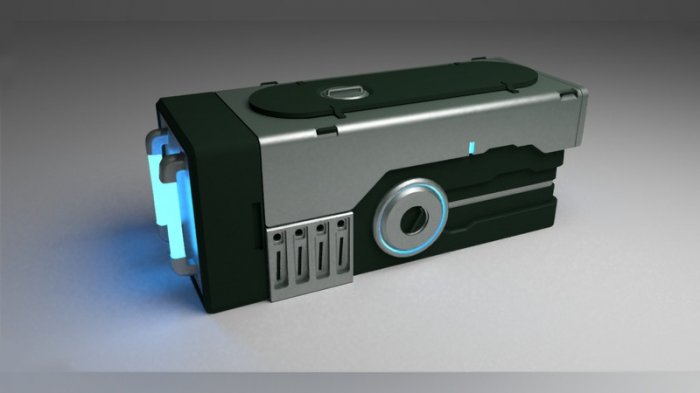
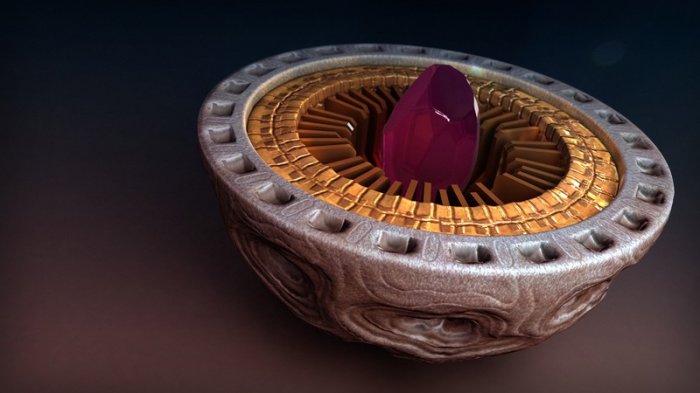
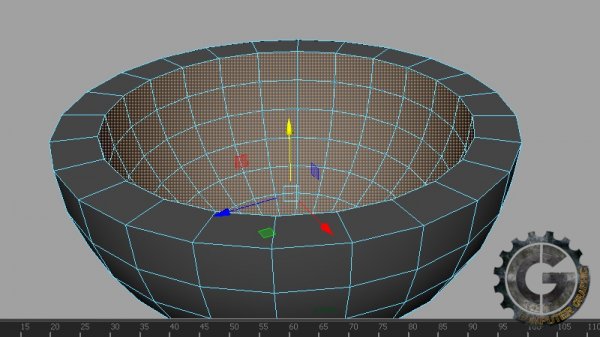
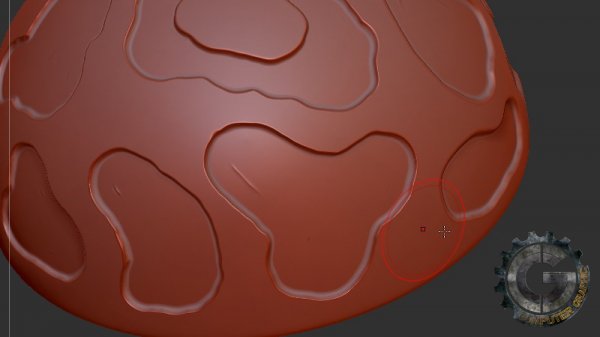
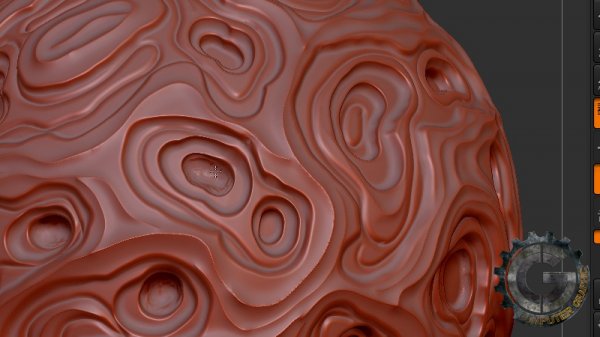
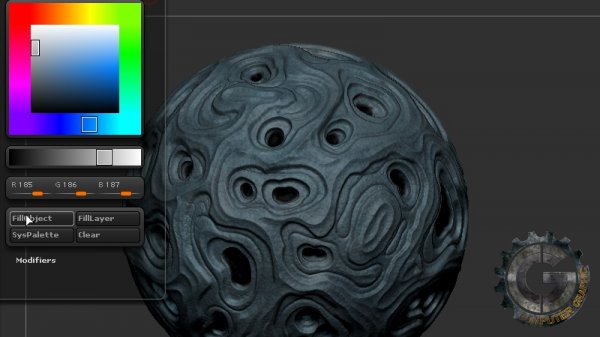
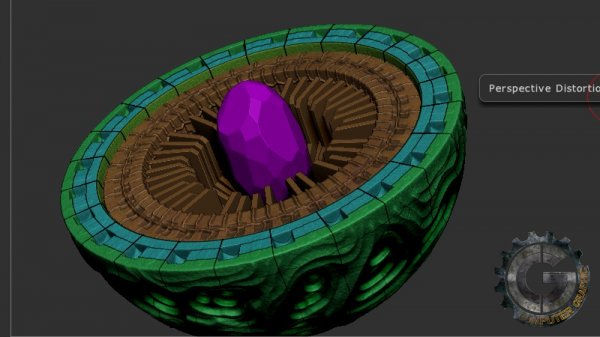
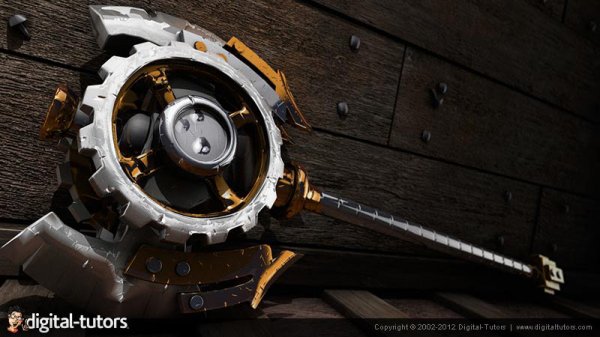
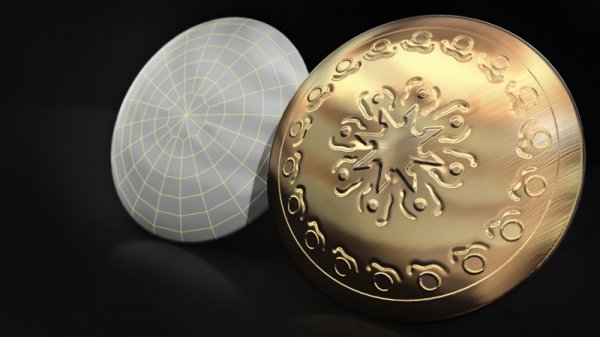
In this series of Maya and ZBrush tutorials, we'll talk about the process of working on an asset using multiple applications- in this case Maya and ZBrush. We'll begin by using Maya's modeling tools to create some base geometry for an alien orb. Then we'll take our geometry into ZBrush where we'll begin detailing it. We'll use masking and deformation to create some initial surface detail and follow that up by using a variety of brushes to finish out the shell. We'll also learn to use radial symmetry to quickly add detail. We'll then take a look at adding new geometry from Maya in the middle of our ZBrush project and create our gem from scratch using a ZBrush primitive. Once the sculpting is done, we'll create a UV layout and output color and normal maps. To finish up this Maya and ZBrush training, we'll reassemble everything in Maya.

