![آموزش گردش کاری هنر طراحی موجودات با تکنیک Photobashing در زیبراش]()
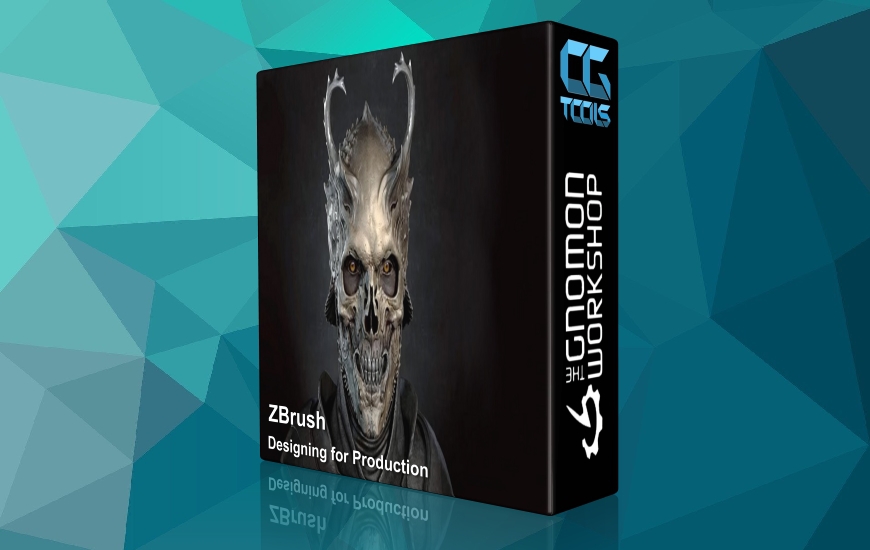
روش های زیادی برای طراحی کاراکترها برای صفحه نمایش وجود دارد. مدرس Aaron Sims، کهنه کار صنعت، دو مورد از گردش کار خود را برای ایجاد طرح های تصویری برای فیلم و تلویزیون، با استفاده از Photoshop و ZBrush شرح می دهد. مدرس همچنین شما را با استفاده از تکنیک های اثبات شده در تولید، ایده های خود را در مورد اهمیت شخصیت از طریق طرح ها به بررسی می گذارد و برخی از درسهای کلیدی را که در طول 35 سال کار خود آموخته است به اشتراک می گذارد. با شروع کار 2D در فتوشاپ، او رویکرد شخصی خود را برای شبیه سازی یک شخصیت جهش یافته، با استفاده از تکنیک های عکسبرداری به طرز ماهرانه ای با لایه های مختلفی از لایه های انسانی، موجودات و عناصر ارگانیک را انجام می دهد.
مشاهده توضیحاتــ انگلیسی
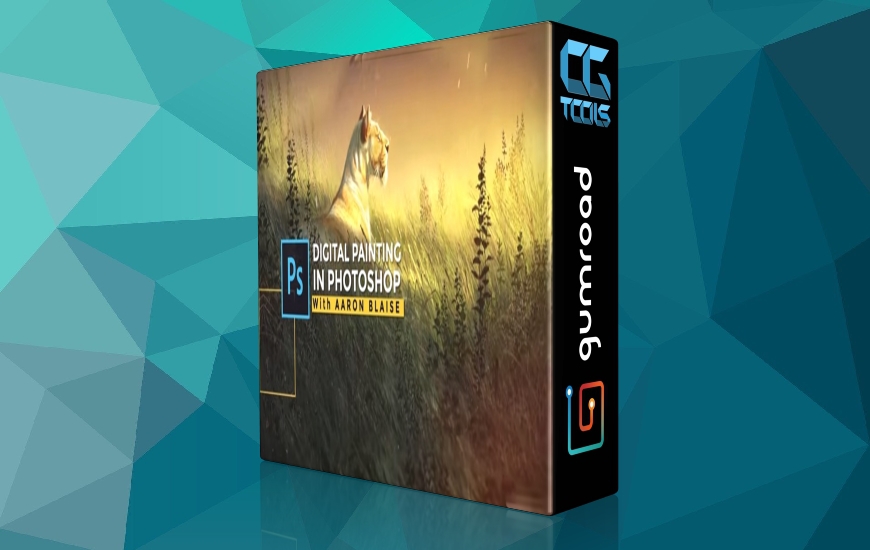
There are many approaches for designing characters for the screen. Industry veteran Aaron Sims details two of his tried-and-trusted workflows for creating iconic concept designs for film and TV, using Photoshop and ZBrush. As well as guiding you through his production-proven techniques, Aaron shares his thoughts on the importance of conveying personality and character through designs and shares some of the key lessons he’s learned over his 35-year career.
Beginning with a 2D workflow in Photoshop, Aaron walks through his personal approach to visualizing a mutated character, using photo-bashing techniques that skillfully cut, splice, and warp multiple layers of human, creature, and organic elements to craft a completely unique design. Discussing the reasons behind his decisions at every step, the lecture details not only how to master photo manipulation for incredible results but also why the techniques and outcomes are his chosen workflows for likenesses, prosthetics, and digital augmentations.
Today, artists can create any creature or character imaginable with the tools at their disposal. The second part of the two-hour workshop dives into ZBrush to develop a fully realized and dimensionalized alien character. Explaining why this approach serves well for full-CG characters, Aaron shares his ZBrush workflow, from base mesh to final bust, discussing the importance of anatomy, how to create points of interest in 3D designs, and how to push the envelope to create designs while still creating something an audience can relate to. The 3D workflow concludes with rendering techniques in KeyShot, pushing the settings and playing with various lighting scenarios, before finalizing the design in Photoshop.
![]()

