![آموزش موشن کپچر در بلندر]()
الزامات
این مربی از Reallusion's Character Creator 3 برای خلق شخصیت و لباس و از Perception Neuron motion capture برای خلق انیمیشن استفاده می کند. هیچ یک از اینها مورد نیاز نیست. دانش آموز می تواند از پرونده های ارائه شده استفاده کند یا سایر انیمیشن های ضبط موشن را بارگیری کند. از افزودنی بلندر به نام Auto-Rig Pro نیز استفاده می شود.
شرح
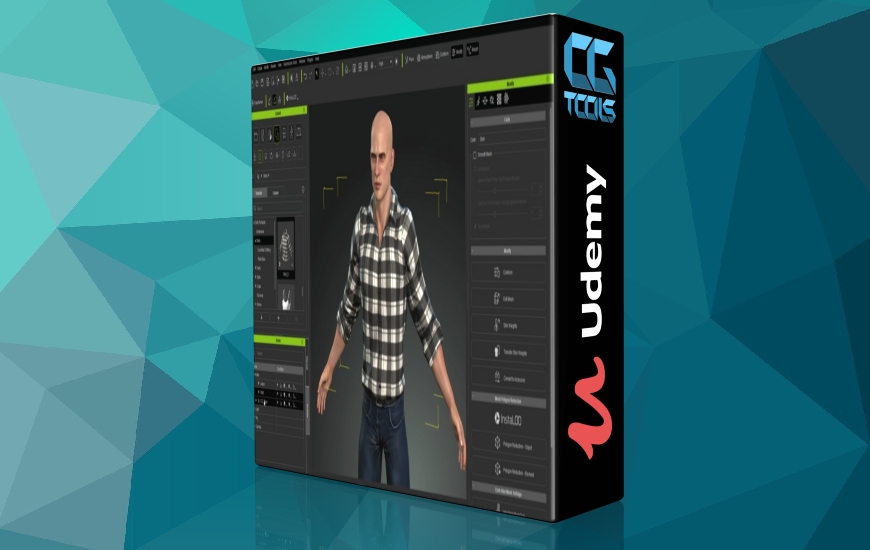
استفاده از داده های ضبط حرکت در بلندر راهی عالی برای ایجاد انیمیشن های شگفت انگیز است و شروع به کار آن هرگز آسان نبوده است. در این دوره شما نحوه ایجاد ، وارد کردن و پیکربندی داده های ضبط حرکت برای استفاده در بلندر را خواهید آموخت.برای این کار به یک کاراکتر احتیاج داریم ، بنابراین از Character Creator 3 برای ایجاد سریع کاراکتر مورد استفاده برای این فرآیند استفاده خواهیم کرد. همچنین می توانید کاراکتر تمام شده را بارگیری کنید یا از یک کاراکتر مخصوص خود استفاده کنید.سپس کاراکتر را وارد Blender کرده و دکل را با استفاده از یک افزودنی بلندر به نام Auto-Rig Pro تنظیم می کنیم. این ابزارهای بسیار خوبی برای هدف گیری مجدد داده های ضبط حرکت به شخصیت و تنظیم شخصیت برای به دست آوردن انیمیشن زیبا دارد.در مرحله بعدی ما از لباس Perception Neuron capture capture برای ایجاد انیمیشن های کاراکتری استفاده خواهیم کرد. این یک سیستم نسبتاً کم هزینه است که به شما امکان می دهد برای کاراکترهای خود ضبط حرکت بسیار خوبی داشته باشید. اما در یک سخنرانی در پایان دوره ، من همچنین به شما نشان خواهم داد که چگونه از یک فایل ضبط حرکت از پیش ساخته شده از وب سایت Mixamo استفاده کنید.در بخش بعدی می آموزید که چگونه فایل ضبط حرکت را وارد کرده و دوباره آن را به شخصیت Blender خود بکشید. ما در مورد نحوه ایجاد یک فایل از پیش تعیین شده Bones List و نحوه استفاده از ابزار Auto-Rig Pro's Interactive Tweak برای تنظیم دکل برای انیمیشن بهتر صحبت خواهیم کرد. در آخر ، شما خواهید آموخت که چگونه شخصیت متحرک خود را به یک صحنه موجود وارد کنید و انیمیشن نهایی را به یک فایل ویدیویی ارائه دهید.
این دوره برای چه کسانی است:
هنرمندان میکسر متوسط که می خواهند انیمیشن های ضبط موشن را در گردش کار خود قرار دهند.
مشاهده توضیحاتــ انگلیسی
Blender and Motion Capture
Requirements
The instuctor uses Reallusion's Character Creator 3 to create a character and the Perception Neuron motion capture suit to create animations. Neither of these are required. The student can use the provided files or download other motion capture animations. A Blender add-on called Auto-Rig Pro is also used.
Description
Using motion capture data in Blender is a great way to create amazing animations, and it has never been easier to get started. In this course you’ll learn how to create, import, and configure motion capture data to be used in Blender.
To do this we will need a character, so we'll use Character Creator 3 to quickly create a character to be used for this process. You can also just download the finished character, or use a character of your own.
We will then import the character into Blender and set-up the rig using a Blender add-on called Auto-Rig Pro. It has some great tools to retarget the motion capture data to the character, and to adjust the character to get good looking animation.
Next we'll use the Perception Neuron motion capture suit to create character animations. It’s a relatively low-cost system that allows you to get some really nice motion capture for your characters. But in a lecture at the end of the course, I’ll also show you how to use a pre-made motion capture file downloaded from the Mixamo website.
In the next section you’ll learn how to import the motion capture file and retarget it to your Blender character. We’ll talk about how to create a Bones List preset file and how to use Auto-Rig Pro’s Interactive Tweak tool to adjust the rig for better animation. And we will do a bit of Weight Painting to fix any deformation issues.
Finally, you’ll learn how to bring your animated character into an existing scene and render out the final animation to a video file.
Who this course is for:
Intermediate Blender artists who would like to incorporate motion capture animations into their workflow.
