![آموزش ساخت سوزاندن پارچه در Nuke و Houdini]()
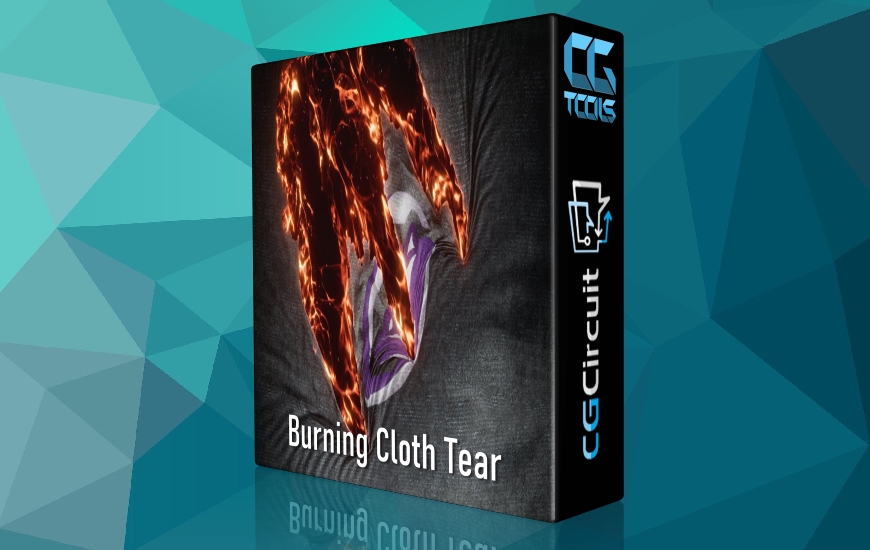
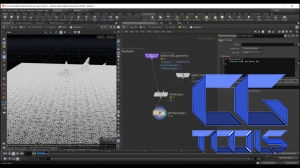
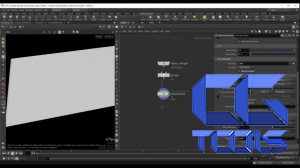
ما این دوره را با ایجاد یک پارچه ساده با استفاده از Vellum شروع خواهیم کرد.
ما هندسه برخورددهنده را ایجاد و متحرک خواهیم کرد تا تغییر شکل های اصلی پارچه خود را هدایت کنیم.
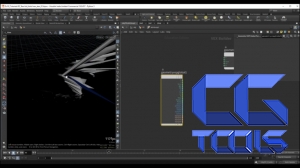
با استفاده از یک حلکننده رشد سفارشی، میتوانیم به صورت دستی محدودیتها را از شی vellum حذف کنیم که باعث پاره شدن پارچه میشود.
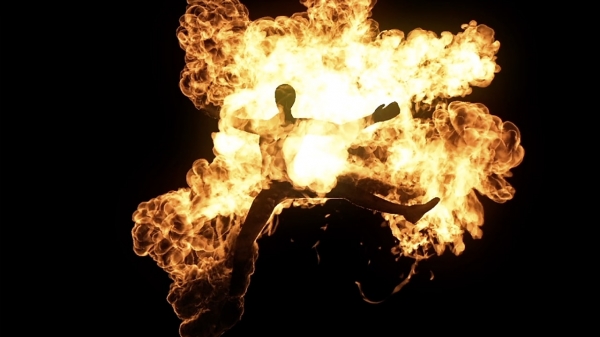
برای داشتن انعطافپذیری بیشتر، یک شبیهسازی پوشش مجزا با باد و نویز ایجاد میکنیم که آن را با شبیهسازی پارگی اصلی خود ترکیب میکنیم. بنابراین ما اساساً دو شبیهسازی پوشش مجزا را روی هم قرار میدهیم.
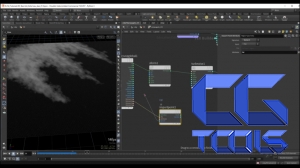
ذرات : پس از پاکسازی هندسه، به سراغ ذرات می رویم.
ما منبع انتشار ذرات خود را بر اساس پارچه ای که ایجاد کرده ایم، قرار می دهیم.
در اینجا ما در مورد چگونگی درون یابی دستی منبع ذرات خود برای ایجاد یک نتیجه صاف بدون مشکلات پله ای صحبت خواهیم کرد.
ابتدا یک شبیه سازی دود ایجاد می کنیم و سپس با استفاده از میدان سرعت ذرات خود را برمی گردانیم و 2 لایه مختلف از ذرات را ایجاد می کنیم.
رندر : در این بخش همه چیز نسبتاً ساده و مستقیم خواهد بود. ما یک متریال پارچه ای با استفاده از بافت مگااسکن ایجاد می کنیم و یک سایه زن ساده برای لایه های ذرات خود راه اندازی می کنیم.
Nuke / Compositing :
در داخل Nuke ما همه چیز را با هم جمع می کنیم. در این بخش به شما یک راه بسیار انعطافپذیر برای اضافه کردن یک لوگو به پارچهمان نشان میدهم که پس از انیمیشن دنبال میشود.
ما آرم را با استفاده از مختصات UV از پارچه خود ترسیم می کنیم، و همچنین به شما نشان می دهیم که چگونه از AOV معمولی برای روشن کردن دوباره هندسه خود استفاده کنید.
ما قصد داریم ذرات را مستقیماً در داخل Nuke با استفاده از گرادیان سفارشی خود رنگ کنیم تا حداکثر انعطاف پذیری را تضمین کنیم.
مشاهده توضیحاتــ انگلیسی
We will start this course by creating a simple cloth setup using Vellum.
We will create and animate the collider geometry to drive the main deformations of our cloth.
Using a custom growth solver we will be able to manually delete constraints from the vellum object, causing the cloth to tear.
To have more flexibility, we will create a separate vellum simulation with wind and noise, which we will combine with our main tearing simulation. So we will be essentially layering two separate vellum simulations on top of eachother.
Particles
After we cleanup the geometry, we move on to particles.
We will base our particle emission source on the cloth that we created.
Here we will talk about how to manually interpolate our particle source to create a smooth result without stepping issues.
We will create a smoke simulation first, and then advect our particles using the velocity field, and we will create 2 different layers of particles.
Rendering
In the rendering section, everything will be fairly simple and straight forward. We will create a cloth material using megascans texture, and set up a simple shader for our particle layers.
Nuke / Compositing
Inside Nuke we bring everything together. In this section I will show you a very flexible way to add a logo to our cloth, that follows the animation.
We will map the logo using the UV coordinates from our cloth, and also show you how to use the normals AOV in order to re-light our geometry.
We are going to color the particles directly inside of Nuke, using our own custom gradient, to ensure maximum flexiblity.
So I hope you will enjoy this course and let’s get started!
