![]()
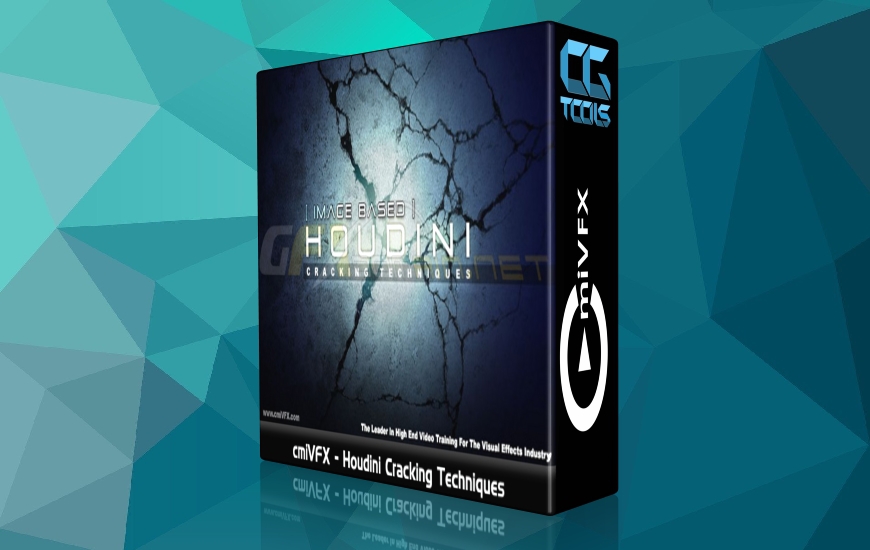
cmiVFX نوعی جدید از اصول ریگ کردن انیمیشن در هودینی را به شما می آموزد. در این آموزش شما با ابزارهای هودینی آشنا می شوید که باعث می شود زندگی شما به عنوان یک انیماتور هودینی شکل بگیرد. سیستم ذرات یک سیستم با اعتباری است که باعث انعطاف بیشتری در کار شما می شود بدون اینکه باعث مخربی کارتان شود.
هنرمندان از قدرت هودینی در ریگ کردن کارشان لذت می برند و می توانند از این قدرت به عنوان یک اهرم برای سیستم ریگ کردن استفاده کنند . در طول هر مرحله ما می توانیم یک توزیح منطقی داشته باشیم در سیستم گره ای که باعث عیب یابی در کارمان می شود . و در پایان ما نحوه ی استفاده از ابزارها برای ایجاد ساخت چرخه ی راه رفتن پاه را به شما آموزش می دهیم .
مشاهده توضیحاتــ انگلیسی
cmiVFX has released the brand new Rigging and Animation Fundamentals video. Learn the tools that make your life as a Houdini animator easier! Although Houdini is known more as a dynamics simulation and particle system, with a reputation that is very well deserved, the non-destructive workflow and flexibility makes it a great solution for animators as well. Technical directors have enjoyed the power of Houdini for making their rigs. Now animators can leverage that same power using the built-in auto rigging system. This video will take you through the process of rigging your own custom characters. We will go through each step, explaining the logic behind the node system, allowing you to understand and troubleshoot your own rig. Finally, we will show you how to use the animation tools to create a basic walk cycle with your new rig.
Chapter Descriptions :
Introduction :
Here is a brief introduction to the process of rigging and animation using Houdini. This chapter talks about setting up the guide rig, making the proxy mesh, skinning the final mesh, weight painting, and finally, setting keys in a walk cycle.
Biped Auto Rig - Guide Rig :
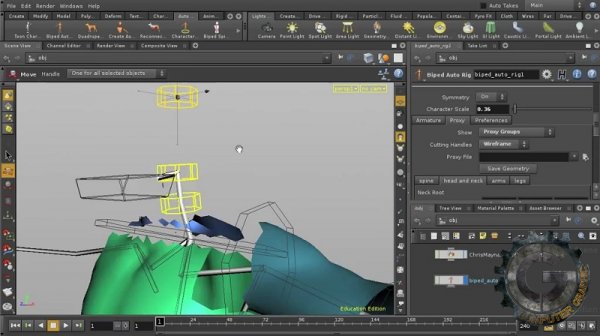
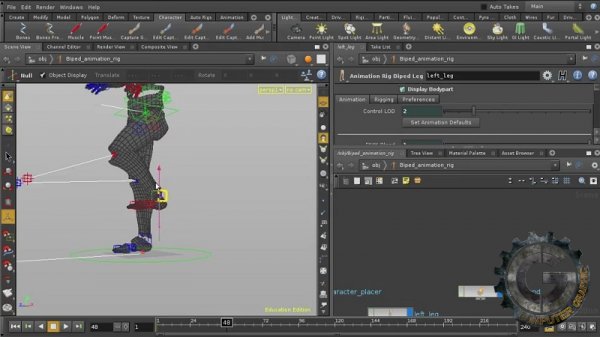
First, we import the mesh file and create the biped auto rig. When we first bring in the biped auto rig, it is in "guide rig" mode. In this mode, we can easily move around the guide joints to match the mesh. Special care is taken to show the most optimal locations for the joints for best deformation. The user only needs to match half of the rig in symmetry mode. We also create a convenient proxy rig for fast interaction while animating your character.
Weight Painting :
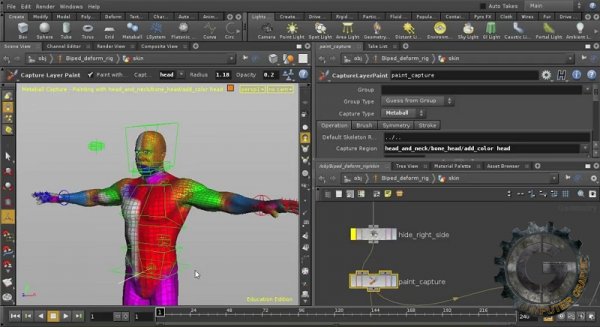
Next, we work to properly distribute the weighting of the muscles to the skin of the mesh, using the weight painting tools. These tools allow the user to quickly adjust the weighting for beautiful deformations. The built-in metaball muscle system is one of the strengths of the Houdini animation system. Although this process takes time to do correctly, the results can be stunning.
Animation - Walk Cycles :
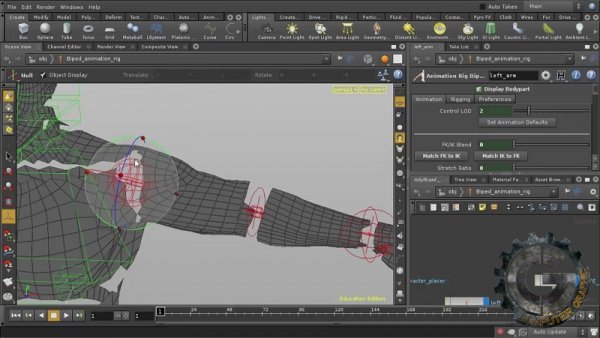
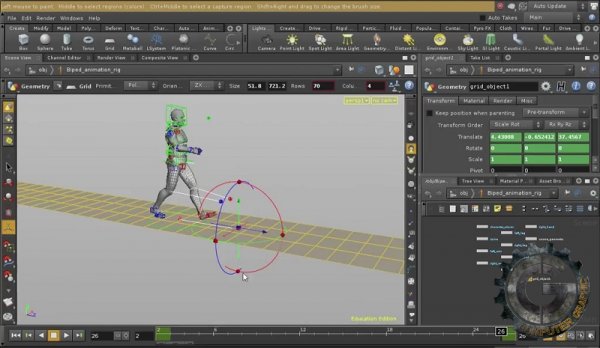
Once the rigging is complete, the process of animation can begin. We will use the Channel Editor (called the Graph Editor or Animation Editor in other packages) to set keys and make adjustments to the interpolated curves. This chapter will also cover the Dopesheet, as well as the timeline on the main interface. The tools are in many ways very similar to other animation packages, but have some surprisingly flexible tools under the hood.

