این پست بنا به درخواست ثبت شده توسط shojaparham در سایت بازنویسی شده است.
![]()
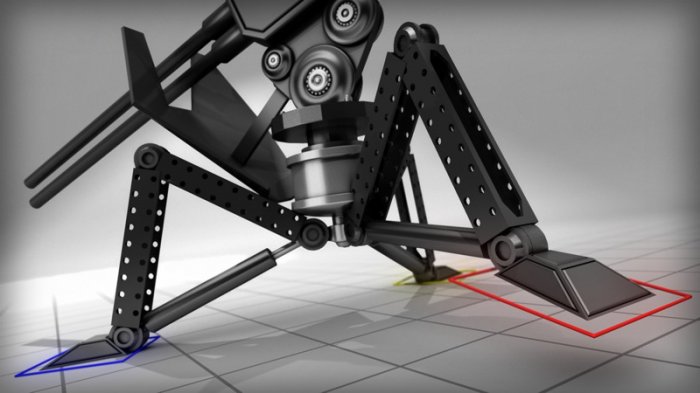
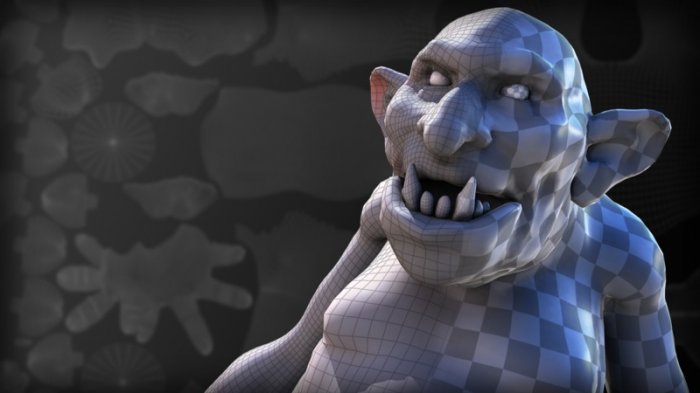
Digital Tutors - UV Mapping Workflows in Maya 2015
3h 32m | 1.28 GB | Project Files: Included | Software used: Maya 2015
با سلام
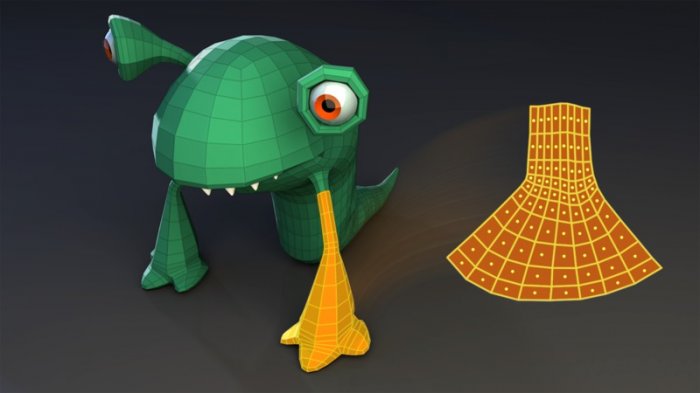
بعد از مدلسازی مهمترین گام آماده سازی کاراکتر جهت بافت دهی میباشد، در این هنگام طی فرایندی بافت 2 بعدی را برای مدل سه بعدی آماده سازی میشود که اصطلاحه به آن UV گفته میشود. در این آموزش Eddie Russell شما را جهت UV کردن در مایا آماده میکند.
مشاهده توضیحاتــ انگلیسی
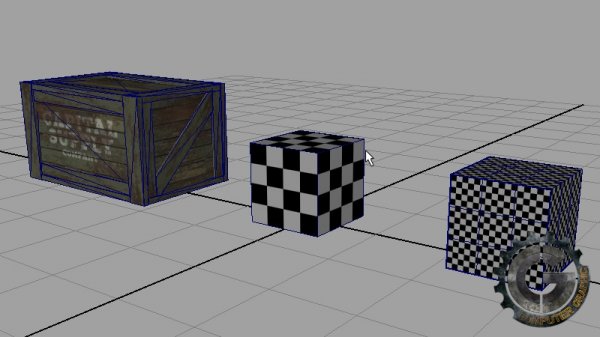
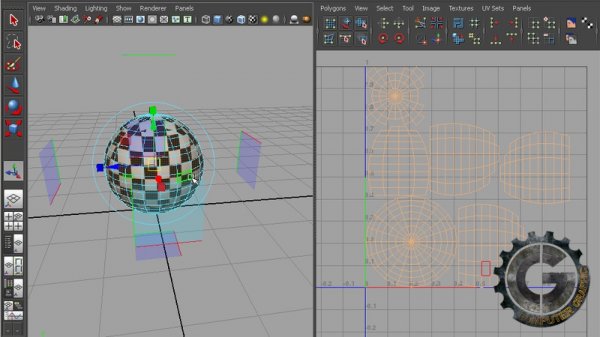
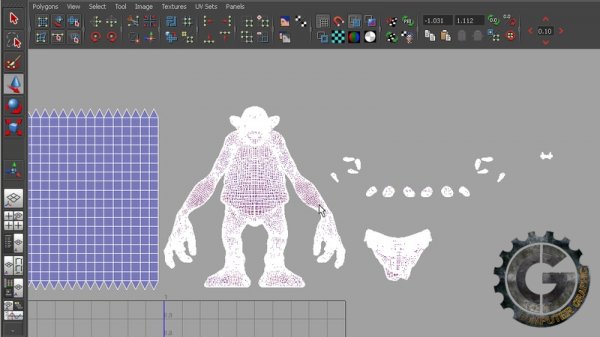
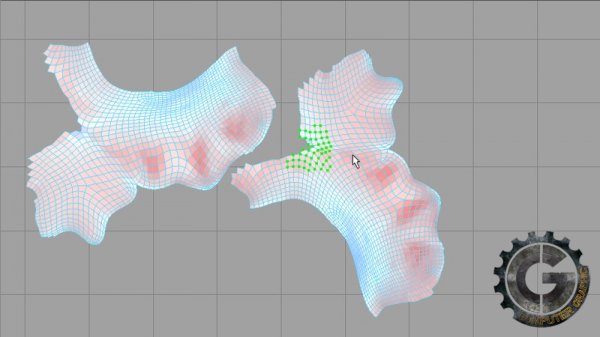
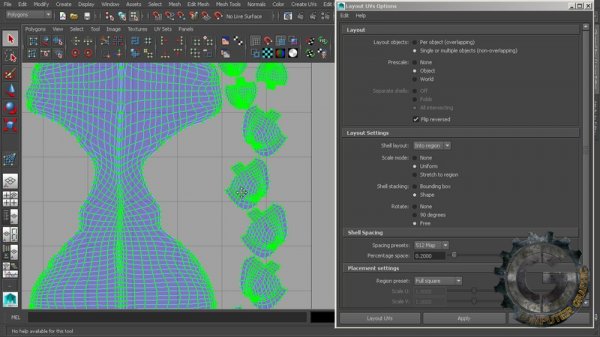
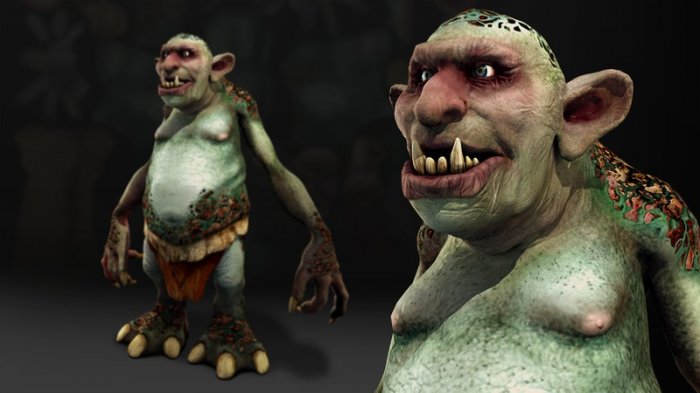
When looking to move an asset from the modeling phase of a pipeline to texturing, there is an important step that must be done so textures can be created for the asset. A UV layout must be created. This process of unwrapping a 3D object into 2D space has been around for quite some time but is still widely used in several industries. This course will get you up to speed and productive in no time when it comes to laying out UVs. If you are new to this process, this course is for you. Weandrsquo;ll start by learning about several different forms of projection that can be used as a starting point in the creation of UVs. From here weandrsquo;ll learn how we can start to combine different forms of projection for more complex shapes. Now projections donandrsquo;t always give perfect results, so next weandrsquo;ll learn about some things we need to be on the lookout for including distortion, overlapping of UVs and UV scaling. The second half of this course will be devoted to creating a UV layout from start to finish for our ogre asset. We will walk through each piece of the model, tackling problems and tough areas together. After completing this course, you will be ready to start creating UV layouts for your own assets in Maya.

