![]()
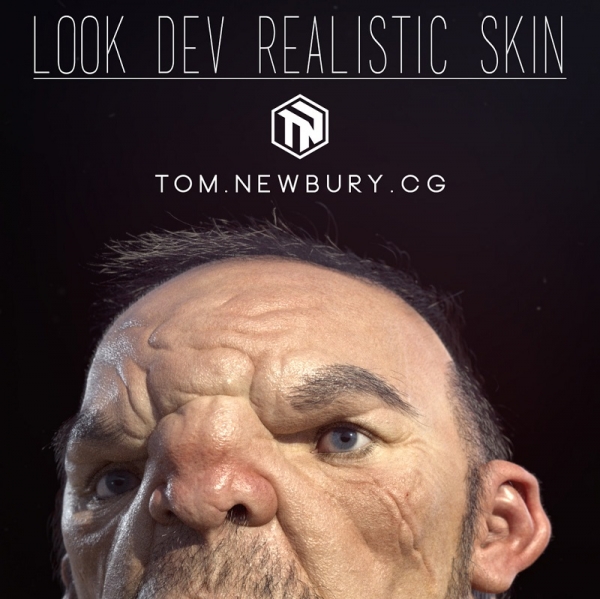
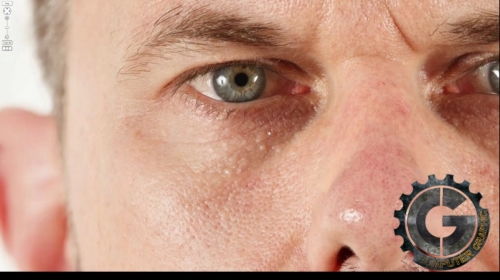
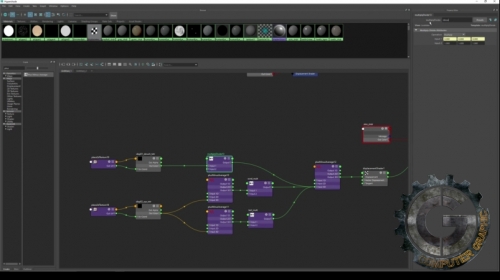
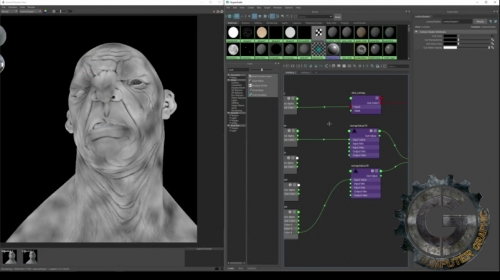
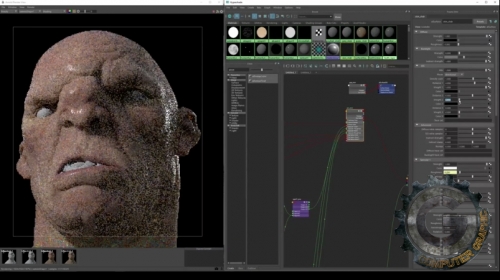
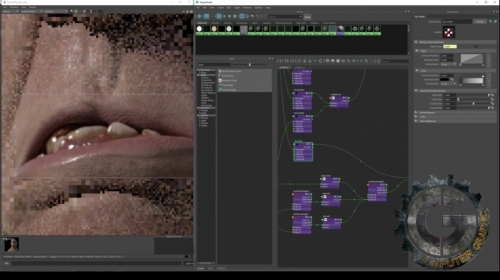
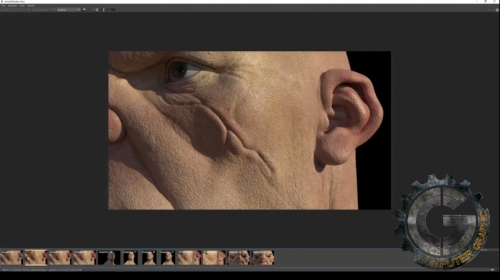
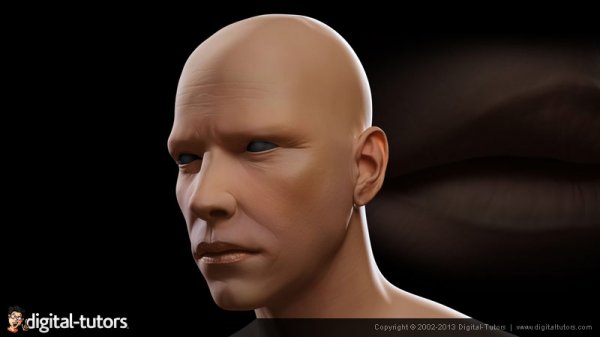
در این دوره آموزشی، مدرس Tom Newbury نحوه ساخت پوست واقعگرایانه را برای کاراکتر در نرم افزار مایا و آرنولد آموزش میدهد. او کار خود را با ساخت لایه های displacement چندگانه شروع میکند، سپس عناصر diffuse را به آن اضافه میکند. او در ادامه کار ساخت شبکه تنظیمات را انجام میدهد و در نهایت با متعادل کردن SSS جانبخشی را برای کاراکتر به ارمغان می آورد.
این دوره آموزشی، منحصر به نرم افزار خاصی نیست و شما قادر خواهید بود این تکنیک ها را در نرم افزار های مشابه دیگر هم استفاده نمایید. همچنین بافت هایی با وضوح پایین همراه این آموزش میباشد که بتوانید از آن ها در پروژه های خود استفاده کنید.
مشاهده توضیحاتــ انگلیسی
This is the second tutorial of the realistic skin series.
In this tutorial I go into my process of lighting a bust and then building up the layers of texture which make up the realistic skin we are trying to achieve.
I start by building a multi layered displacement then add the diffuse element, build the spec network and finally bring the character to life by balancing the sss.
I have also provided low res samples of my texture maps for you to refer to when doing your own characters.
The software used in this tutorial is:
Maya 2017
Arnold
Even if you are using a different software such as 3D Studio for lighting and rendering, the methods I use in this tutorial should translate over to those packages as long as the software supports Arnold.
I hope you enjoy the tutorial and learn as much as you can about my process.

