![]()
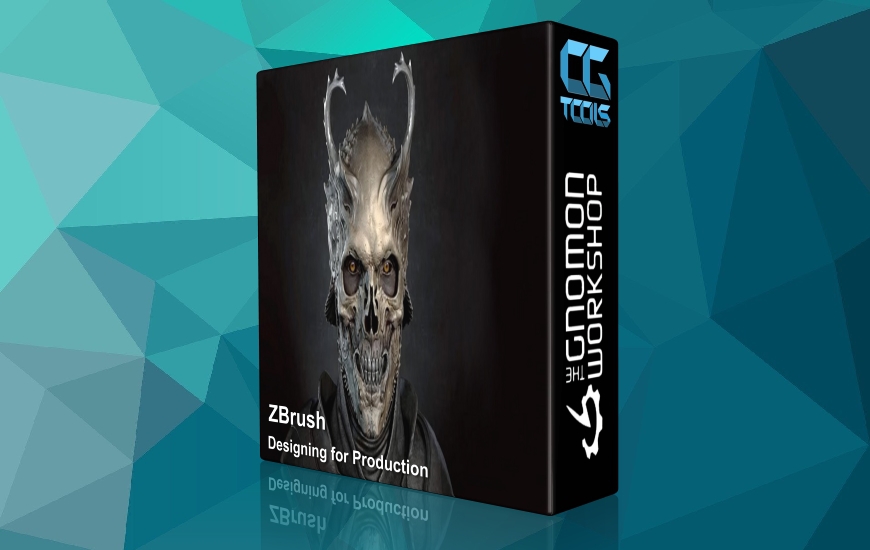
The Gnomon Workshop - Character Modeling in Maya and ZBrush - The Making of Jester Vol 1
Size : 2.31 GB | Project Files: None | Software Used : Autodesk Maya,Pixologic ZBrush
سلام
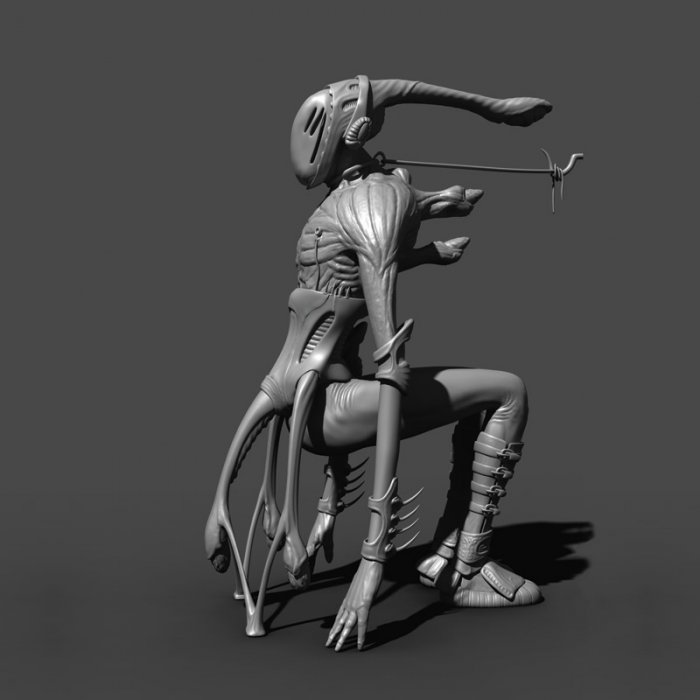
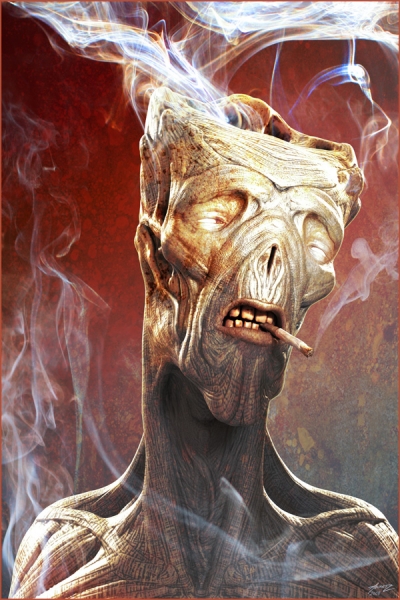
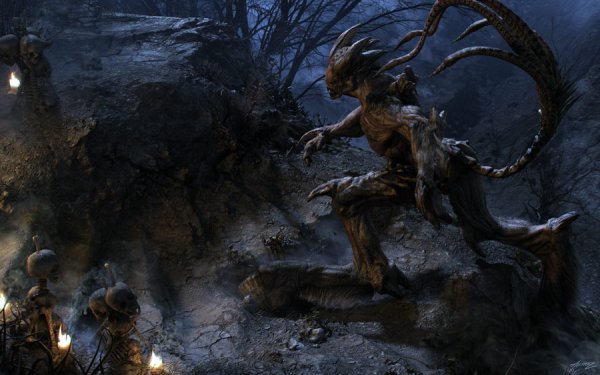
در این آموزش Alex Alvarez تصمیم دارد نحوه ی ساخت یک موجود خیالی را در نرم افزارهای Maya و ZBrush آموزش می دهد. هدف او از این سری آموزشی آماده سازی یک کاراکتر را برای پرینت میباشد، برای اینکار او جزییات و تکسچر هایی را با قابلیت رندر در ابعاد 4000*6000 را میسازد که افت کیفیت در آنها محسوس نباشد. به طور موثر ساخت این کاراکتر به شما کمک می کند که قابلیت های ساخت کاراکتر را در خود افزایش دهید.
مشاهده توضیحاتــ انگلیسی
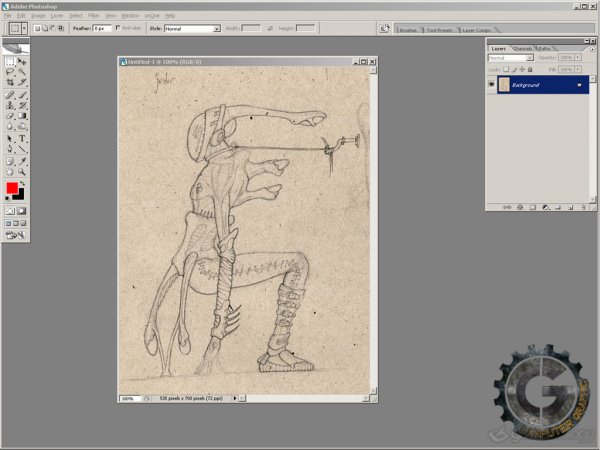
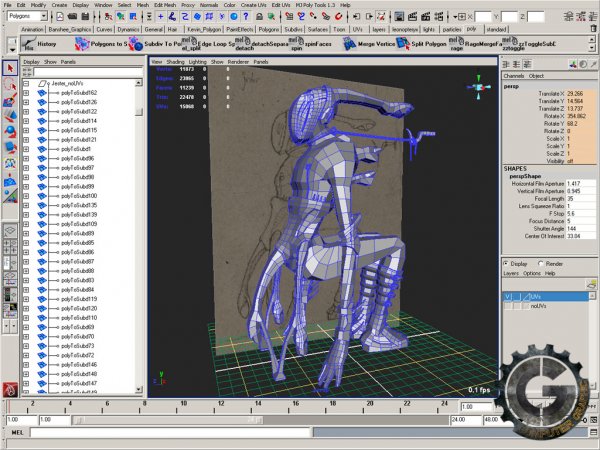
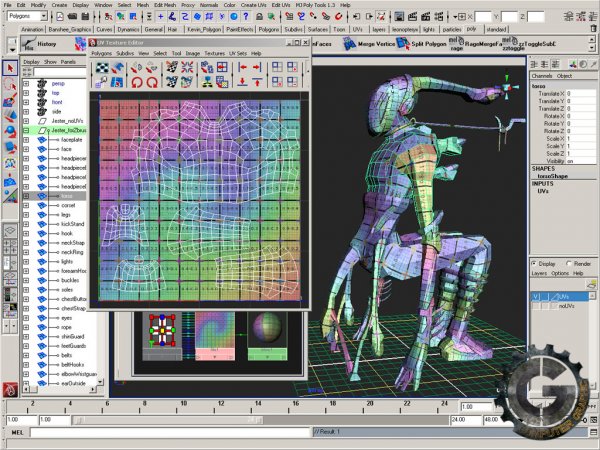
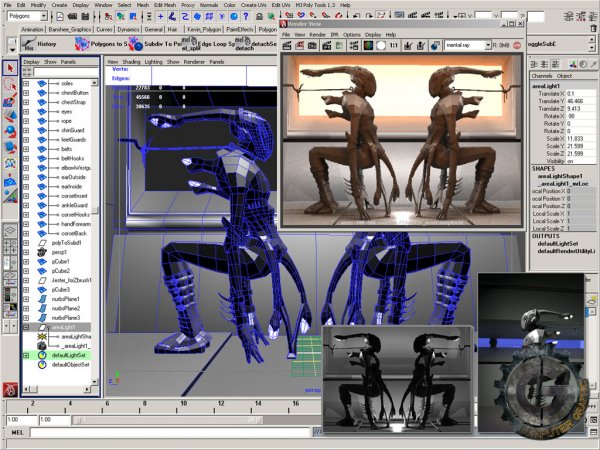
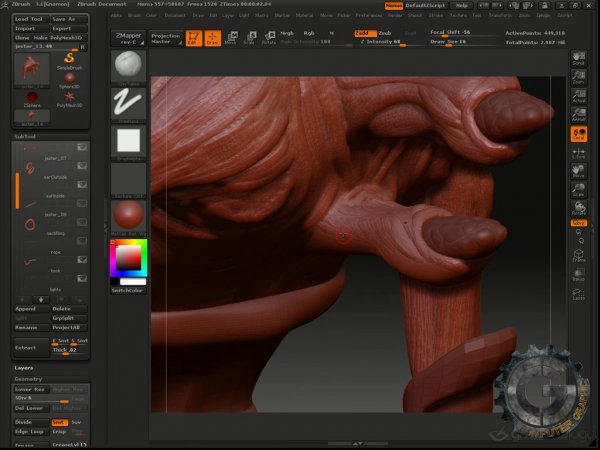
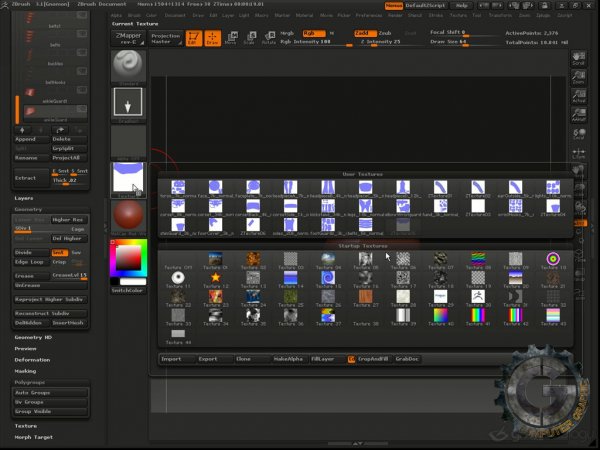
This making of demonstration and lecture began with the decision to take a personal sketch, develop it in 3D and produce a life-size print. This would require the development of high-resolution detail and textures that could hold up to a 4000x6000 pixel render, effectively making Jester a film-res character. Observe and listen as Alex shares his workflow, thought process and techniques. Volume One covers the character modeling process using Maya and ZBrush, as well as some lighting, composition and texture exploration. Alex begins by creating an organized base mesh in Maya that accurately follows the 2D design. Using UVlayout, he flattens the UVs of the multiple basemesh components. Jester is then imported into ZBrush for sculpting and detailing. We give some thought as to the resolution for each subtool that should be sent to Maya and export them with normal maps generated in Zmapper. Once in Maya, the shader networks are blocked-out so that Jester renders in Maya with the same level of detail that he had in ZBrush. The final step prior to texturing is to then create a Photoshopandnot; color study that will guide our further progress on the character.

