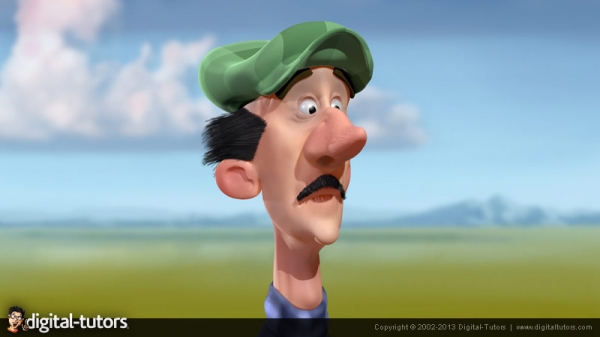
![آموزش ساخت شخصیت کارتونی در زیبراش]()
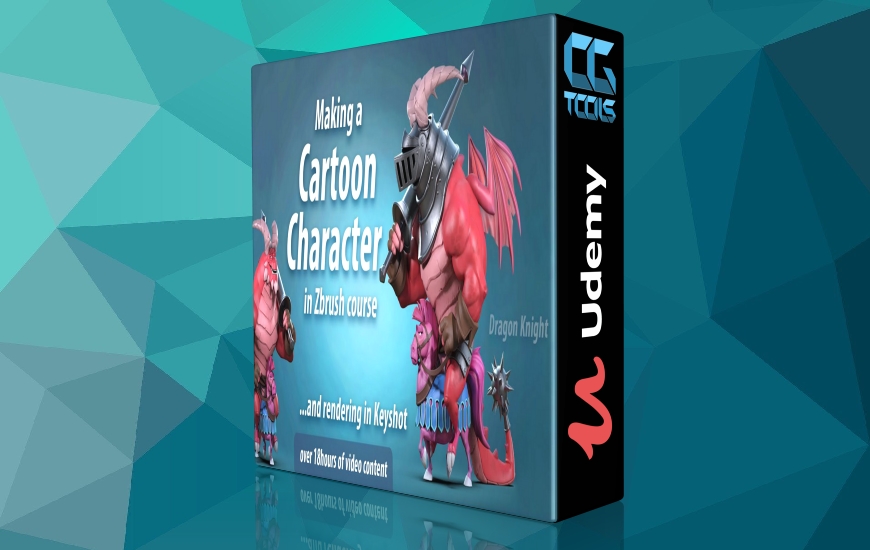
این دوره عمدتاً برای کاربران متوسط Zbrush است و اگر شما یک مبتدی کامل هستید، باید به دنبال دوره Absolute مبتدی Zbrush یا دیگر دوره Zbrush, Blender, Substance painter برای مبتدیان باشید و سپس به این دوره بازگردید. در این دوره با بارگذاری رابط کاربری و کلیدهای میانبر شروع می کنیم، سپس به مدل سازی بدن و بازوها می پردازیم و کمی در مورد تأثیر آناتومی واقعی حتی بر شخصیت های کارتونی صحبت می کنیم. پاها را می سازیم و سپس کمی روی اسب تمرکز می کنیم، با کمی صحبت در مورد آناتومی اسب و اهمیت مراجع هنگام مجسمه سازی. وقتی با شکل های کلی اسب آماده شدیم، دم اسب و اژدها، توپ میخ دار و بال های قدرتمند اژدها را انجام می دهیم. برخی از لباس ها و بند های اسب را نیز انجام می دهیم. سپس زمان شروع کلاه ایمنی شوالیه اژدها فرا می رسد. این فرآیندی پر از درد و موانع دشوار، اما با شادی و دانش جدید خواهد بود. هنگامی که ما با اصول اولیه کلاه ایمنی آماده شدیم، پایک را انجام می دهیم و شروع به جزئیات چیزهای مختلف مانند موهای اسب و چند رنگ کردن می کنیم. ما همچنین چند ویدیو روی کلاه ایمنی کار خواهیم کرد تا آن را جلا داده و آن را تکمیل کنیم، زیرا در نهایت این بخش بسیار مهمی از مدل ما است. سپس جزئیات اژدها سوار را با اضافه کردن برخی جزئیات دقیق اینجا و آنجا ادامه می دهیم تا آن را برای ژست گرفتن آماده کنیم. پس از آن، ما شخصیت را با استفاده از آخرین فناوری های ژست Zbrush، که حدود یک دهه است از آن استفاده می کنم، ژست می گیریم. وقتی ژست گرفتن تمام شد و از ظاهر شخصیت خود راضی بودیم، نوبت به بخش جایزه دوره ما - Keyshot می رسد. من شما را با همه چیزهایی که باید بدانید در این برنامه بسیار آسان آشنا خواهم کرد، که قادر به کار با میلیونها چند ضلعی و چند ضلعی از Zbrush است. ما چند متریال، نور می سازیم و در نهایت به شما نشان می دهم که چگونه یک رندر و یک ویدیوی صفحه گردان برای شخصیت های خود بسازید.
مشاهده توضیحاتــ انگلیسی
This course is mainly for intermediate Zbrush users, and if you are a complete beginner, you should look for my Absolute beginner Zbrush course or my other Zbrush, Blender, Substance painter course for beginners, and then get back to this one. In this course we will start by loading my interface and hotkeys, i will explain why you will work 2 or 3 times faster with it, and at the end of the course if you don't like to work that fast, i will tell you how to revert back to default Zbrush UI. Then we will went on to model the body and the arms, talking a bit about how real anatomy affects even the cartoon characters. We will make the legs and then we will concentrate a bit on the horse, by talking a bit about horse anatomy and the importance of references when we sculpt. When we are ready with the overall shapes of the horse, we will do the horse and dragon tails, the spiked ball and the mighty dragon wings! We will do some of the horse clothes and straps too. Then it will be time to start the helmet of our dragon knight. It will be a process full of pain and difficult obstacles, but also with joy and new knowledge. When we are ready with the basics of the helmet we will do the pike and start detailing various things like the horse hair and doing some polypaint. We will also work few videos on the helmet to polish and finish it, because it is a pretty important part of our model after all. We will then continue detailing the dragon rider by adding some fine details here and there to prepare it for posing. After that we will pose the character using the latest Zbrush technologies of posing, that i use for about a decade now. When we are done with the posing and we are happy with how our character look, it will be time for the bonus section of our course - Keyshot. I will get you familiar with everything you need to know in this pretty easy program, capable of handling all the millions polygons and the polypaint, from Zbrush. We will make some materials, lights and finally i will show you how to make a render and a turntable video for your characters.
