![]()
Digital Tutors - Using the camera Tracker and Intergrating Graphics in After Effects
2h 3m | Project Files: Included | Software used: After Effects
با سلام
در این آموزش خواهید آموخت که چگونه از 3D Camera Tracker استفاده نمایید و همچنین خواهید آموخت که چگونه Assest ها را با صحنه ادغام نمایید.
مشاهده توضیحاتــ انگلیسی
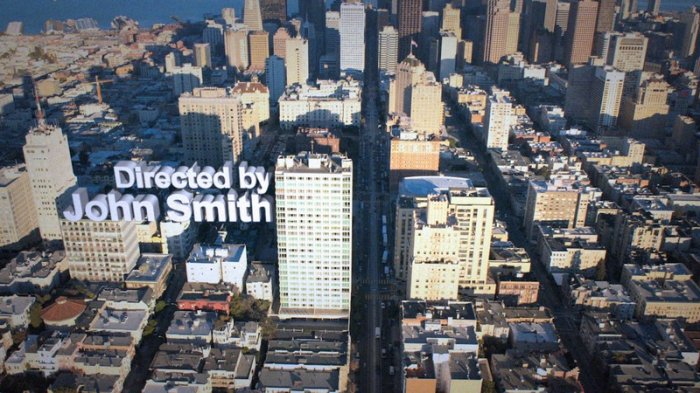
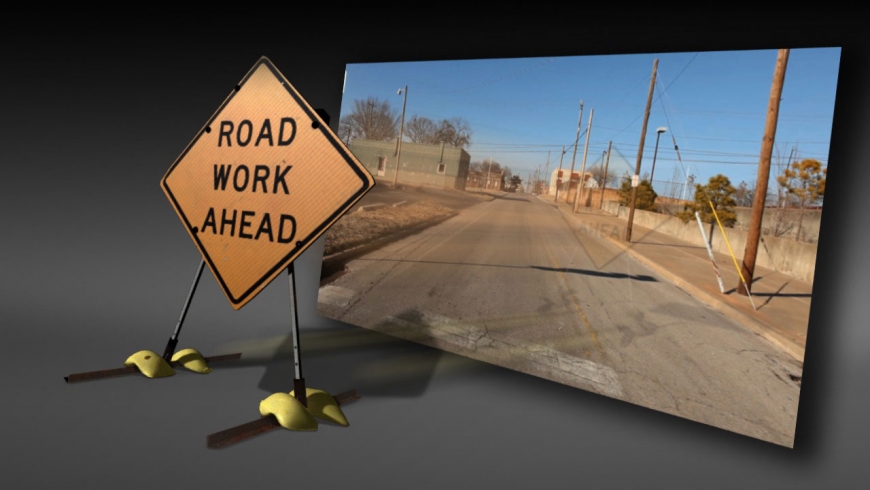
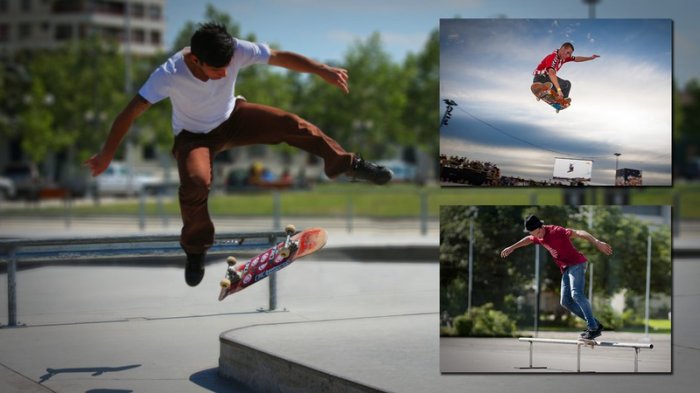
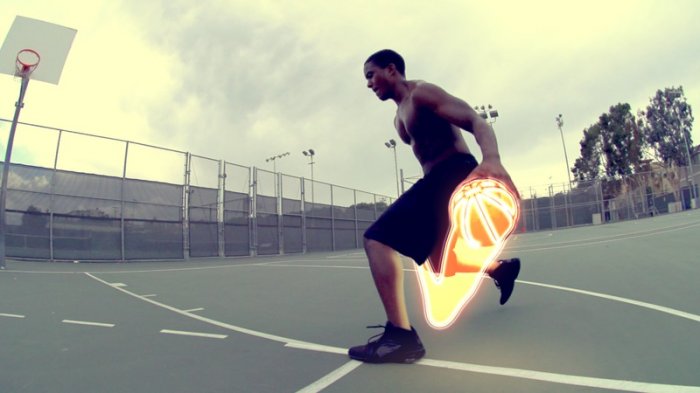
In this series of tutorials, we'll learn how to use After Effects' 3D Camera Tracker and how to integrate assets into the shot. We'll be doing an augmented reality style project to learn these techniques. While the graphics have more of a 2.5D feel, they are totally integrated into the 3D space of the original shot. To be able to achieve this look we must learn which settings we need for the 3D camera tracker and then how to use it to create a camera and null objects. We then learn how we can take simple 2D graphics which are switched on to 3D, to be placed into the scene all while following the depth of the shot. We learn the value of nested compositions and the role that collapse transformations plays as well as a few techniques for working with and animating strokes in After Effects. By the end of this tutorial you'll know how to solve a shot in 3D as well as integrate graphics into the scene.

