![آموزش انیمیشن با بلندر]()
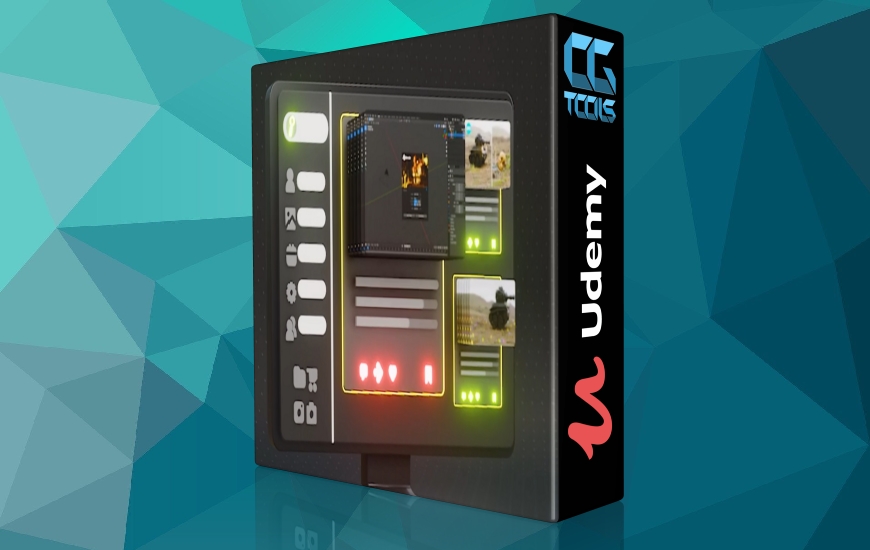
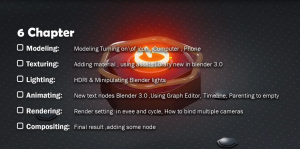
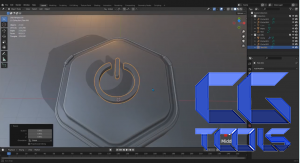
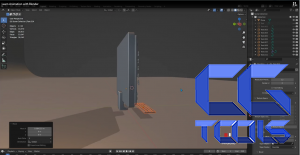
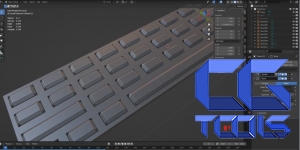
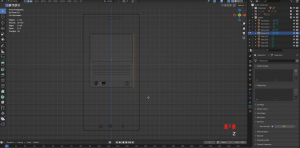
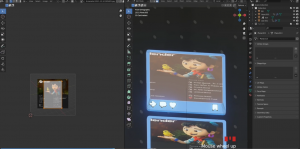
در این دوره، مراحل ساخت یک صحنه متحرک در بلندر را از ابتدا طی می کنم. از مرحله اول تا رندر نهایی. در این نفرین از بلندر 3.0 استفاده می کنیم. شما تمام مراحل مربوط به زنده کردن انیمیشن های سه بعدی خود را خواهید آموخت. ما با رابط کاربری Blender و ابزارهای ناوبری شروع می کنیم و قبل از حرکت به جلو، پایه ای محکم برای شما فراهم می کنیم. ما می خواهیم مدل سازی را شروع کنیم، سه شی مختلف: • نماد روشن/خاموش کردن • نظارت • تلفن از ابتدا در اینجا ما تمام تکنیک های لازم برای مدل سازی را با هم کار خواهیم کرد. سپس با استفاده از مقداری از گره جدید در گره هندسی Blender 3.0 برای متن یک انیمیشن عددی ایجاد می کنیم که بسیار جالب است. در طی این بخش، تعدادی از اصلاح کننده ها را یاد می گیرید و سپس برای مرحله بعدی یعنی تکسچرینگ آماده می شویم. در آنجا نحوه اعمال تکسچری که قبلاً در فتوشاپ یا هر تصویری که دارید و چگونه بافت ها را به روشی آسان باز می کنیم را مورد بحث قرار می دهیم و مواد دیگری را نیز اضافه می کنیم. جالبترین چیز در اینجا این است که میخواهیم از بخش جدیدی از بلندر به نام: کتابخانه داراییها استفاده کنیم، که به ما امکان میدهد مواد خود را به عنوان دارایی علامتگذاری کنیم و با کشیدن و رها کردن آنها روی یک شی، آنها را برای استفاده در آینده ذخیره کنیم. بعد از آن به قسمت نورپردازی می پریم، با چراغ های بلندر بازی می کنیم و یک HDRI می آوریم. قسمت بعدی مهم ترین قسمت است که انیمیشن سازی است. در اینجا ما هر یک از آن سه شیء سه بعدی را که مدلسازی کردیم متحرک می کنیم. ویرایشگر نمودار و جدول زمانی و نحوه بازی با حالت درون یابی و بازی با دسته ای را برای به دست آوردن یک انیمیشن بسیار طبیعی توضیح می دهیم. سپس هر قسمت را به یک خالی والد می کنیم و خالی را نیز متحرک می کنیم. در مرحله بعدی در رندر، تنظیمات cycle و Evee را طی می کنیم و رندر می گیریم و در بخش کامپوزیت، مقداری گره اضافه می کنیم تا زیباتر شود.
مشاهده توضیحاتــ انگلیسی
In this course, I will go through the process of creating an animated scene in Blender from scratch. From the first step to the final render. In this curse, we will using blender 3.0. You'll learn all the steps involved in bringing your own 3D animations to life. We'll start with the Blender user interface and navigation tools, providing you with a solid foundation before moving forward. We are going to start modeling, three different objects: • the turning on/off icon • monitor • the phone from scratch. Here we will work together all necessary techniques for modeling. Then we create a number animation using some of the new node in geometry node Blender 3.0 for text, which is very cool. During this section, you will learn some of the modifiers and then we prepare for the next step, which is texturing. There we discuss how to apply a texture that you already made in Photoshop or any image you have and how we unwrap textures in an easy way and we will going to add other material as well. The coolest thing here is that we are going to using new section of blender called: Assets library, which allow us to mark our material as an assets and save them for the future use by jut drag and drop them on an object. After that we jump to the lighting part, we play around with blender lights, and we bring in a HDRI. Next is the most important part, which is animating. Here we will animate each of those three 3d objects that we modeled. We explain the graph editor and timeline and how to play with interpolation mode and play around with some handle to get a very natural looking animation. Then we will parent each part to an empty and animate the empty as well. The next step in rendering we will go through the setting for cycle and Evee and take a render and in compositing section, we will add some node to make that much nicer
