![آموزش بافت دهی واقع گرایانه به موجودات در ماری]()
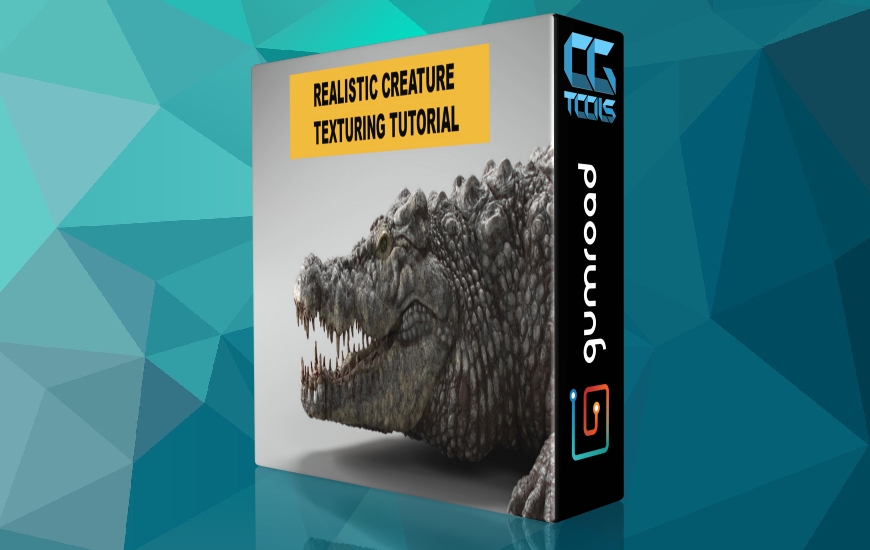
در صنعت VFX تقریبا غیرممکن است که یک دارایی بدون ارجاع عکس برای کار به آن داده شود، و این دوره بر ایجاد بافت های واقعی عکس تمرکز دارد. ما این بافتها را از سر خود نمیسازیم، بلکه در کل فرآیند به عکاسی ارجاع میدهیم تا به ما جهت و الهام بدهد. ما به طور گسترده در مورد چگونگی تجزیه این عکاسی و ساختن بافت ها بر اساس مشاهدات خود صحبت خواهیم کرد تا برنامه ای برای نحوه برخورد با دارایی ارائه دهیم.
علاوه بر این، ما نه تنها سعی خواهیم کرد بافت های زیبایی را رنگ آمیزی کنیم، بلکه این کار را به گونه ای انجام می دهیم که بتوانیم برای هر احتمالی برنامه ریزی کنیم. این می تواند تغییر مدل، تغییر UV یا درخواست مشتری باشد. اساساً دارای بافت های عالی و در عین حال انعطاف پذیر در برابر تغییرات است.
این بدان معنی است که ما باید با این ذهنیت به این دارایی نزدیک شویم که تعادل مناسبی از مهارت های فنی و هنری را در خود جای دهد. ما به روشی ساختاریافته با استفاده از گراف گره فوقالعاده قدرتمند کار خواهیم کرد، جایی که کارایی روشهای رویهای را برای ایجاد پوشش کامل غیر مخرب ترکیب میکنیم تا اطمینان حاصل کنیم که میتوانیم تغییراتی را در لحظه ایجاد کنیم تا تغییرات را در نظر بگیریم، اما با توانایی هدایت هنری هر لایه برای کار رنگ سفارشی.
این تضمین میکند که دوره را نه تنها با مهارتهای فنی در مورد نحوه استفاده از نرمافزار به پایان برسانید، بلکه با اعتماد به نفس همه چیزهایی را که برای مقابله با موجودات خود آموختهاید، برای آن قطعه نمایشی آماده و قاتل به پایان برسانید.
مطالب: (آموزش + فایل های مورد نیاز)
قسمت 1 - ایجاد نقشه حفره
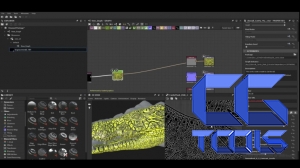
مولد نقشه حفره طراح مواد ارائه خواهد شد، ما نقشه جابجایی خود را وارد می کنیم و انواع ماسک ها را تولید می کنیم - برای اضافه کردن تنوع بافت بسیار مفید است.
قسمت 2 - راه اندازی Mari، معرفی ماری و مسدود کردن رنگ های اولیه.
ما برای اولین بار ماری را باز می کنیم و به این موارد می پردازیم:
جهت یابی
تنظیم فضای رنگی کاری ACES
واسط،
اصطلاحات بافر رنگ، وضوح و عمق بیت
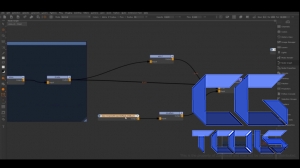
مقدمه ای بر گراف گره
وارد کردن نقشه های کاربردی با استفاده از کانال های جغرافیایی
مسدود کردن رنگ های اولیه
قسمت 3 - اضافه کردن روکش ها و رنگ آمیزی تنوع در مقیاس بزرگ
ما عیوب سطح من (نقشه های استفاده شده ارائه خواهد شد) و کاشی ها را به تغییرات ظریف و طبیعی وارد می کنیم.
ما تنوع رنگ را به صورت دستی انجام می دهیم تا اطمینان حاصل کنیم که تنوع در مقیاس بزرگ داریم.
قسمت 4 - رنگ آمیزی بافت های دهان / زرد پوست
ما یک بافت دهان دلپذیر ایجاد می کنیم، ماسک های حفره خود را برای تنوع ظریف معرفی می کنیم. و تنوع رنگ اضافی را برای مطابقت با مرجع عکس ما رنگ می کند.
ما روی ایجاد یک ماسک به ظاهر جالب تمرکز خواهیم کرد که برای آشکار کردن لایه زرد پوست استفاده خواهد شد. ما نقشه حفره و بافتهای گرانج را از بسته عیوب سطحی خود مخلوط میکنیم تا تنوع طبیعی را اضافه کنیم که با مدل همدلی دارد.
قسمت 5 - نقاشی بافت چشم
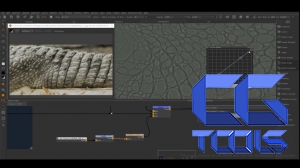
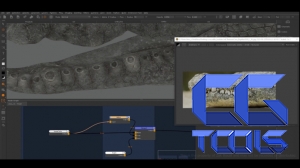
ما مرجع را از اینترنت به فتوشاپ می آوریم و آماده می شویم تا بر روی مدل بسازیم.
سپس رنگها را مطابق با ظاهری که میخواهیم تنظیم میکنیم + بیشتر رنگ میکنیم تا با ظاهر شخصیت مطابقت داشته باشد.
قسمت 6 - رنگ آمیزی بافت دندان
ما عکاسی را روی دندانها میکشیم و ماسکهای بیشتری را برای افزودن جذابیت بصری + لایههای اضافی مانند خون خشک شده، ریشههای دندانهای پوسیده و تغییرات ظریف نقاشی میکنیم.
قسمت 7 - رنگ آمیزی تجمع کلسیم
ما فرکانسهای مختلف رسوبات کلسیم را لایهبندی میکنیم تا نقاط کلاسیک کروکودیل در اطراف صورت + تجمع پوستهای زیادی در سراسر بدن به آن اضافه شود تا حسی از تاریخ به فروش برسد که این تمساح زمان زیادی را در آب نمک گذرانده است.
قسمت 8 - نقاشی ماسک های خاک و گرد و غبار
ما از پیش تنظیمات خاک و گرد و غبار سفارشی را وارد خواهیم کرد، اینها به طور خاص برای ترکیب بافت های گرانج از بسته عیوب سطح من ایجاد شده اند. سطوح خاک/گرد و غبار را تا حد مناسبی متعادل می کنیم و سپس مناطقی را رنگ آمیزی می کنیم تا ظاهری که می خواهیم داشته باشیم.
قسمت 9 - ماسک های منطقه نقاشی
برای کنترل بیشتر در توسعه ظاهر، ماسکهایی را از مناطقی که میخواهیم جدا کنیم، رنگ میکنیم.
قسمت 10 - ماسک های ناحیه رنگ آمیزی - تجمع کلسیم
ما فرکانسهای مختلف رسوبات کلسیم را لایهبندی میکنیم تا علائم کلاسیک تمساح را اضافه کنیم.
قسمت 11 - ماسک های ناحیه رنگ آمیزی - دندان
ما ماسک هایی را که از افزودن رنگ به دندان ها رنگ آمیزی کرده ایم، می گیریم و برای کنترل بیشتر در توسعه ظاهر، برای صادرات آماده می شویم.
قسمت 12 - رنگ آمیزی ناهمواری و صادرات بافت
ما بافتهایمان را میگیریم و آنها را در محدودهای متعادل میکنیم که میتوان در طول توسعه ظاهر با هم ترکیب کرد.
ما تمام بافت ها را با استفاده از مدیر صادرات صادر می کنیم.
مشاهده توضیحاتــ انگلیسی
This is a pre-recorded online texturing course, with each step recorded and structured into bite size chapters. Going from preparing a model for texturing - through to exporting final textures out of Mari.
In the VFX industry it's almost impossible to be given an asset without photo reference to work towards, and this course will focus on creating photo-realistic textures. We won't be creating these textures from our head, we'll be referencing photography though the entire process to give us direction and inspiration. We’ll talk extensively on how to break down this photography and building the textures based on your own observations, to come up with a plan for how we will approach the asset.
Additionally we won't only be trying to paint aesthetic textures, but doing so in a way where we are able to plan for any eventuality. This could be a model change, UV change or client requests. Essentially have great looking textures, whilst being flexible to changes.
This means that we need to approach this asset with the mindset of incorporating the right balance of technical and artistic skills. We’ll work in a structured way using the incredibly powerful node graph where we will mix the efficiency of procedural methods to establish non-destructive, full coverage to ensure we can make changes on-the-fly to account for any changes, but with the ability to art direct every layer for custom paint work.
This will ensure you finish the course not only with technical skills of how to use the software, but with the confidence to take everything you’ve learnt to tackle your own creatures for that killer, industry ready showreel piece.
Contents: (Tutorial + files needed)
Part 1 - Generating cavity map
Substance designer cavity map generator will be provided, we will import our displacement map and generate a variety of masks - very useful for adding texture variation.
Part 2 - Setting up Mari, intro to Mari and blocking initial colours.
We will open up Mari for the first time and go through:
Navigation
Setting up ACES working colourspace
The interface,
Paint buffer terminology, resolution and bit depth
Introduction to the node graph
Importing utility maps using geo channels
Blocking initial colours
Part 3 - Adding overlays and painting large scale variation
We will import my surface imperfections (Maps used will be provided) and tileables to subtly, natural variation.
We will hand paint variation to ensure we have large scale variety.
Part 4 - Painting mouth/yellow skin textures
We will create a pleasing mouth texture, we will introduce our cavity masks for subtle variation. And will paint additional colour variation to match our photo reference.
We will concentrate on creating an interesting looking mask which will be used to reveal the yellow skin layer. We will mix the cavity map and grunge textures from my surface imperfections pack to add natural variation that’s also sympathetic to the model.
Part 5 - Painting eye textures
We will bring reference from the internet into Photoshop and prepare to project onto the model.
We will then adjust the colours to match the look we want + paint further to fit the look of the character.
Part 6 - Painting teeth textures
We will project photography onto the teeth and paint further masks to add visual interest + extra layers such as dried blood, rotten teeth roots and subtle variation.
Part 7 - Painting calcium buildup
We will layer up different frequencies of calcium deposits to add the classic crocodile 'dot's around the face + lots of crusted buildup across the body to give a sense of history to sell the illusion this crocodile has spent a lot of time in salt water.
Part 8 - Painting dirt and dust masks
We will import custom dirt and dust presets, these are specifically created to incorporate grunge textures from my surface imperfections pack. We will balance the dirt/dust levels to a suitable level, and then we will custom paint areas to get the look we want.
Part 9 - Painting area masks
We will paint masks of areas we want to isolate for further control in look development.
Part 10 - Painting area masks - calcium buildup
We will layer up different frequencies of calcium deposits to add the classic crocodile markings.
Part 11 - Painting area masks - teeth
We will take masks we’ve painted from adding colours to the teeth, and prepare for exports for further control in look development.
Part 12 - Painting specular roughness and exporting textures
We will take our textures and balance them into a range that can be mixed in during look development.
We will export all textures using the export manager.
