![آموزش نحوه رندر صحیح در زیبراش]()
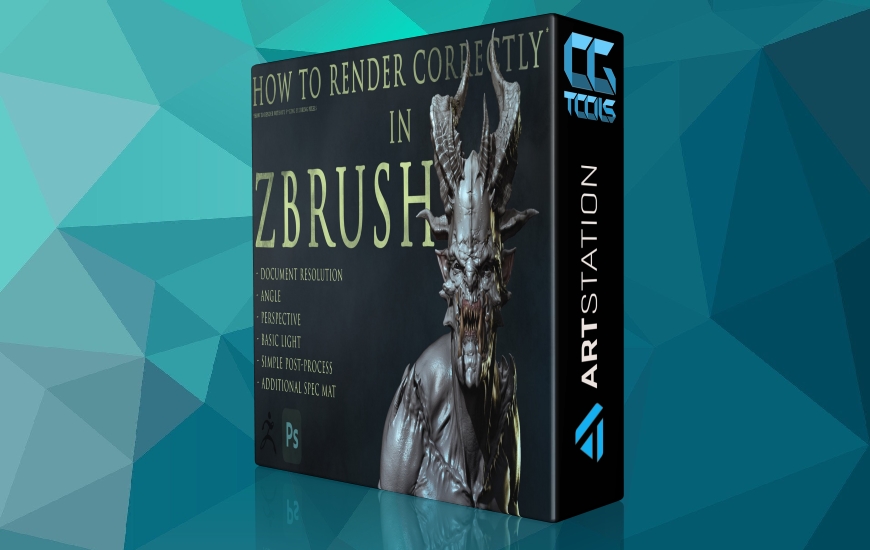
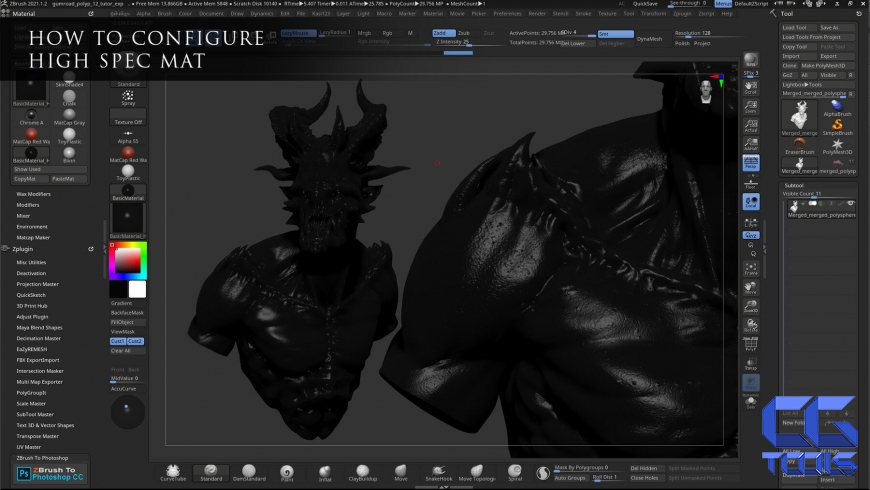
تصمیم گرفتم یک آموزش کوچک در مورد یک چیز بسیار اساسی، اما بسیار مهم ضبط کنم - چگونه می توانید اسکرین شات بسازید یا در زیبراش با کیفیت بالا رندر بگیرید.
اما به هر حال در طول ویدئو نکات ابزار زیادی وجود دارد و کاملاً واضح است که اگر ببینید من چه کار میکنم، متوجه میشوید. من این آموزش را به عنوان اطلاعاتی برای مبتدیان قرار می دهم، اما فکر می کنم که این دانش به بسیاری از هنرمندان کمک خواهد کرد.
یاد خواهید گرفت:
- راه ساده برای سرعت بخشیدن به رندر BPR
- چگونه رزولوشن رندر را تغییر دهیم و صفحه نمایش خود را 3k یا بیشتر دریافت کنیم
- چگونه زاویه مدل را به خاطر بسپاریم
- با پرسپکتیو دوربین کار کنید
- تنظیم اولیه رعد و برق
- پیش تنظیم برای تنظیمات سایه BPR
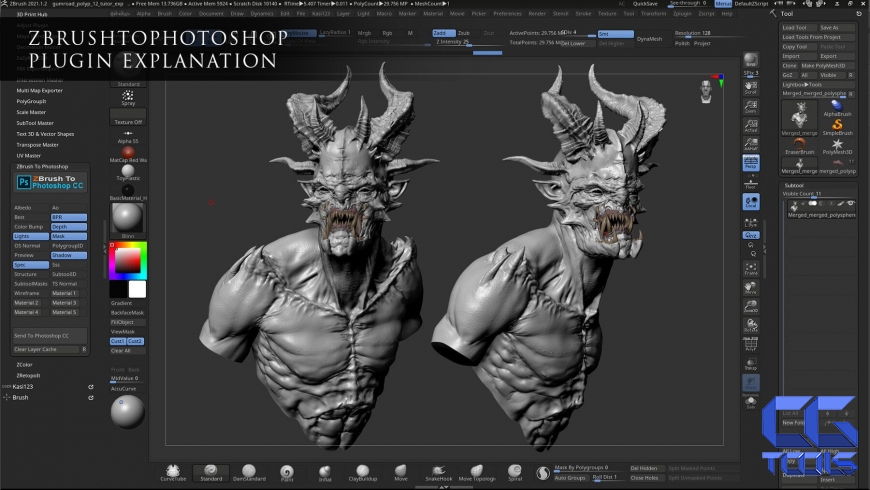
- خط لوله پلاگین ZbrushToPhotoshop با توضیح 6 پاس مورد نیاز
- نحوه تنظیم پاس ها در فتوشاپ
- ابزارها و کلیدهای فوری بسیار ابتدایی در فتوشاپ (ماسک\سطوح\روشنایی&کنتراست\رنگ&اشباع\فیلترهای عکس\gradients\حالت های همپوشانی\برش)
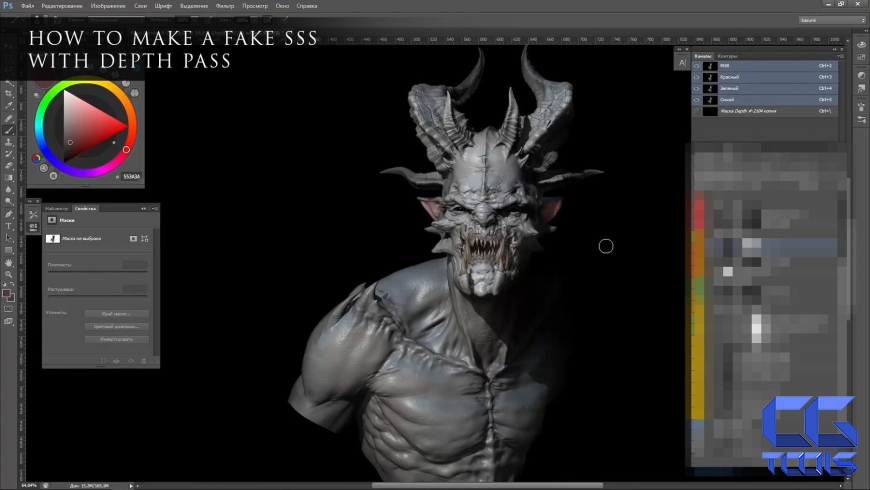
- چگونه یک SSS جعلی بسازیم
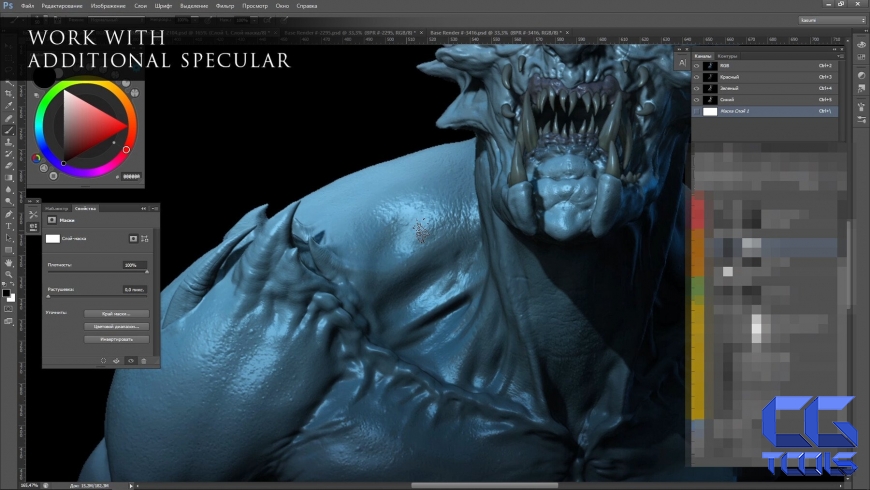
- نحوه اضافه کردن یک اسپکولار خنک برای پوست یا مکان های مرطوب با کمک تنظیمات مواد اضافی
- با پس زمینه کار کنید
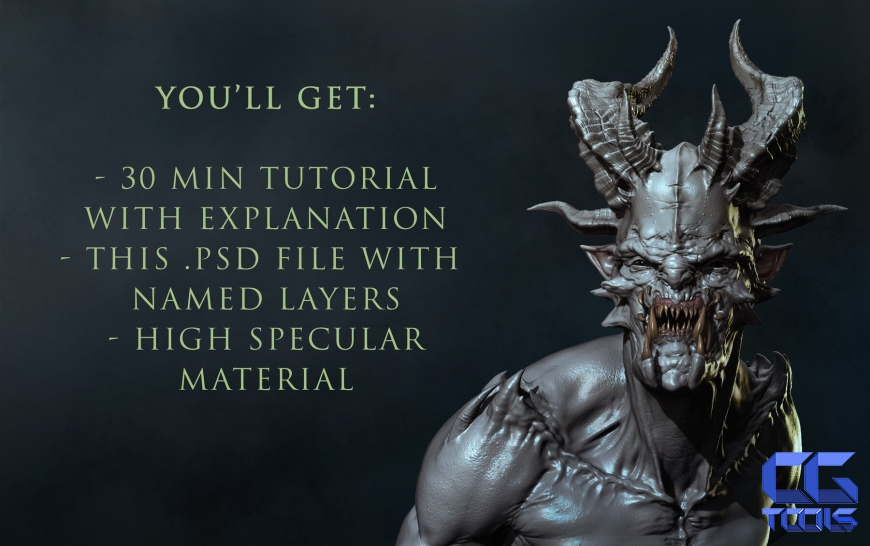
شما دریافت می کنید:
- فایل ویدئویی آموزش (mp4) 30 دقیقه
- فایل PSD. همراه با نوشتن از جلد من
- فایل .srt با زیرنویس Eng
- فایل .zmt از مواد با مشخصات بالا برای زیبراش (اما شما می توانید خیلی ساده آن را خودتان ایجاد کنید)
مشاهده توضیحاتــ انگلیسی
I decided to record a mini-tutorial about a very basic, but a very important thing - How you can make screenshots or render in Zbrush in high quality. But anyway during the video a lot of tooltips and it's pretty clear to understand just if you see what am I doing. I position this tutorial as information for beginners, but I think that this knowledge will help a lot of artists.
You will learn:
- simple way to speed up BPR render
- How to change the resolution of render and get your screens in 3k or more
- How to remember the angle of the model
- Work with the perspective of the camera
- Basic lightning setting
- presets for BPR Shadow settings
- ZbrushToPhotoshop plugin pipeline with an explanation of 6 most needed passes
- How to adjust passes in Photoshop
- Very basic tools and hotkeys in Photoshop (masks\levels\brightness&conrast\hue&saturation\photo-philters\gradients\overlay modes\cropping)
- How to make a fake SSS
- How to add a cool specular for skin or wet places with the help of Additional material settings
- Work with background
You'll get:
- Video file of the tutorial (.mp4) 30 mins
- PSD file with the compose from my cover
- .srt file with Eng subtitles
- .zmt file of High spec material for Zbrush (but you can very simply create it by yourself)
